Models > GSD2100V55WW > Symptoms > Leaking

Parts That Fix General Electric Dishwasher GSD2100V55WW Leaking

Leaking is a commonly reported symptom for the GSD2100V55WW General Electric Dishwasher, and we have put together a full guide on how to fix this. This advice is based on feedback from people who own this exact appliance. We have listed the most common parts for your GSD2100V55WW General Electric Dishwasher that will fix Leaking. We have included repair instructions, and helpful step-by-step video tutorials. If you are experiencing this issue, not to worry, DIYers just like you have fixed this, and shared their experience to help you!

Fixes Symptom 27% of time
★★★★★
★★★★★
12 Reviews

Rated by 56 customers 


Really Easy 

15 - 30 mins 

Ratings submitted by customers like you who bought this part.   

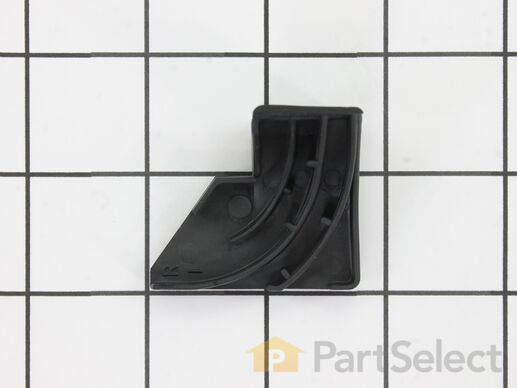
This baffle fits the lower right hand corner of some dishwashers. It is black rubber and has a matching left hand lower corner baffle. It is recommended that you replace and install both left and right at the same time. It will become evident that this part needs to be replaced if you are experiencing leaking or lack of draining. This is a very easy repair that requires no tools. Open the dishwasher door and simply use your hands to remove the baffle found in the lower right hand side of the dishwasher. Clean out any dirt and insert your new one into place.

$ 25.97
  In Stock
PartSelect Number PS263963
Manufacturer Part Number WD8X227

Replacing your General Electric Dishwasher Corner Tub Baffle - Lower Right

Replacing your Corner Tub Baffle - Lower Right

Customer Repair Stories

Dishwasher was leaking water on the lower right side.

Merely pushed the baffle into the slots in the lower right corner and the leak stopped.
  • Frances from Garner, NC
  • Difficulty Level:
    Really Easy
  • Total Repair Time:
    Less than 15 mins
Was this instruction helpful to you?
Thank you for voting!

The dishwasher leaked all over the floor.

I am a helpless old lady living alone. My dishwasher leaked......not bad at first. I put a towel in front of it. It got worse. I was adding towels each time I ran it. I asked my son to look at it. He said to find out where it was leaking from. I noticed it was coming from the right side. I looked and saw this thing (the real name was corner baffle) that looked kinda used up. I told my son what it was and he said go online and order it. I did. It came I took the old one out. It just lifted out. I cleaned all the debris out from where it sat with a toothbrush and put The new one in. Easy peasy. Don't need a grown son. I can take care of myself.
  • Linda from Fairfield, OH
  • Difficulty Level:
    Really Easy
  • Total Repair Time:
    Less than 15 mins
0 of 1 people found this instruction helpful.
Was this instruction helpful to you?
Thank you for voting!
Fixes Symptom 26% of time
★★★★★
★★★★★
19 Reviews

Rated by 53 customers 


Really Easy 

15 - 30 mins 

Ratings submitted by customers like you who bought this part.   

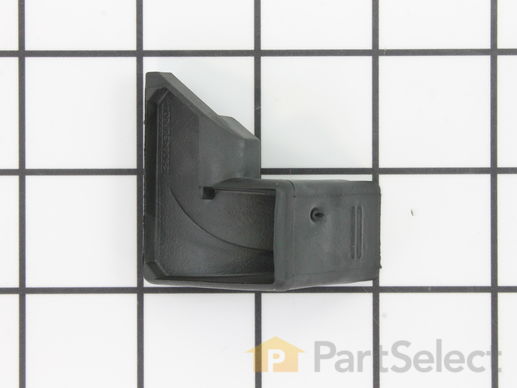
The corner tub baffle may also be known as the door baffle and is a part used on your dishwasher. The left and right side baffle on your dishwasher should be installed and replaced at the same time. This specific part is for the lower left side of your appliance, the right-side is sold separately. The function of the tub corner baffle is to prevent water from leaking through your dishwasher door. The function of this specific one is to stop water from leaking through the bottom left hand side of your dishwasher door. You will not need any tools to make this installation.

$ 23.92
  In Stock
PartSelect Number PS263964
Manufacturer Part Number WD8X228

Replacing your General Electric Dishwasher Corner Tub Baffle - Lower Left

Replacing your Corner Tub Baffle - Lower Left
Fixes Symptom 13% of time
★★★★★
★★★★★
11 Reviews

Rated by 29 customers 


Easy 

30 - 60 mins 

Ratings submitted by customers like you who bought this part.   

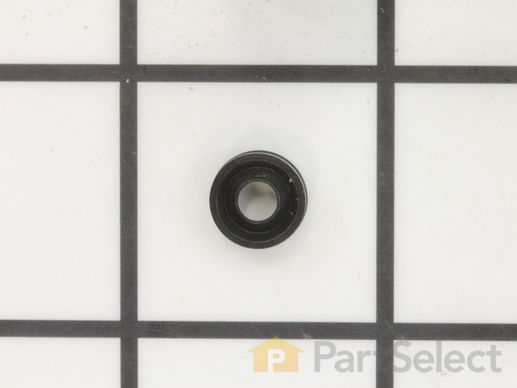
The drain valve shaft seal is a part for your dishwasher drain pump valve. This seal creates a watertight closure around the flapper valve shaft. This part can be accessed through the access panel at the front for a built-in. For a portable dishwasher, consider disconnecting and unplugging the taps and lay on a blanket to access the bottom of the machine. This will need to be replaced if you notice leaking coming from the pump. This part measures approximately 3/8 inches in diameter and is black in color. This is a genuine OEM part that comes right from the manufacturer.

$ 36.12
  In Stock
PartSelect Number PS263930
Manufacturer Part Number WD8X181

Replacing your General Electric Dishwasher Drain Valve Shaft Seal

Replacing your Drain Valve Shaft Seal

Customer Repair Stories

Leaking Drain Valve Shaft Seal

I took the lower cover pannel screws out of the dish washer to view the pump assy. Then remove the solinoid bracket which covered the Drain Valve Seal. The hardest part was removing the star washer in front of the seal. That is where I had to use the pliers to remove it. Then I had to straighten
the washer out so I could reuse it. Pulled old Seal out and replaced with new and reassembled. Test ran a cycle and wasn't leaking any more. Easy fix!
  • Perry from LaFontaine, IN
  • Difficulty Level:
    Really Easy
  • Total Repair Time:
    30 - 60 mins
  • Tools:
    Nutdriver, Pliers
1 of 2 people found this instruction helpful.
Was this instruction helpful to you?
Thank you for voting!

Dishwasher was leaking

Had to remove entire lower unit from dishwasher but it is a tight fit between the pump inlet flange and the floor.The next problem was to get the E clip off of the valve shaft. I knew the E clip had to be a straight fit when put back on the shaft so I had to straighten out before putting it back on the shaft after putting the new seal on the shaft correctly.Put the solonoid back on and made sure the valve shaft turned freely. Next fun was getting the pump unit back in place. Not easy (clearance) but got-er done!
  • Jon from Henderson, NV
  • Difficulty Level:
    A Bit Difficult
  • Total Repair Time:
    1- 2 hours
  • Tools:
    Nutdriver, Pliers, Screw drivers
2 of 2 people found this instruction helpful.
Was this instruction helpful to you?
Thank you for voting!
Fixes Symptom 13% of time
★★★★★
★★★★★
18 Reviews

Rated by 24 customers 


Really Easy 

15 - 30 mins 

Ratings submitted by customers like you who bought this part.   

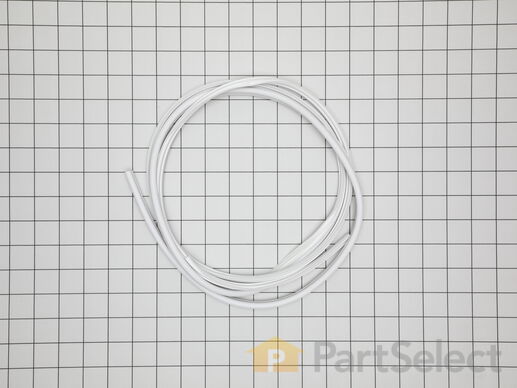
This one piece dishwasher door gasket provides a water tight seal to keep water from leaking out of your dishwasher.

$ 133.37
  In Stock
PartSelect Number PS958908
Manufacturer Part Number WD08X10057

Replacing your General Electric Dishwasher Door Gasket - White

Replacing your Door Gasket - White

Customer Repair Stories

Dishwasher leaked

Plumber had suggested trying a new gasket rather than replace the dishwasher. Ordered one and installed it. Cleaned door and installed gasket in about 30 minutes. So far it works great .... and ... cheaper than new dishwasher.
  • Robert from Colleyville, TX
  • Difficulty Level:
    Easy
  • Total Repair Time:
    15 - 30 mins
3 of 4 people found this instruction helpful.
Was this instruction helpful to you?
Thank you for voting!

Severe lwater leak around door

Removed door panel. Removed old door seal and cleaned seal recess. Installed new seal. Replaced door panel on door and ran a cycle to check for leaks. Readjusted door latch to correct small leak. Ran another leak test. Job complete and wife is happy!
  • Merle from Boulder, CO
  • Difficulty Level:
    Easy
  • Total Repair Time:
    30 - 60 mins
  • Tools:
    Screw drivers
3 of 3 people found this instruction helpful.
Was this instruction helpful to you?
Thank you for voting!
Fixes Symptom 11% of time
★★★★★
★★★★★
7 Reviews

Rated by 25 customers 


Easy 

30 - 60 mins 

Ratings submitted by customers like you who bought this part.   

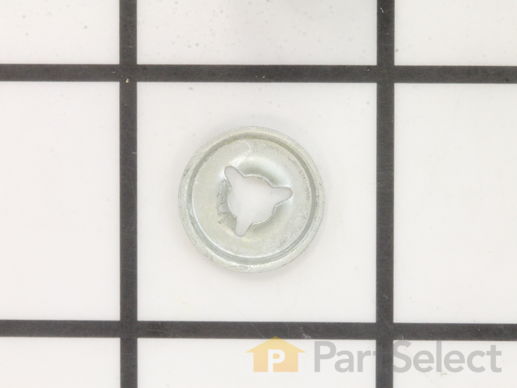
This push on nut is for your dishwasher or refrigerator. As the name suggests, it pushes into place, rather than being screwed in. It is approximately half an inch in diameter and is made of stainless steel.

$ 13.86
  In Stock
PartSelect Number PS298353
Manufacturer Part Number WR2X7054

Replacing your General Electric Dishwasher Push On Nut

Replacing your Push On Nut

Customer Repair Stories

Water leak from gate (diverter) valve

Read Joseph from Livermore, CA for good instructions. I took a camera phone photo for reference before I started. Should have taken another photo half way thru. Probably put the push-on-nut on backwards as it didn't 'lock' in - had too much play in the shaft, would have leaked. Impossible to get nut back off in good shape. I put original mangled push-on-nut on also - it added enough tension to eliminate play in the shaft. No leak..but lucky. Go ahead, you can do this repair for under $20.
  • Robert from Oak Island, NC
  • Difficulty Level:
    A Bit Difficult
  • Total Repair Time:
    30 - 60 mins
  • Tools:
    Nutdriver, Pliers, Screw drivers, Socket set
Was this instruction helpful to you?
Thank you for voting!

dishwasher leaking from solenoid drain valve

Disconnect the power. Unscrew the bottom toe kick panel. Locate the solenoid drain valve to the front left of the machine and disconnect the wired connection. Pry off the retainer clip on the drain valve spindle and set aside for reuse. Plan on getting a new one because you will most likely damage it when removing. Remove the spring from the solenoid valve spindle arm to access one of the three screws holding the solenoid drain valve to the pump. Remove the three screws. Remove the solenoid and plastic housing. Remove the push-on-nut from the spindle by cutting off the old one with wire cutters. Plan on buying a new one because you will never get it off in one piece. Pry out old valve seal with a knife or thin screw driver. Insert new seal and install new push on nut over seal. Important!! make sure the drain valve opens/closes freely by hand because you may have pushed the spindle in to far when installing the push on nut. Place the push on nut in a socket wrench socket with an extension and hammer it on gently or try to start itwith pliers and use a small length of 3/8" copper tubing. Again, check to see if drain valve rotates and pull the spindle in or out with pliers to adjust. Reassemble remaining parts in reverse order. Leak shoud be fixed but check to see if machine drains properly. You may have to dissassemble and adjust the spindle again. This is a difficult repair with the machine left in place. However, it is worth 1-2 hours of your time and for about 20 bucks in parts and shipping. Good luck!!
  • robert from wayne, NJ
  • Difficulty Level:
    Difficult
  • Total Repair Time:
    1- 2 hours
  • Tools:
    Nutdriver, Pliers, Screw drivers, Socket set
1 of 2 people found this instruction helpful.
Was this instruction helpful to you?
Thank you for voting!
Fixes Symptom 5% of time
★★★★★
★★★★★
3 Reviews

Rated by 13 customers 


Easy 

30 - 60 mins 

Ratings submitted by customers like you who bought this part.   

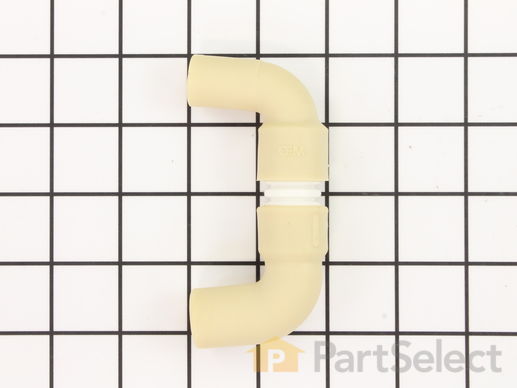
This connector has female threads.

$ 29.60
  In Stock
PartSelect Number PS259558
Manufacturer Part Number WD18X214

Replacing your General Electric Dishwasher Pump To Wash Arm Rubber Connector

Replacing your Pump To Wash Arm Rubber Connector

Customer Repair Stories

Water Leak In Rubber Connector Pin Hole At Seam

Shut of water to the built in dishwasher and shot of electric breaker , removed the water line and removed electric hookup at washer. Removed the drain pipe connected to the garbage disposal unit for more darin pipe room when pulling the appliance out from under the counter. Pull out the appliance, and carefully layed it flat on the back. Loosed the 2 connector clamps with a srewdriver from the upper and lower rubber connectors and the small drain rubber connector, used a plier. Loosed the screw on wire hold down pulled the housing pump out of the rubber connectors and used a wire hanger to help support the dangling housing pump unit. Unscrewed the damanged rubber connector using a washcloth for a better grip. , Rescrewed in the new rubber connector. ( Hint- used petrolem vasaline on the rubber connector base for a water tight fit) . Reconnected all , replaced elctric and water line, reconnected the darin pipe to the garabage disposal. Turned water back on. All worked at well.
  • Allan from Stony Point, NY
  • Difficulty Level:
    Easy
  • Total Repair Time:
    1- 2 hours
  • Tools:
    Nutdriver, Pliers, Screw drivers, Socket set
7 of 7 people found this instruction helpful.
Was this instruction helpful to you?
Thank you for voting!

Rubber connector was leaking (slit in rubber)

First I removed the dishwasher from underneath the countertop and laid it on its back. I used a nut driver to remove the pump support wire and the two clamps holding the rubber connectors to the pump. It helped to hook the pump support wire in a hole in the left side of the frame and reconnect it to the pump to hold it up out of the way. I was able to remove the rubber connector by hand and unscrew it. To install the new rubber connector tightly, I slipped a piece of 2" PVC pipe (outside diameter is 2-3/8") inside the connector and tightened the clamp around the connector and PVC pipe. This allowed me to use the pipe to tighten the rubber connector. I reassembled the dishwasher pump and connections and put the dishwasher back into service
  • David E from Colorado Springs, CO
  • Difficulty Level:
    Easy
  • Total Repair Time:
    15 - 30 mins
  • Tools:
    Nutdriver, Screw drivers, Socket set
38 of 45 people found this instruction helpful.
Was this instruction helpful to you?
Thank you for voting!
Fixes Symptom 1% of time
★★★★★
★★★★★
4 Reviews

Rated by 5 customers 


Really Easy 

30 - 60 mins 

Ratings submitted by customers like you who bought this part.   

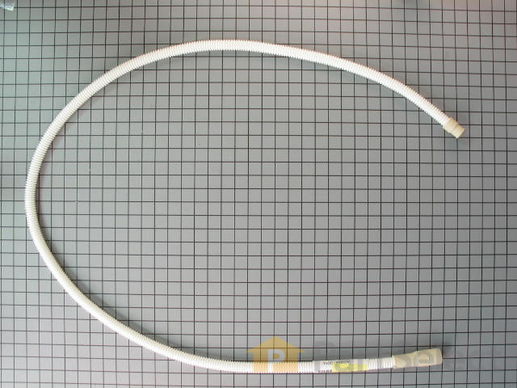
This drain hose is an OEM, manufacturer-approved replacement part for your dishwasher. The drain hose filters out the wastewater from the dishwasher. If there is a hole in it, water will leak out of your dishwasher. Shut off the water and power to the unit before beginning this repair. Accessing the drain hose involves unscrewing the dishwasher and pulling it out. Remove the clamp holding the hose in place to its connection under the sink, using a 5/16ths socket. Disconnect the fill line. Use a 1/4 inch nut driver to loosen the clamp at the other end of the drain hose. Keep a towel handy for any water still inside. Keep the clamps for use on your new drain hose. Reinstall all hoses and lines in reverse order.

$ 34.07
  In Stock
PartSelect Number PS260686
Manufacturer Part Number WD24X10014

Customer Repair Stories

Couldn't drain water

I connected one end of hose to the drain using a hose clamp and screwdriver then connected the other end to the dishwasher using anouther hose clamp and a screwdriver..
  • Janice from Rockville, MO
  • Difficulty Level:
    Really Easy
  • Total Repair Time:
    Less than 15 mins
  • Tools:
    Screw drivers
4 of 9 people found this instruction helpful.
Was this instruction helpful to you?
Thank you for voting!

Stinky Dishwasher

I pulled the dishwasher out and detached the drain hose. I attached the new drain hose after cleaning out the connection to the garbage disposal.

Now my dishwasher doesn't stink anymore!
  • Jeremy from Hailey, ID
  • Difficulty Level:
    Easy
  • Total Repair Time:
    30 - 60 mins
  • Tools:
    Screw drivers, Socket set
8 of 9 people found this instruction helpful.
Was this instruction helpful to you?
Thank you for voting!
Fixes Symptom 1% of time
★★★★★
★★★★★
2 Reviews

Rated by 1 customer 


Easy 

Less than 15 mins 

Ratings submitted by customers like you who bought this part.   

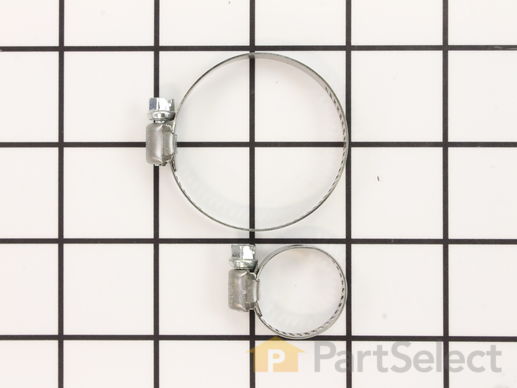
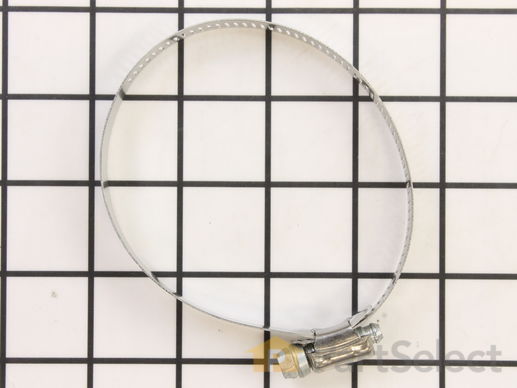
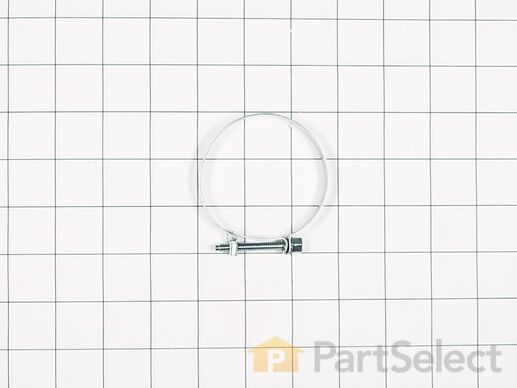
This is a water hose clamp kit for a variety of appliances including dishwashers and washers. This is a genuine replacement part. The kit includes two hose clamps. The smaller of the two is 1 inch in diameter while the larger one is 2 inches in diameter. The hose clamps secure the end of the water hose in place to prevent the hose from leaking. If you notice leaking from the hose of your appliance, you may need to replace this kit. Protect your hands with work gloves during this repair to avoid injury.

$ 15.92
  In Stock
PartSelect Number PS270806
Manufacturer Part Number WH1X2036
Fixes Symptom 1% of time

$ 16.82
  In Stock
PartSelect Number PS1517660
Manufacturer Part Number WD24X10041

Replacing your General Electric Dishwasher HOSE CHAMBER

Replacing your HOSE CHAMBER
Fixes Symptom 1% of time
★★★★★
★★★★★
1 Review

Rated by 2 customers 


Really Easy 

30 - 60 mins 

Ratings submitted by customers like you who bought this part.   

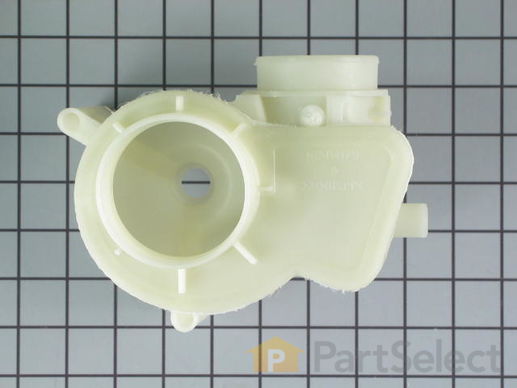
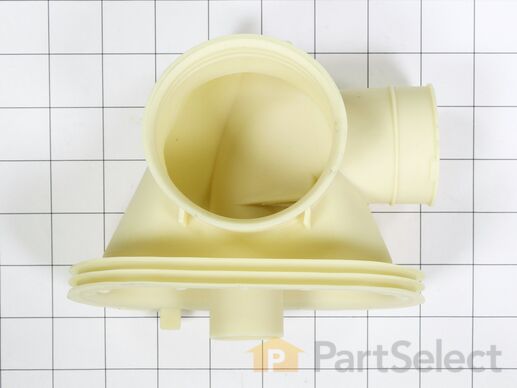
Please keep in mind this housing is for single drain outlet models only. This part will not work for dual outlet port models.

$ 93.19
  In Stock
PartSelect Number PS259587
Manufacturer Part Number WD19X10020
Fixes Symptom less than 1% of time
★★★★★
★★★★★
3 Reviews

Rated by 1 customer 


Very Difficult 

More than 2 hours 

Ratings submitted by customers like you who bought this part.   

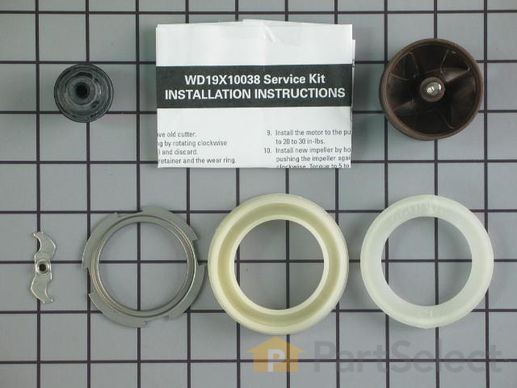
This impeller and motor shaft seal kit is used in dishwashers to rebuild the circulation pump. If your dishwasher has any of the following symptoms, replacing the part could be the solution: circulation pump is leaking, not cleaning dishes, not draining, making loud or odd noises. The tools needed for this repair are an adjustable wrench, 1/4 inch nut driver, 5/16 inch nut driver, Phillips screwdriver, flathead screwdriver, flat file, and needle nose pliers. Remember to unplug your dishwasher before installing this part and refer to the manual provided by the manufacturer for installation instructions and a detailed diagram.

$ 51.45
  In Stock
PartSelect Number PS1017766
Manufacturer Part Number WD19X10038

Replacing your General Electric Dishwasher Circulation Pump Impeller Kit

Replacing your Circulation Pump Impeller Kit
Fixes Symptom less than 1% of time

$ 8.08
  In Stock
PartSelect Number PS2322317
Manufacturer Part Number WD21X10355
Fixes Symptom less than 1% of time
★★★★★
★★★★★
2 Reviews

Rated by 1 customer 


Really Easy 

30 - 60 mins 

Ratings submitted by customers like you who bought this part.   

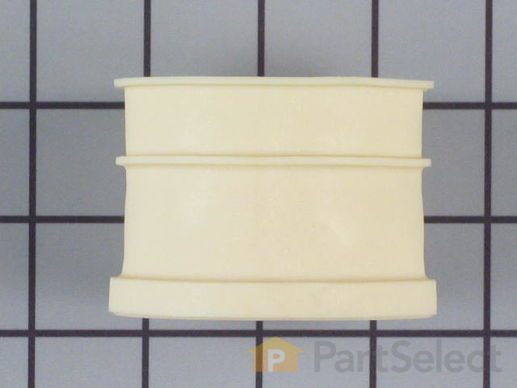
This coupler, also known as a hose connector, is made of white plastic and is about one inch in height, and just over one inch in length. Replacing the coupler is a fairly easy repair. The hardest part of the repair is accessing the spray arm and filter to remove them, in order to replace the coupler. In order to complete this repair, you will need a flat head screwdriver and a 4-inch nut driver.

$ 14.00
  In Stock
PartSelect Number PS1517648
Manufacturer Part Number WD01X10342
Fixes Symptom less than 1% of time

$ 32.15
  In Stock
PartSelect Number PS3505446
Manufacturer Part Number WD18X10049
Fixes Symptom less than 1% of time
★★★★★
★★★★★
1 Review

Rated by 1 customer 


Easy 

15 - 30 mins 

Ratings submitted by customers like you who bought this part.   

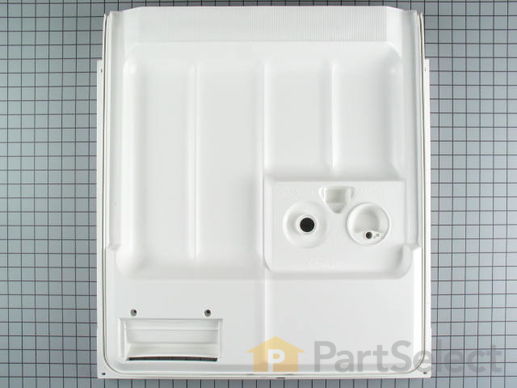
$ 292.30
  In Stock
PartSelect Number PS261608
Manufacturer Part Number WD31X10004

Customer Repair Stories

Inside dishwasher door broke at door hinge.

Removed the existing inner door by removing screws along the edge of the inside door. Had trouble removing the door latch but after lifting it on one side of the plastic door fitting, it eventually lifted out. I also had some trouble getting the spring loaded soap door back into the replacement inner door. After playing with it for awhile I realized that the soap door should be in the open position when putting the spring latch back on. The soap door won't close until you get the entire inner door mounted and back on. I also want to note the the inside vent in the upper part of the inner door needs to be removed from the old inner door and installed in the new one. I missed that at first and it allowed condensation to get inside the door which caused the dishwashers alarm to go off during the dry cycle. One last note that I initially decided not to replace the existing sound proofing material in the new door based on advice from a website that stated that I wouldn't notice the sound difference. That was definitely untrue. I had to disassemble the door, replace the sound proofing and then it sounded fine. Overall it was a little difficult to figure out but considering how inexpensive the replacement door was compared with a having a service repairman come out, it was worth the trouble.
  • Jeff from Rancho Cucamonga, CA
  • Difficulty Level:
    A Bit Difficult
  • Total Repair Time:
    1- 2 hours
  • Tools:
    Screw drivers
Was this instruction helpful to you?
Thank you for voting!
Fixes Symptom less than 1% of time

$ 13.87
  In Stock
PartSelect Number PS259697
Manufacturer Part Number WD1X1392
17 CLAMP
Fixes Symptom less than 1% of time

$ 20.70
  In Stock
PartSelect Number PS259688
Manufacturer Part Number WD1X1376
Fixes Symptom less than 1% of time

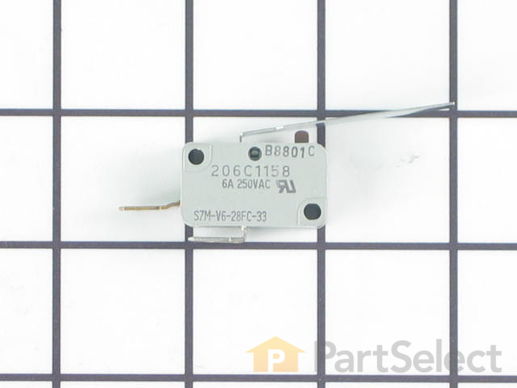
Water that fills your dishwasher lifts this float, and when it reaches a certain level, it acts as a trigger for the float switch. The float triggers the float switch to shut off, thereby shutting off the flow of water into the dishwasher.

$ 7.50
  In Stock
PartSelect Number PS260235
Manufacturer Part Number WD21X479

Replacing your General Electric Dishwasher Float Switch

Replacing your Float Switch
Fixes Symptom less than 1% of time
★★★★★
★★★★★
1 Review

Rated by 2 customers 


Easy 

30 - 60 mins 

Ratings submitted by customers like you who bought this part.   

$ 8.56
  In Stock
PartSelect Number PS259460
Manufacturer Part Number WD16X297