Models > GLEQ2152ES1 > Symptoms > Noisy

Parts That Fix Frigidaire Dryer GLEQ2152ES1 Noisy

Noisy is a commonly reported symptom for the GLEQ2152ES1 Frigidaire Dryer, and we have put together a full guide on how to fix this. This advice is based on feedback from people who own this exact appliance. We have listed the most common parts for your GLEQ2152ES1 Frigidaire Dryer that will fix Noisy. We have included repair instructions, and helpful step-by-step video tutorials. If you are experiencing this issue, not to worry, DIYers just like you have fixed this, and shared their experience to help you!

Fixes Symptom 54% of time
★★★★★
★★★★★
104 Reviews

Rated by 139 customers 


Easy 

1- 2 hours 

Ratings submitted by customers like you who bought this part.   

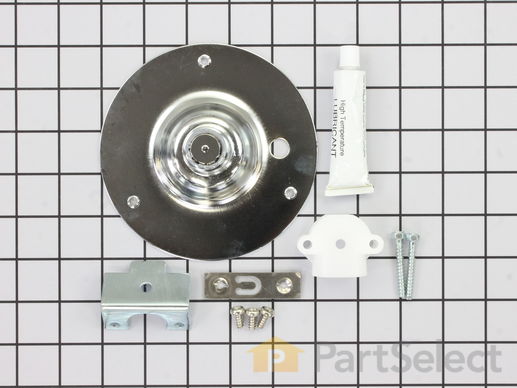
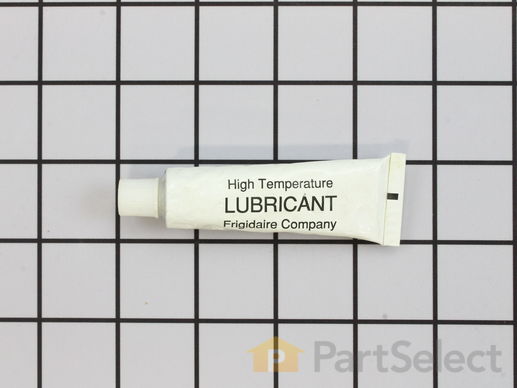
This rear drum bearing kit is designed for use with dryers. It supports the rear of the drum in your appliance as it tumbles your clothes during the drying cycle. If your drum will not tumble, or if it is making a lot of noise, it could be an issue with this part. This is a ball-and-socket style bearing. You will need to replace this if the bushing has worn out, or if the ball support is damaged. This kit includes one bearing, one ball shaft, one ball bearing, one ball bearing retainer, a small tube of high temperature lubricant and installation screws. Unplug your dryer before you begin this repair.

$ 62.48
  In Stock
PartSelect Number PS459829
Manufacturer Part Number 5303281153

Replacing your Frigidaire Dryer Rear Drum Bearing Kit

Replacing your Rear Drum Bearing Kit

Customer Repair Stories

Dryer drum would squeak and squeal until warmed up, but progressively got worse as the days drug on.

First pry up on the front edge of the top panel of the dryer which is held in place by snap in clips. Pivot the top open and support against wall or other taking care not to pull on wiring harness. Next remove the 2 screws that hold the front panel in place. These are located on the inside of the front panel. The front then snaps loose also. Remove the plastic drum stop located at the top edge of the front of the dryer. Next I removed the 3 drum screws located inside at the back center of the dryer. Next you can you need to remove the belt the motor located at the rear vent panel on the back. Slide the now loose drum out exposing the rear bearing. With a 5/16 end wrench, loosen the 2 screws on either side of the bearing retainer. Assemble the new bearing bracket to match the old one. Apply a liberal amount of supplied lubricant to the pivot ball and plastic retainer. At this point it was helpful to have someone at the rear of the dryer hold the new retainer bracket against the back of the dryer while I tightened the new bearing assembly in. Assemble dryer in reverse.
  • Chad from Glyndon, MN
  • Difficulty Level:
    Easy
  • Total Repair Time:
    1- 2 hours
  • Tools:
    Screw drivers, Wrench set
19 of 22 people found this instruction helpful.
Was this instruction helpful to you?
Thank you for voting!

Loud Squeaking

1. Unplug dryer from outlet
2. Using Lg. flat screwdriver, pry under the front edge of the top and release two spring tabs
3. Lift up top and tilt back out of your way
4. Unscrew two phillips scews on inside of front panel
5. Lift up and out the front panel. Two spring clips at bottom.
6. Rlease tension on drum belt at the motor. Access panel at rear of dryer.
7.Unscrew 3 screws from inside, center rear of drum.
8. Remove drum through the front of the dryer. You may have to spread the sides apart a little bit for it to fit
9. Lift up on the rear drum bearing to remove it from the bearing retainer. ( U shaped plastic socket)
10. unsrew 2 screws and remove the bearing retainer, ground ball. Ball retainer is on outside of dryer.
11. Vacuum everything--duct, blower, lint trap, ect.
12. Intall new bearing retainer and grounding ball, an assistant is helpful at this time, one to hold ball retainer on rear of dryer, one to screw it in from the inside
13. reassemble remainder of parts in reverse order.
  • Frank from Boyertown, PA
  • Difficulty Level:
    Easy
  • Total Repair Time:
    15 - 30 mins
  • Tools:
    Nutdriver, Screw drivers
334 of 350 people found this instruction helpful.
Was this instruction helpful to you?
Thank you for voting!
Fixes Symptom 13% of time
★★★★★
★★★★★
20 Reviews

Rated by 53 customers 


Easy 

1- 2 hours 

Ratings submitted by customers like you who bought this part.   

If your dryer does not tumble, will not start, is noisy, or is leaving marks on your clothing, you may need to replace the drum support bearing. The drum is supported at the rear by a bearing, which attaches onto the inside of the rear panel of the cabinet. You will need to remove the dryer drum before completing this repair. Although replacing the drum support bearing is a fairly easy job, you will need tools to complete it. For this repair, you will need a putty knife, a Phillips screw driver, a 5/16 nut driver and maybe a small flat blade screw driver.

$ 6.33
  In Stock
PartSelect Number PS418807
Manufacturer Part Number 131825900

Replacing your Frigidaire Dryer Drum Support Bearing

Replacing your Drum Support Bearing

Customer Repair Stories

The dryer tub started screeching and then dropped.

Removed the top of the dryer above the dryer door by pulling the pop out plastic holds. I then removed the dryer plug in at the top inside dryer that controls the start when dryer door is closed. I thenremoved the screws that are located at the back of the dryer tub where the bearing is located. I then replaced the support bearing. I just replaced every thing I took off in reverse.
  • Gloria from Murfreesboro, TN
  • Difficulty Level:
    Easy
  • Total Repair Time:
    15 - 30 mins
  • Tools:
    Nutdriver, Screw drivers
0 of 1 people found this instruction helpful.
Was this instruction helpful to you?
Thank you for voting!

loud squeeling noise

After changing the drum support bearing, and the front felt ring, the noise continued. It turned out to be the tensioner pully. The harmonic vibration travels throughout the dryer box like an instrument so you can't tell where the sound is comming from. Before you do anything, spray a little wd40 between the bushing and the shaft on the belt tenioner pully. If the squeel goes away, you have found your smoking gun.
  • Lewis from Thornton, CO
  • Difficulty Level:
    Really Easy
  • Total Repair Time:
    Less than 15 mins
  • Tools:
    Nutdriver, Pliers, Screw drivers
1 of 2 people found this instruction helpful.
Was this instruction helpful to you?
Thank you for voting!
Fixes Symptom 12% of time
★★★★★
★★★★★
54 Reviews

Rated by 93 customers 


Easy 

1- 2 hours 

Ratings submitted by customers like you who bought this part.   

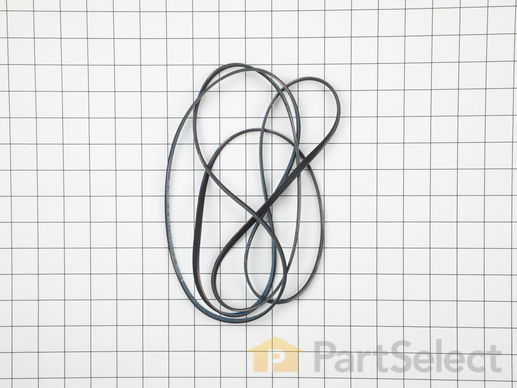
This drum belt, often referred to as a drive belt, is used in the assembly of dryers. It goes around the drum, the idler pulley, and the motor pulley. As the armature on the motor spins, this belt is what rotates the drum and tumbles your clothes during the dry cycle. If you can hear the motor running but the drum is not moving, that is a sign your belt is broken, stretched, or damaged, and can no longer grip the drum. This belt is 88 3/4 inches long, and is 1/4 inch wide. Because it is made of rubber it is common for this part to become brittle and need to be replaced. This is an authentic OEM replacement part, and it is sold individually. Remember to unplug your dryer before you begin this repair.

$ 17.66
  In Stock
PartSelect Number PS1148434
Manufacturer Part Number 134503600

Replacing your Frigidaire Dryer Drum Belt

Replacing your Drum Belt

Customer Repair Stories

The Belt had broken

The repair went very smoothly. I'm a woman in my mid 20's and was prepared to buy a new dryer but I saw the part online for a very reasonable price and the video instructions were extremely helpful. I was able to fix the dryer quickly and cost effectively AND the part arrived in only 2 days! It all worked out very well.
  • Sheena from Ames, IA
  • Difficulty Level:
    Really Easy
  • Total Repair Time:
    Less than 15 mins
5 of 5 people found this instruction helpful.
Was this instruction helpful to you?
Thank you for voting!

Drum would not turn

remove the rear lower left vent cover to get access the belt tensioner and pulley. then pop the top section up with a flathead screwdriver in the front, freeing it from the popclips. Then remove two screws from the back side of the front section releasing the drum. loop the belt around the drum.
  • jeana from houston, TX
  • Difficulty Level:
    Really Easy
  • Total Repair Time:
    15 - 30 mins
  • Tools:
    Screw drivers
24 of 28 people found this instruction helpful.
Was this instruction helpful to you?
Thank you for voting!
Fixes Symptom 5% of time
★★★★★
★★★★★
15 Reviews

Rated by 26 customers 


Easy 

1- 2 hours 

Ratings submitted by customers like you who bought this part.   

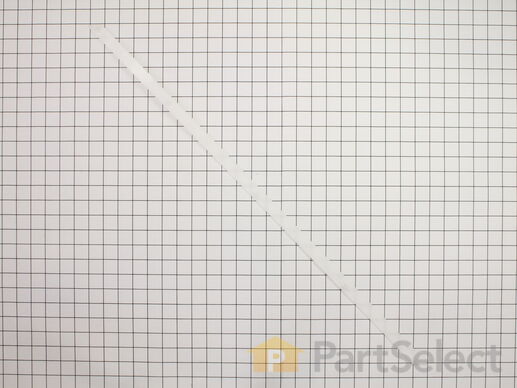
This white drum glide is used in a clothes dryer to ensure the front of the dryer drum is supported as it does rotations. *Please note: these are sold individually, however there are two of these in your appliance. We recommend that these be replaced at the same time, this allows for optimal performance and ensures they wear evenly. Each drum glide is approximately 33 inches in length. If the following symptoms occur, consider replacing the drum guide as a solution: dryer is noisy, will not tumble, or leaves marks on clothes. Remember to unplug the power source to the dryer before installing this part. Refer to the diagram provided by the manufacturer for further instructions and guidance.

$ 28.03
  In Stock
PartSelect Number PS5574052
Manufacturer Part Number 137513300

Replacing your Frigidaire Dryer Drum Glide - White

Replacing your Drum Glide - White

Customer Repair Stories

drum glides worn out making thumping noise.

watched video on replacing rear bearing.although rear bearing was not the part(s) i needed to replace, video instructed disassembly procedures to get to the drum glides. this was a very simple and easy to follow video. repair was a breezeand took roughly 25 minutes. the most time consuming segement of repair was vaccuuming out lint,that was 15 minutes. In future, as a preventative, i plan to remove front of machine to clean annually.
Thank you.
  • david from edinboro, PA
  • Difficulty Level:
    Really Easy
  • Total Repair Time:
    15 - 30 mins
  • Tools:
    Screw drivers
5 of 6 people found this instruction helpful.
Was this instruction helpful to you?
Thank you for voting!

Thumping Noise, Clothes Getting Stuck

Unplug, lift top, unplug 5 wires, remove 2 screws, pull dryer front away while supporting drum. Remove old glides, snap in new. Reverse disassembly procedure
  • LT Frank from Wacissa, FL
  • Difficulty Level:
    Easy
  • Total Repair Time:
    30 - 60 mins
  • Tools:
    Screw drivers
5 of 5 people found this instruction helpful.
Was this instruction helpful to you?
Thank you for voting!
Fixes Symptom 4% of time
★★★★★
★★★★★
8 Reviews

Rated by 15 customers 


Easy 

1- 2 hours 

Ratings submitted by customers like you who bought this part.   

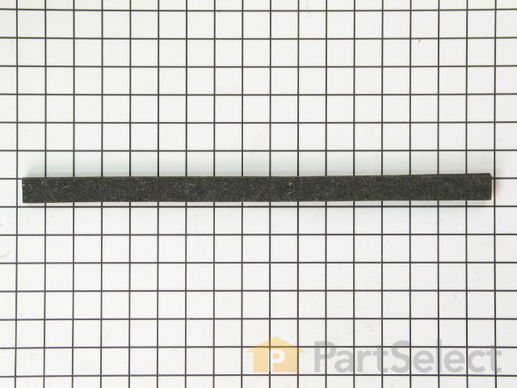
The lower front felt seal with adhesive, also known as a drum felt seal, is used in dyers and allows the drum to easily glide on the front panel. For this repair project, you will need the following tools: #2 Phillips screw driver, #2 square head screw driver, putty knife, and wire bush. If your dryer will not tumble, or makes a squeaking noise when running, replacing this part could solve the problem. Remember to unplug your appliance from the power source for safety before you begin this installation project. Refer to the manual provided by the manufacturer for further installation instructions.

$ 19.85
  In Stock
PartSelect Number PS832645
Manufacturer Part Number 5303937183

Replacing your Frigidaire Dryer Lower Front Felt Seal with Adhesive

Replacing your Lower Front Felt Seal with Adhesive

Customer Repair Stories

noise

i folow the instructions from web page
  • Daniel from San Marcos, CA
  • Difficulty Level:
    Easy
  • Total Repair Time:
    15 - 30 mins
  • Tools:
    Screw drivers
Was this instruction helpful to you?
Thank you for voting!

Felt around drum holder worn and torn.

1. Removed face of dryer (drum 'holder')
2. Disconnected door switch wires
3. Tore off existing felt

NOTE: The length of the felt that I recieved from PartSelect was incorrect (too short). Since the existing felt was worn and torn at the top, I replaced only a length that matched the length of the new felt.
... Read more >4. Used a razor blade-type gasket remover/scraper to remove the exisitng glue
5. Applied new glue (which comes with the felt) onto the felt and let it set up

NOTE: In hindsite, I would apply the glue to the drum holder instead, as the glue otherwise soaks into the felt. If applied to the drum holder instead, the glue will spread out and provide more surface area for adherence.

6. Installed the new felt, starting at one end and working my way around to the other end, being careful not to stretch it
7. Trimmed the remainder of the existing felt (see first NOTE)
8. Scraped the drum holder below the pulled away ends of the exisitng felt
9. Applied glue to the existing felt, including the trrimmed ends so that the ends do not pull away from the ends of the new felt
10. Re-attached the existing felt
11. Let the glue set-up overnight
12. Reinstalled the face of the dryer, turning the drum so that the felt will not get pushed away
13. Reconnected the door switch wires
14. Turned dryer on, with lid still raised, to check for any drifting of the felt
15. Once assured that the felt would stay in place, put the dryer in service

NOTE: I replaced the felt becasue of the gap that opened due to compression of the felt. The gap, as well as a torn piece of the felt that entered the interior of the drum, was catching clothes and tearing them as they were rotated between the drum and the drum holder. The new felt eliminated this problem.
  • Robert from York, PA
  • Difficulty Level:
    Really Easy
  • Total Repair Time:
    15 - 30 mins
  • Tools:
    Screw drivers
10 of 12 people found this instruction helpful.
Was this instruction helpful to you?
Thank you for voting!
Fixes Symptom 3% of time
★★★★★
★★★★★
2 Reviews

Rated by 18 customers 


Easy 

1- 2 hours 

Ratings submitted by customers like you who bought this part.   

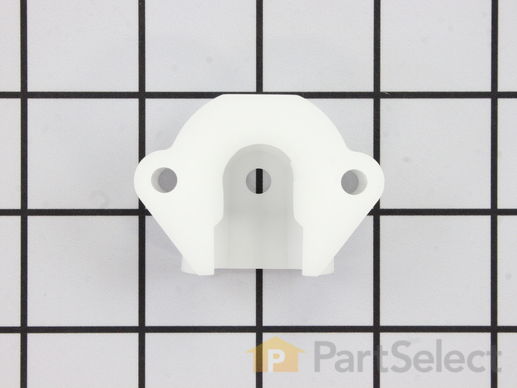
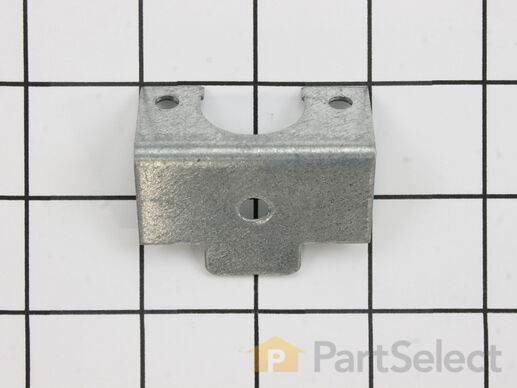
This drum bearing bracket is for dryers. Drum bearing bracket holds and supports the drum bearing

$ 10.64
  In Stock
PartSelect Number PS12579101
Manufacturer Part Number 131724301
Fixes Symptom 2% of time
★★★★★
★★★★★
14 Reviews

Rated by 8 customers 


Easy 

1- 2 hours 

Ratings submitted by customers like you who bought this part.   

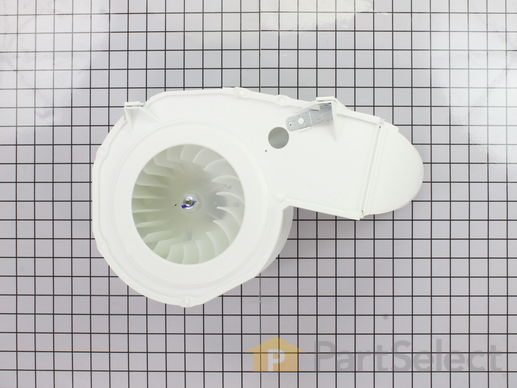
***Please Note: This part is a substituted part by the manufacturer. It may appear different, but should still work with your appliance.

$ 116.35
  In Stock
PartSelect Number PS418726
Manufacturer Part Number 131775600

Replacing your Frigidaire Dryer Blower Housing with Blower Wheel

Replacing your Blower Housing with Blower Wheel

Customer Repair Stories

dryer after 1-3 minutes would start to buzz and vibrate - not loud nor shaking/vibrating alot but it was there

The repair actually was quite easy but diagnosing the problem was another story. I found out that the dryer would not buzz and vibrate , if I just ran the fluff cycle but no heat. As soon as heat applied, the slight buzzing and slight vibrating would occur after a few minutes. I knew it wasn't the drum bearing, the drum rollers, the rubbing collar on front of drum, idle arm, belt, etc - I had replaced all of them less than a year ago. Anything I found on the internet dealing with the motor was always geared around not running or slow starting or shutting down, loud buzzing, needing a push start to start, etc but that was not the case. So I figured it was the blower housing and ordered that part. However, once I had the machine apart the blower housing seemed to be just fine - nothing obvious, everything tight. The one issue I had was removing the plastic nut with the metal insert on the blower unit that attaches it to the motor shaft which just wouldn't bulge. So I said to myself, the h*ll with it, lets get a new motor, too and remove both parts together which btw, was very easy. So that is exactly what I did. Now with new motor in hand and new blower housing in hand, I easily removed the old motor still attached to the old blower housing together and replaced both which was very easy. Hooked everything back up and no more soft buzzing or slight vibration. Now back to the problem or my guess at this point. I noticed that the rubber mounting bushing in the back of the motor which is used to attached it to the dryer bracket was funking looking - kinda soft and a bit perished. So I am surmising that once heat was introduced, it was enough to soften that bushing enough to cause the slight buzzing and slight vibration but without the heat to soften the bushing a bit, it was quiet and steady. Just a guess but for anyone that has this issue with just heat but no issue with fluff (no heat) check out the condition of that rubber mounting bushing on the rear of the motor. No where on the internet was there any info concerning the symptoms I had and I was flying by the seat of my pants. So am taking the time to get this on record in case someone else has these symptoms and finds it.
  • Bruce from SAG HARBOR, NY
  • Difficulty Level:
    A Bit Difficult
  • Total Repair Time:
    1- 2 hours
  • Tools:
    Nutdriver, Pliers, Screw drivers, Socket set, Wrench set
9 of 10 people found this instruction helpful.
Was this instruction helpful to you?
Thank you for voting!

Blower wheel was raddling

The blower wheel was a bit difficult, but manigable to do yourself.
  • jena from loganville, GA
  • Difficulty Level:
    A Bit Difficult
  • Total Repair Time:
    15 - 30 mins
  • Tools:
    Pliers, Screw drivers, Wrench (Adjustable)
22 of 48 people found this instruction helpful.
Was this instruction helpful to you?
Thank you for voting!
Fixes Symptom 2% of time
★★★★★
★★★★★
2 Reviews

Rated by 10 customers 


Easy 

30 - 60 mins 

Ratings submitted by customers like you who bought this part.   

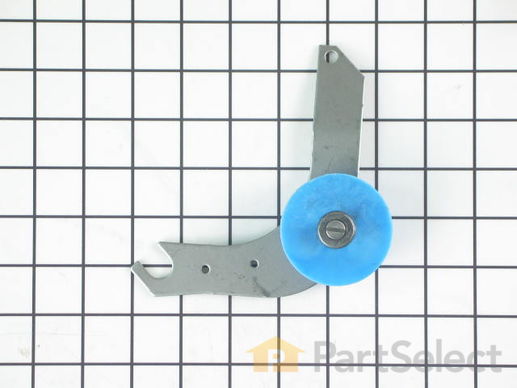
Part may differ in color from image. Please note that this is only a cosmetic difference.

$ 53.19
  In Stock
PartSelect Number PS1156706
Manufacturer Part Number 131863007

Replacing your Frigidaire Dryer Idler Arm Assembly

Replacing your Idler Arm Assembly

Customer Repair Stories

Loud screeching noise, barrel turned OK and Heater worked

I took the lower back panel off. Loosened the center bolt and took off the old Idler pulley. It looked brown in the middle and didn't roll well. But I wasn't sure if that was it, because the noise was so loud and sounded metal on metal. So I checked everything and vacuumed everything. After I got the new part it took me about 5 minutes to put the new one on. And dryer works fine. Thanks for the quick response and I saved about $200.00!
  • Ellen from Willits, CA
  • Difficulty Level:
    Easy
  • Total Repair Time:
    Less than 15 mins
  • Tools:
    Socket set
Was this instruction helpful to you?
Thank you for voting!

Squealing sound Idler arm and pulley

This is actually a white consolidated IND. brand, but that wasn't on your list. Be sure to check your tensioner pully if you hear squealing coming from the dryer. I changed the felt ring and the support bearing before realizing that my pully bushing was the cause of the noise. If you have squealing then spray a little wd40 on the bushing and shaft, if the noise stops, then you found the smoking gun. Replace the pulley. Unhook the spring and it comes right off. No tools needed.
  • Lewis from Thornton, CO
  • Difficulty Level:
    Easy
  • Total Repair Time:
    15 - 30 mins
  • Tools:
    Pliers, Screw drivers
17 of 20 people found this instruction helpful.
Was this instruction helpful to you?
Thank you for voting!
Fixes Symptom 1% of time
★★★★★
★★★★★
2 Reviews

Rated by 3 customers 


Easy 

1- 2 hours 

Ratings submitted by customers like you who bought this part.   

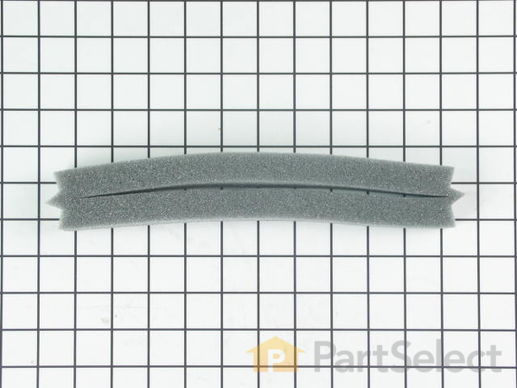
This part is the replacement upper front felt seal for your dryer. It is made of felt and is approximately 17 inches long and 1 inch wide. The felt seal allows the drum to glide smoothly on the front panel. If your dryer is noisy, will not tumble, or leaves marks on your clothes after the drying cycle, you may need to replace the upper front felt seal. This part is sold individually, so if you do not have any high-temperature adhesive, you will need to order that as well. Be sure to clean all the residue from your previous felt seal before you install the new one. This ensures a secure fit. This is an OEM part sourced directly from the manufacturer.

$ 37.04
  In Stock
PartSelect Number PS975866
Manufacturer Part Number 134440200

Replacing your Frigidaire Dryer Upper Front Felt Seal

Replacing your Upper Front Felt Seal
Fixes Symptom 1% of time

Rated by 4 customers 


Really Easy 

1- 2 hours 

Ratings submitted by customers like you who bought this part.   

$ 33.00
  In Stock
PartSelect Number PS465181
Manufacturer Part Number 5303307893
Fixes Symptom 1% of time
★★★★★
★★★★★
9 Reviews

Rated by 10 customers 


Easy 

1- 2 hours 

Ratings submitted by customers like you who bought this part.   

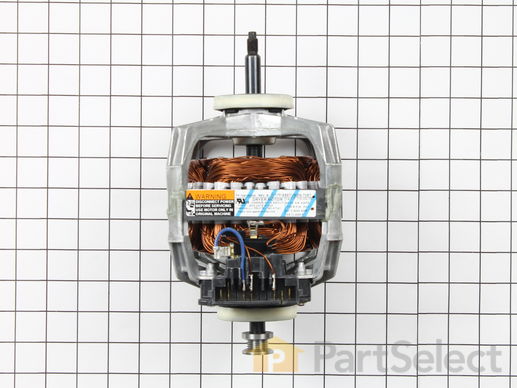
This motor has a double shaft.

$ 228.17
  In Stock
PartSelect Number PS418132
Manufacturer Part Number 131560100

Replacing your Frigidaire Dryer Drive Motor with Pulley

Replacing your Drive Motor with Pulley

Customer Repair Stories

noisy

my motor was making noise i tried to replace the motor but could not get the blower wheel off the motor so i had to buy a blower and housing assy. also... now it works great...
  • mark from clearfield, PA
  • Difficulty Level:
    A Bit Difficult
  • Total Repair Time:
    30 - 60 mins
  • Tools:
    Nutdriver, Socket set
8 of 12 people found this instruction helpful.
Was this instruction helpful to you?
Thank you for voting!

Motor shaft broke

had to remove the belt and drum and then remove the motor and replace it...put the belt on and then the hard part was to get the drum in place without the belt coming off. New Motor works quieter than the old one did, so I assume the dryer came with a defective motor to begin with and then the shaft finally broke. It runs very quiet now, but never did before. Even a service man came when it was new but said that was normal. Now we know it was not....there was a problem from the start.
  • Beverly from Blairsville, GA
  • Difficulty Level:
    A Bit Difficult
  • Total Repair Time:
    30 - 60 mins
  • Tools:
    Socket set
14 of 18 people found this instruction helpful.
Was this instruction helpful to you?
Thank you for voting!
Fixes Symptom 1% of time
★★★★★
★★★★★
24 Reviews

Rated by 30 customers 


Easy 

1- 2 hours 

Ratings submitted by customers like you who bought this part.   

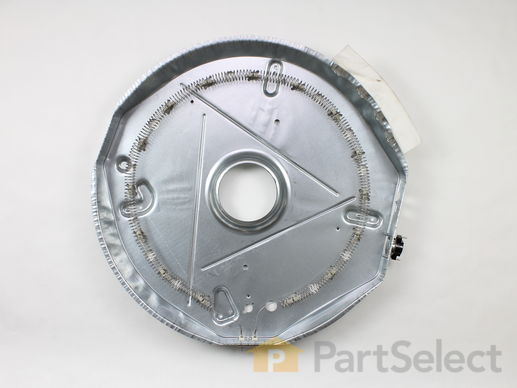
This dryer heating element produces heat to dry clothes and is located in the rear of a dryer. If the heater element is burned, the dryer does not heat or over heats, or clothes are taking too long to dry, replacing this part could solve your problem. The tools needed for this repair project are a Phillips screwdriver, putty knife, and needle nose pliers. To repair, first remove the main top of the dryer and ground strap at the rear. Disconnect the two wire harnesses and remove the screws that hold the front panel to the cabinet, in order to pull out the front panel. Now that you have access to the inside of the dryer, refer to the manual for further installation instructions and detailed guidance. Remember to unplug your appliance from the power source before beginning this repair project.

$ 170.04
  In Stock
PartSelect Number PS418120
Manufacturer Part Number 131553900

Replacing your Frigidaire Dryer Heating Element Assembly

Replacing your Heating Element Assembly

Customer Repair Stories

burned out heating element

I unlatched top panel then removed two screws holding front panel on. I then lifted drum out of hanger to make room to remove element. Disconnect wires to limit switch and element. I then removed four screws on back of dryer that hold the pan. I removed old assembly and replaced with new one. Assemble in reverse.
  • michael from stanton, MI
  • Difficulty Level:
    Easy
  • Total Repair Time:
    15 - 30 mins
  • Tools:
    Pliers, Screw drivers
74 of 86 people found this instruction helpful.
Was this instruction helpful to you?
Thank you for voting!

short circuit with a brasier metal support

Disconect the dryer from the main power source.

1) Remove the two screws from the rear / upper panel (below the control panel).

2) Snap the front side using a flat head screw driver.

3) On the inside front, remove two screws (one on each side) from the upper side and snap the door assembly off.

4) Remove the rear motor access panel (two screws) and appying tension to the spring remove the belt.

5) Pull the drum upwards (verticaly) unnapping it from the rear wall and remove it horizontally through the front panel.

6) Disconect the four leads to the heating element and remove the four screws from the rear of the dryer and replace the heating element.

Follow the same steps backwards to put the dryer together again.
  • Juan Carlos from Weston, FL
  • Difficulty Level:
    Easy
  • Total Repair Time:
    30 - 60 mins
  • Tools:
    Screw drivers
233 of 271 people found this instruction helpful.
Was this instruction helpful to you?
Thank you for voting!
Fixes Symptom less than 1% of time

Rated by 7 customers 


Easy 

More than 2 hours 

Ratings submitted by customers like you who bought this part.   

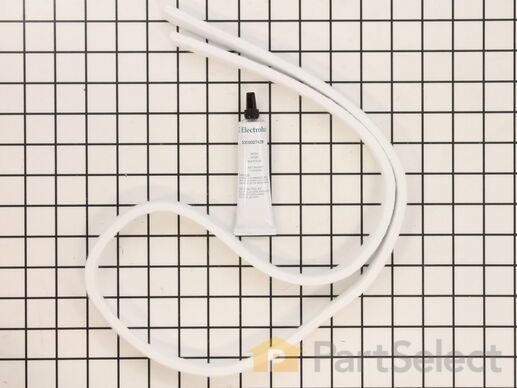
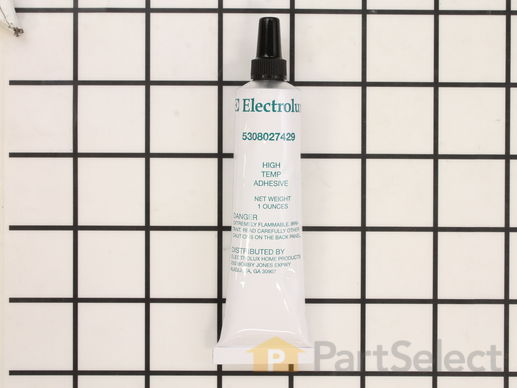
This high temperature adhesive is used for installing felt and rubber seals on dryers. The tube contains 1 ounce of product. This adhesive is made to withstand extremely hot temperatures. Before applying the adhesive, ensure that the area is completely clean from any debris and is dry. You may wish to use small clamps to hold the material in place while it dries. If the felt has come loose or broken apart, this may cause your dryer to make loud noise, indicating that new felt or rubber needs to be glued into place. Use gloves to apply glue.

$ 47.69
  In Stock
PartSelect Number PS474458
Manufacturer Part Number 5308027429

Customer Repair Stories

Noisy squeaky dryer

Main problem was the bearing, replaced the belt and felt seal as well
The video instruction was very helpful
Was easy with basic mechanical aptitude
Dryer running great now
All parts from Partselect.com
Have ordered from them before and would order from them again
  • Dave from SAN FRANCISCO, CA
  • Difficulty Level:
    Easy
  • Total Repair Time:
    1- 2 hours
  • Tools:
    Screw drivers
2 of 2 people found this instruction helpful.
Was this instruction helpful to you?
Thank you for voting!
14 Seal
Fixes Symptom less than 1% of time
★★★★★
★★★★★
1 Review

Rated by 9 customers 


Easy 

1- 2 hours 

Ratings submitted by customers like you who bought this part.   

Adhesive is sold separately.

$ 9.26
  In Stock
PartSelect Number PS975849
Manufacturer Part Number 134417000
Fixes Symptom less than 1% of time

Rated by 1 customer 


Really Easy 

15 - 30 mins 

Ratings submitted by customers like you who bought this part.   

Sold individually.

$ 10.68
  In Stock
PartSelect Number PS417148
Manufacturer Part Number 131205400
Fixes Symptom less than 1% of time
★★★★★
★★★★★
1 Review

Rated by 3 customers 


Easy 

1- 2 hours 

Ratings submitted by customers like you who bought this part.   

$ 43.77
  In Stock
PartSelect Number PS418263
Manufacturer Part Number 131601000
Fixes Symptom less than 1% of time
★★★★★
★★★★★
1 Review

Rated by 1 customer 


Easy 

30 - 60 mins 

Ratings submitted by customers like you who bought this part.   

Sold individually.

  No Longer Available
PartSelect Number PS459782
Manufacturer Part Number 5303281074