Models > GDF530PSM0SS > Symptoms > Not cleaning dishes properly

Parts That Fix General Electric Dishwasher GDF530PSM0SS Not cleaning dishes properly

Not cleaning dishes properly is a commonly reported symptom for the GDF530PSM0SS General Electric Dishwasher, and we have put together a full guide on how to fix this. This advice is based on feedback from people who own this exact appliance. We have listed the most common parts for your GDF530PSM0SS General Electric Dishwasher that will fix Not cleaning dishes properly. We have included repair instructions, and helpful step-by-step video tutorials. If you are experiencing this issue, not to worry, DIYers just like you have fixed this, and shared their experience to help you!

Fixes Symptom 26% of time
★★★★★
★★★★★
2 Reviews

Rated by 6 customers 


Really Easy 

Less than 15 mins 

Ratings submitted by customers like you who bought this part.   

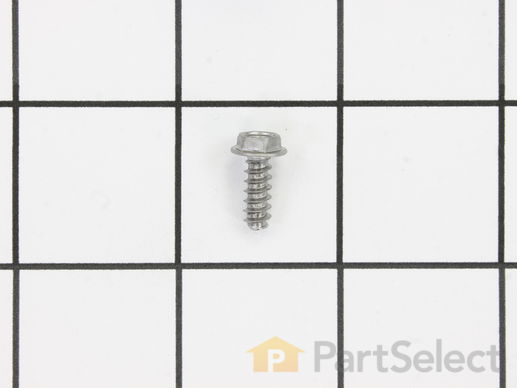
Sold Individually.

$ 8.54
  In Stock
PartSelect Number PS258461
Manufacturer Part Number WD02X10067
Fixes Symptom 20% of time
★★★★★
★★★★★
17 Reviews

Rated by 3 customers 


Very Easy 

Less than 15 mins 

Ratings submitted by customers like you who bought this part.   

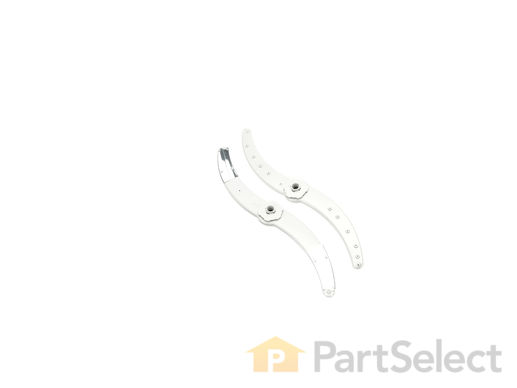
This kit includes the lower and middle spray arms. Water is forced through this spray arm by the unit's pump and motor assembly. The force of the water propels the spray arms, spraying water and detergent onto the dishes on the dishrack.

  No Longer Available
PartSelect Number PS6011684
Manufacturer Part Number WD35X10393

Replacing your General Electric Dishwasher Wash Arm Kit

Replacing your Wash Arm Kit

Customer Repair Stories

Noisy dishwasher when running. Sounds like something is interfering with spray arm.

Followed instructions sent with wash arm kit replacement. Very easy.
  • Ronald from CAPE CORAL, FL
  • Difficulty Level:
    Very Easy
  • Total Repair Time:
    Less than 15 mins
2 of 2 people found this instruction helpful.
Was this instruction helpful to you?
Thank you for voting!

Lower wash arm broken

Twist counter clockwise to remove clockwise to install
  • Bruce from MOBILE, AL
  • Difficulty Level:
    Very Easy
  • Total Repair Time:
    Less than 15 mins
5 of 6 people found this instruction helpful.
Was this instruction helpful to you?
Thank you for voting!
Fixes Symptom 15% of time
★★★★★
★★★★★
14 Reviews

Rated by 6 customers 


Easy 

30 - 60 mins 

Ratings submitted by customers like you who bought this part.   

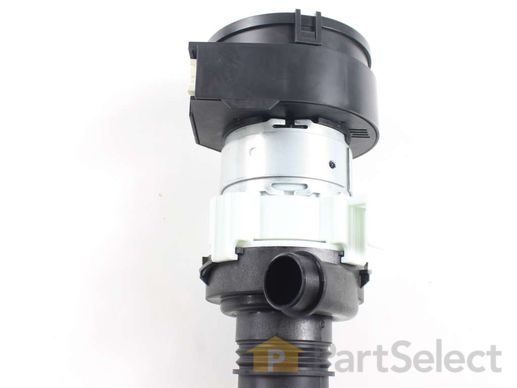
This part contains the Piranha clamps in kit WD35X10382

$ 125.15
  In Stock
PartSelect Number PS11772000
Manufacturer Part Number WD26X23258

Customer Repair Stories

Dishwasher ran but didn't wash

I got lucky and found the diagnostic test instructions tucked inside the washer under the kick plate. From there I ran the tests on each component until I narrowed it down to the pump. The pump cost me less than local dealers. The install went well. Watched the online videos to make sure I was doing it right. Was actually very easy and saved hundreds over a service call.
  • Timothy from CASTLE ROCK, CO
  • Difficulty Level:
    Easy
  • Total Repair Time:
    30 - 60 mins
  • Tools:
    Pliers, Screw drivers, Socket set
6 of 6 people found this instruction helpful.
Was this instruction helpful to you?
Thank you for voting!

Sprayer arms didn't operate and dishes were not cleaned

We bought this GE dishwasher new. After 9 months, we started noticing the dishes were not cleaning well. Eventually, the machine just filled up with water and drained. The washing arms didn't work. I replaced fill valve, but that didn't solve it. A GE Tech ran a diagnostic and informed us the pump motor was bad. It was off warranty and repairs would be $300. However, he noted it was easy to do on my own. Two pipe clamps. The part from PartsSelect was 40% less than ordering from GE and was a GE part. Replacement took half an hour and that includes getting it wrong once (one connection leaked due to a bad job attaching the pipe clamp). Works like a champ now.
  • Eric from THORNTON, PA
  • Difficulty Level:
    Really Easy
  • Total Repair Time:
    15 - 30 mins
  • Tools:
    Pliers, Screw drivers, Socket set
8 of 9 people found this instruction helpful.
Was this instruction helpful to you?
Thank you for voting!
Fixes Symptom 12% of time
★★★★★
★★★★★
11 Reviews

Rated by 3 customers 


Very Easy 

Less than 15 mins 

Ratings submitted by customers like you who bought this part.   

$ 24.68
  In Stock
PartSelect Number PS6883615
Manufacturer Part Number WD22X10094

Customer Repair Stories

Connector to sprayer broke

Connected sprayer aligned on bottom of top rack snapped in place. Very easy to install!
  • Melissa from BELLPORT, NY
  • Difficulty Level:
    Very Easy
  • Total Repair Time:
    Less than 15 mins
3 of 8 people found this instruction helpful.
Was this instruction helpful to you?
Thank you for voting!

The upper arm in the dishwasher broke.

Followed your instructions and was finished in 5 minutes.
  • Cris from BAYFIELD, CO
  • Difficulty Level:
    Really Easy
  • Total Repair Time:
    15 - 30 mins
1 person found this instruction helpful.
Was this instruction helpful to you?
Thank you for voting!
Fixes Symptom 12% of time
★★★★★
★★★★★
7 Reviews

Rated by 1 customer 


Very Easy 

Less than 15 mins 

Ratings submitted by customers like you who bought this part.   

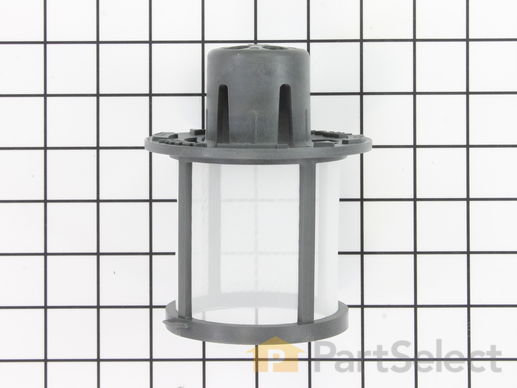
This ultra-fine filter kit is compatible with various models of dishwasher and is a genuine part straight from the manufacturer. It is responsible for catching small food particles, debris, and other items that are washed off dishes during the cleaning process. The filter stops these particles from clogging the drain hose and other internal components thereby preventing damage to the dishwasher, maintaining a clear flow of water, and reducing unpleasant odors. The filter also prevents the debris from recirculating onto the clean dishes. You can find the dishwasher filter at the bottom of the dishwasher tub. It is recommended to clean the filter thoroughly every 3 to 6 months.

$ 20.63
  In Stock
PartSelect Number PS12342852
Manufacturer Part Number WD49X24057

Customer Repair Stories

Old filter had calcium deposits that would not come off with soaking and scrubbing. That restricted water flow.

Simply twist on the new part/filter.
  • Mike from WADSWORTH, OH
  • Difficulty Level:
    Very Easy
  • Total Repair Time:
    Less than 15 mins
4 of 4 people found this instruction helpful.
Was this instruction helpful to you?
Thank you for voting!
Fixes Symptom 6% of time
★★★★★
★★★★★
31 Reviews

Rated by 7 customers 


Easy 

30 - 60 mins 

Ratings submitted by customers like you who bought this part.   

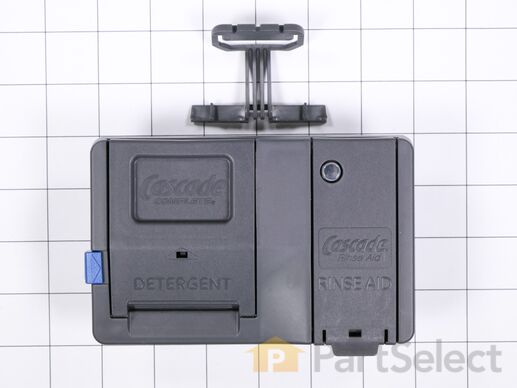
The detergent dispenser in your dishwasher stores the detergent until it is ready to be dispensed. If your dishes are not coming clean, or you notice the detergent is still in the dispenser at the end of the cycle, you may have a damaged or malfunctioning detergent dispenser. This detergent dispenser is not sold with a sensor. It is gray in color and is sold individually. This is an OEM part sourced directly from the manufacturer.

$ 38.14
  In Stock
PartSelect Number PS17137025
Manufacturer Part Number WD12X32798

Customer Repair Stories

Soap dispenser would not function, wouldn't open.

Took cover of door off. Removeddoor from frame 1st. Lift door off of hinge. Disconnect door from springs. Unscrew bottom screws at base of door. Lift front cover(actually slides down) remove old part replace with new.make sure unplug door from main body.
  • William from TIONESTA, PA
  • Difficulty Level:
    Easy
  • Total Repair Time:
    30 - 60 mins
  • Tools:
    Pliers, Socket set
4 of 4 people found this instruction helpful.
Was this instruction helpful to you?
Thank you for voting!

The detergent tray wouldn't open during wash cycle

1. Pull out dishwasher (not all the way) 2. Open the door. 3. Remove the white rope holding the door hinge (both sides) 4. Remove the door by pulling up when the door is open about 4-8 inches. 5. Lay the door on the floor ( put something under the door so not to scratch the front. 6. Remove the small bolt at the bottom of the door (both sides). 7. Slide the hinge back, up, then out. 8. Where the hinges were are another set of bolts, remove those (both sides) 9. Grab the top part of the door (the part with the buttons) and slide apart. 10. Remove the styrofoam carefully. 11. Disconnect the wiring harness. 12. Remove the 6 screws holding the Despenser tray in place. 13. Put in new Despenser tray and put everything back together.
  • Dennis from LAS VEGAS, NV
  • Difficulty Level:
    Easy
  • Total Repair Time:
    15 - 30 mins
  • Tools:
    Nutdriver, Screw drivers
26 of 47 people found this instruction helpful.
Was this instruction helpful to you?
Thank you for voting!
Fixes Symptom 4% of time
★★★★★
★★★★★
31 Reviews

Rated by 7 customers 


Really Easy 

30 - 60 mins 

Ratings submitted by customers like you who bought this part.   

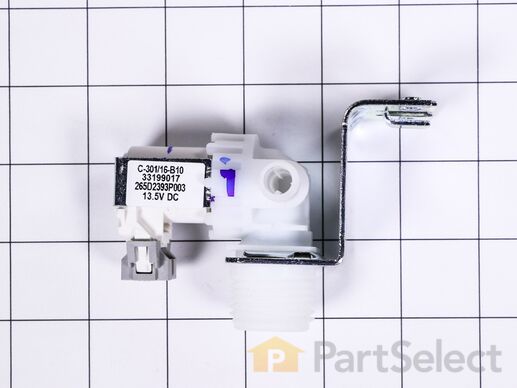
This is a washer inlet valve assembly for your dishwasher. This valve allows water to flow into your dishwasher at the proper rate. If your dishwasher tub is not filling with water or filling when the appliance is not in use, you may need to replace the inlet valve. It measures approximately 3 inches by 4 inches and is made of metal and white plastic.

$ 32.42
  In Stock
PartSelect Number PS12743161
Manufacturer Part Number WD15X26140

Customer Repair Stories

Dishwasher would not start Would run if you added 2 qt. water manually

Unplugged power.
Shut off water supply.
Remove the kick panel.
Unscrewed dishwasher from under cabinet and side screws. lower feet to reduce tension.
As you slide the dishwasher out, be sure all lines (Drain, water supply, electric are free to move with dishwasher.
I was able to hold the dishwasher at an angle to easily get to the valve. After removing the the valve, i screwed the new valve back into place. I removed the Line between the valve and Dishwasher. Putting the line on the new valve. I removed the water supply line from the old valve and installed it on the new valve.
Placed the dishwater back in place and screed it back in. I ran the cycles. everything works!
I replace the kickpaner a couple of hours later. Check to make sure there were now leaks.
  • Mark from FAIRFAX, VA
  • Difficulty Level:
    Easy
  • Total Repair Time:
    15 - 30 mins
  • Tools:
    Nutdriver, Pliers, Screw drivers
4 of 4 people found this instruction helpful.
Was this instruction helpful to you?
Thank you for voting!

No water

just bolted on the new one and hooked up the hose
  • Jeffrey from BENNINGTON, VT
  • Difficulty Level:
    Very Easy
  • Total Repair Time:
    Less than 15 mins
  • Tools:
    Screw drivers
7 of 8 people found this instruction helpful.
Was this instruction helpful to you?
Thank you for voting!
Fixes Symptom 3% of time
★★★★★
★★★★★
96 Reviews

Rated by 21 customers 


Really Easy 

15 - 30 mins 

Ratings submitted by customers like you who bought this part.   

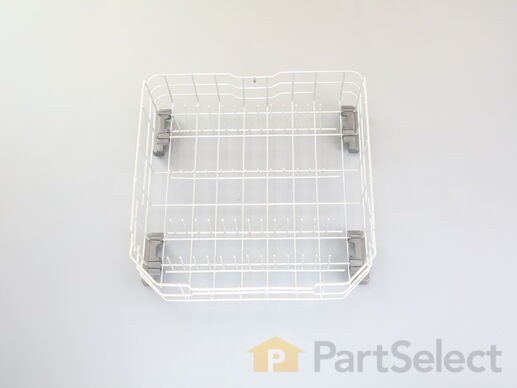
Note: This "Service Rack" fits numerous models. Per factory, on some models, it may be necessary to move the silverware basket to the inside of the rack along the right side.

$ 89.96
  In Stock
PartSelect Number PS12743260
Manufacturer Part Number WD28X26099

Customer Repair Stories

Need new bottom rack

Opened door slid in new rack, came with wheels
  • Laura from SAN ANTONIO, TX
  • Difficulty Level:
    Very Easy
  • Total Repair Time:
    Less than 15 mins
11 of 12 people found this instruction helpful.
Was this instruction helpful to you?
Thank you for voting!

Protective Cover had melted resulting in rust

Slid out old part, slid in new part.
  • Nick from ELK GROVE, CA
  • Difficulty Level:
    Really Easy
  • Total Repair Time:
    Less than 15 mins
16 of 19 people found this instruction helpful.
Was this instruction helpful to you?
Thank you for voting!
Fixes Symptom 3% of time
★★★★★
★★★★★
40 Reviews

Rated by 14 customers 


Really Easy 

15 - 30 mins 

Ratings submitted by customers like you who bought this part.   

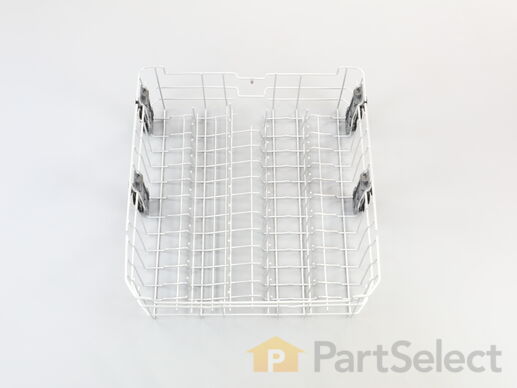
This dishrack is for dishwashers. The dishrack holds the dishes in place during the dishwashing cycle. Follow the instructions in the manual when installing this part.

$ 82.29
  In Stock
PartSelect Number PS16618975
Manufacturer Part Number WD28X30219

Replacing your General Electric Dishwasher Upper Rack Assembly

Replacing your Upper Rack Assembly

Customer Repair Stories

Upper rack rusted out

Took out the old and swapped out the parts from the old one and put them on the new rack. Looks great and works great.
  • James from OMAHA, NE
  • Difficulty Level:
    Really Easy
  • Total Repair Time:
    30 - 60 mins
  • Tools:
    Screw drivers
2 of 2 people found this instruction helpful.
Was this instruction helpful to you?
Thank you for voting!

Old rack had rusted and broken tines

1. Take a picture of the old rack in the dishwasher! Just in case!
2. Remove rail channel end caps and place them on the tabletop on the correct side to make sure you put them back on the correct side.
3. Remove old rack.
4. Carefully snap off the water sprinkling unit. (carefully push down tabs so they don't break).
5. Using your picture as a reference (!) snap the water sprinkling unit on the new rack (it's easy).
6. Put the new rack back onto the rail channel and replace the end caps.

Done! Very easy installation ! Rack was not nearly as expensive as I anticipated and was delivered quickly. Note: You get the rack only. All ot the other parts are from the old unit.
  • Andrew from WINONA, MN
  • Difficulty Level:
    Really Easy
  • Total Repair Time:
    15 - 30 mins
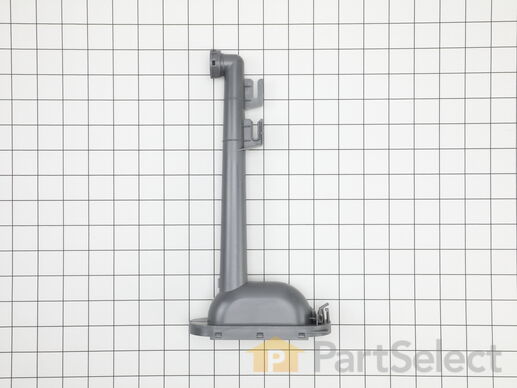
2 of 2 people found this instruction helpful.
Was this instruction helpful to you?
Thank you for voting!