Parts That Fix Whirlpool Wall Oven GBD307PRS01 Will not start
Will not start is a commonly reported symptom for the GBD307PRS01 Whirlpool Wall Oven, and we have put together a full guide on how to fix this. This advice is based on feedback from people who own this exact appliance. We have listed the most common parts for your GBD307PRS01 Whirlpool Wall Oven that will fix Will not start. We have included repair instructions, and helpful step-by-step video tutorials. If you are experiencing this issue, not to worry, DIYers just like you have fixed this, and shared their experience to help you!
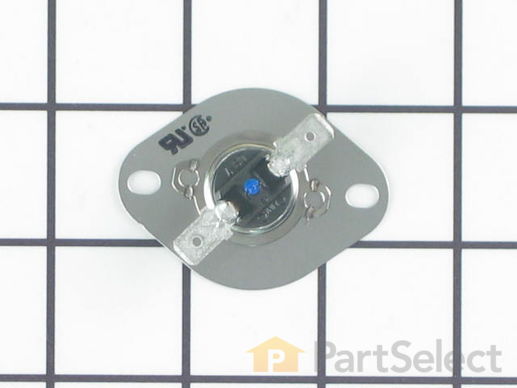
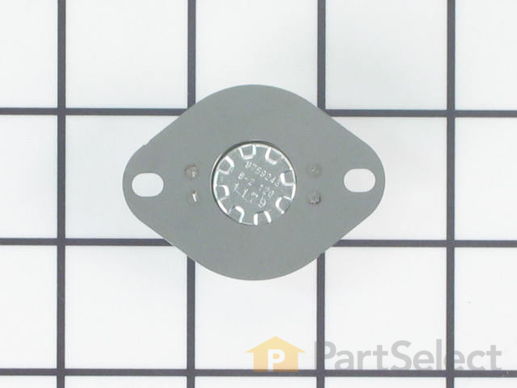
This thermostat is also known as a thermal cut-off fuse and is used in conjunction with your range. This part establishes and maintains the internal temperature of the oven cavity. When the temperature of your range gets too hot it will trip the high-limit thermostat safety, this will cut the power to the oven so that it does not continue to overheat. For this installation, you will need a Phillips screwdriver and a pair of needle-nose pliers. If your oven does not heat after a self-cleaning cycle you may need to replace the high-limit thermostat.
Replacing your KitchenAid Wall Oven Range High-Limit Thermostat

Customer Repair Stories
Power shut down and door lock-up after self-cleaning
shame on Kitchenaid for not owning up to the problem. I even e-mailed them all the links, they did not acknowledge them.
-
john from new market, MD
-
Difficulty Level:Really Easy
-
Total Repair Time:15 - 30 mins
-
Tools:Screw drivers
Self Cleaning blows the thermostat fuse
First I slid the stove out and removed the back of the stove held in place by 8 Phillips screws. The thermostat fuse is located near the top middle on the back of the stove. Remove the 2 screws hold ... Read more ing it in place. Disconnect the wires, plug in the new part. Put it all back together. Job done in less than 30 minutes.
This repair would have cost $164 through A&E factory service.
-
Joseph from Worthington, PA
-
Difficulty Level:Really Easy
-
Total Repair Time:15 - 30 mins
-
Tools:Screw drivers
An oven thermostat is a switch that opens and closes in response to the temperature it senses. It is typically found in the control panel, where a liquid-filled temperature-sensing bulb senses and maintains the internal oven temperature by cycling heat on and off. This safety thermostat trips when the controls are not working properly, or if the range gets too hot. If your oven will not start or is not heating properly, there could be an issue with the limit thermostat, and you should look to replace the part. NOTE: Remember to disconnect the power from your range before you start this repair. This is an electrical appliance that can potentially hold a 220 volt charge.
Replacing your Whirlpool Wall Oven Limit Thermostat

Customer Repair Stories
Oven wouldn't heat after cleaning cycle
-
Devin from Platte City, MO
-
Difficulty Level:Easy
-
Total Repair Time:15 - 30 mins
-
Tools:Nutdriver, Screw drivers
No heat after cleaning oven
-
Frederick from St. Louis, MO
-
Difficulty Level:Easy
-
Total Repair Time:15 - 30 mins
-
Tools:Nutdriver, Pliers
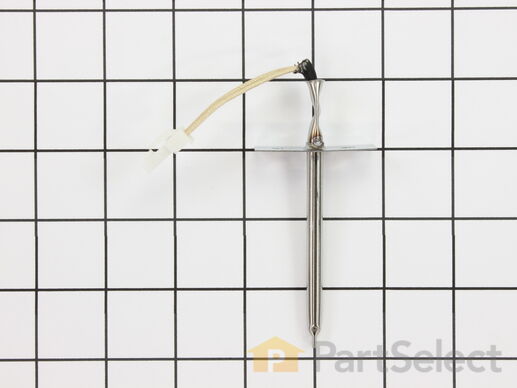
The temperature sensor measures the temperature inside the oven. If your oven is too hot, not heating evenly, is not heating enough when baking, or simply will not start, you could have a faulty temperature sensor. A faulty temperature sensor can be a fire risk. If your sensor is not working properly, you should look to replace it straight away. A failed oven sensor is most often responsible for F3 or F4 error messages on electronically-controlled ovens. Make sure you disconnect the power to your range before you start your repair.
Replacing your KitchenAid Wall Oven Temperature Sensor

Customer Repair Stories
Oven will not maintain set temp
-
Sam from TINLEY PARK, IL
-
Difficulty Level:Easy
-
Total Repair Time:30 - 60 mins
-
Tools:Screw drivers
bUILT IN OVEN NOT COMING UP TO TEMPERATURE
-
Kenneth from BUFFALO, NY
-
Difficulty Level:Very Easy
-
Total Repair Time:15 - 30 mins
-
Tools:Screw drivers
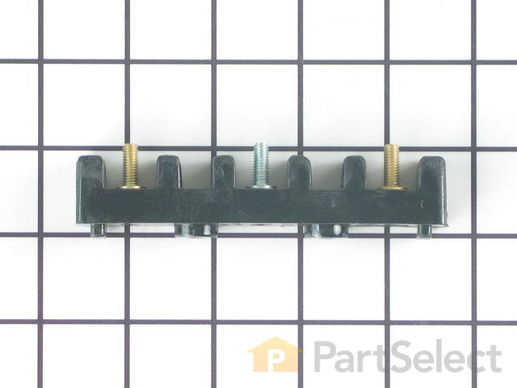
Sold individually.
Replacing your Whirlpool Range Main Power Terminal Block

Customer Repair Stories
wire came loose and shorted out
-
Elizabeth from HOUSTON, TX
-
Difficulty Level:Really Easy
-
Total Repair Time:30 - 60 mins
-
Tools:Pliers, Screw drivers
Loose terminal caused block to overheat and break
-
Dana from Black Mountain, NC
-
Difficulty Level:Really Easy
-
Total Repair Time:Less than 15 mins
-
Tools:Nutdriver, Screw drivers


