Models > FEZ831AS1 > Symptoms > Leaking

Parts That Fix Frigidaire Washer Dryer Combo FEZ831AS1 Leaking

Leaking is a commonly reported symptom for the FEZ831AS1 Frigidaire Washer Dryer Combo, and we have put together a full guide on how to fix this. This advice is based on feedback from people who own this exact appliance. We have listed the most common parts for your FEZ831AS1 Frigidaire Washer Dryer Combo that will fix Leaking. We have included repair instructions, and helpful step-by-step video tutorials. If you are experiencing this issue, not to worry, DIYers just like you have fixed this, and shared their experience to help you!

Fixes Symptom 37% of time
★★★★★
★★★★★
5 Reviews

Rated by 7 customers 


Easy 

1- 2 hours 

Ratings submitted by customers like you who bought this part.   

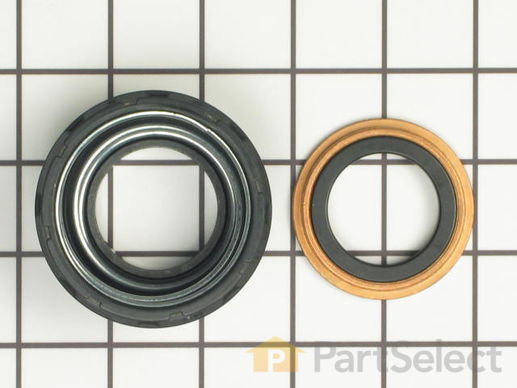
If you have a leaky washer, then your tub seal may be the culprit. The tub seal assembly may also be known as the washer tub seal, and is a part for your washer. The function of this piece is to make sure water does not lead from between the outer tub and the spin basket from around your basket drive shaft within your washer. To replace your old part with this one you will need a flathead screwdriver, Phillips head screwdriver, pliers, putty knife, 7/16 socket, spanner wrench, and a hammer.

$ 74.78
  In Stock
PartSelect Number PS459481
Manufacturer Part Number 5303279394

Customer Repair Stories

Tub was leeking

Lifted top
removed adgetator
removed tub top
removed inside tub
removed inside tub holder bracket
repaced seal
replaced,replaced.....
  • Gregory from Fort Worth, TX
  • Difficulty Level:
    A Bit Difficult
  • Total Repair Time:
    30 - 60 mins
  • Tools:
    Screw drivers, Socket set
14 of 23 people found this instruction helpful.
Was this instruction helpful to you?
Thank you for voting!

Washer not spinning, water leaking out bottom

My first step was to download and print out the parts diagrams from the manufacturer's website. With a basic idea of what I needed to get to I first removed the agitator cap and the agitator and right off I found a broken bolt on plate lock bracket that holds trunnion which supports and connects the tub to the transmission drive shaft. I replaced the bolt and put it back together and gave it a test run. Spun very nicely now but water was going everywhere. Unfortunately I found that when the bolt broke the tub had slipped down and ripped the rubber "tub seal assembly". To get to the seal I ended up tearing the machine completely down and removing the whole motor and transmission assembly out of the unit. It may be possible to get at the seal without doing this but I'm not 100% sure. To get the whole unit apart I did the following: Remove the front panel by removing the two screws located at the very bottom of the panel and lifting up and out .Remove the top/lid by removing two screws underneath the top toward the front, and disconnecting lid switch, or i found it easier to just unscrew and remove it, then lift off the top/lid assembly. Remove the agitator cap and the agitator. Remove the splash cover (this is not easy- I popped each tab with a flat screw driver- the ones at the rear were very difficult). I tried to remove the fill spigot but could not get at one of the screws so getting the splash cover out was not as easy as it could have been. Remove the bolts in the bottom of the tub and lift it out. Unhook the drain hose and the level or "pressure tube". Remove the 3 large and 3 small springs from the motor assembly ( I needed a strong spring hook but all I had was vice grips, they work but it was not easy). remove any other wires etc. (mark things with tape and matching numbers if needed) and pull out the whole barrel and motor assembly. Unbolt the splash tub and remove, unbolt the trunnion and remove. And finally replace the seal. Reassemble in reverse order. Important!! Clean shaft well (I used some 300 grit fine sandpaper to remove the little bit of rust scale that had accumulated) and lubricate everything. be very careful when reassembling, as to not scuff up the seals at all. I used a silicone spray. This might not be the best thing for the job but I know at least not to use anything petroleum based such as WD-40 when you are lubricating rubber or plastic. Reinstalling the springs was very difficult and again a spring hook would have been great. Everything else went together reasonably easy. The unit works fine now. many thanks to the websites I researched to get this done.
  • Michael from Springfield, VT
  • Difficulty Level:
    A Bit Difficult
  • Total Repair Time:
    More than 2 hours
  • Tools:
    Pliers, Screw drivers, Socket set
29 of 35 people found this instruction helpful.
Was this instruction helpful to you?
Thank you for voting!
Fixes Symptom 19% of time
★★★★★
★★★★★
12 Reviews

Rated by 29 customers 


Really Easy 

15 - 30 mins 

Ratings submitted by customers like you who bought this part.   

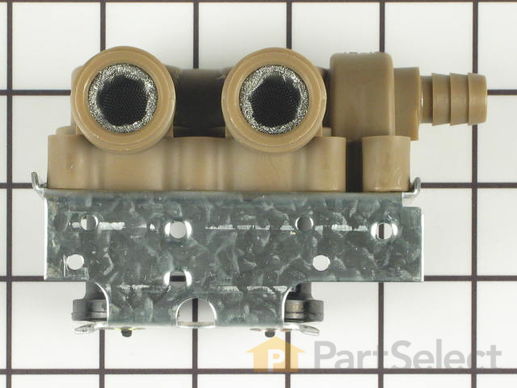
The water inlet valve has two ports for water to enter and controls the flow of water into a washing machine. Hot, cold, and warm water can easily enter the washer this way. If the water inlet valve is in any way damaged or defective, it may be slow to fill or even leak. Before beginning this replacement, make sure to unplug the washer from the power range or shut off the house circuit breaker. Remember to wear gloves for safety. Refer to the installation instructions and the diagram provided by the manufacturer for best results and accuracy.

$ 127.65
  In Stock
PartSelect Number PS815509
Manufacturer Part Number 134190200

Replacing your Frigidaire Washer Water Inlet Valve

Replacing your Water Inlet Valve

Customer Repair Stories

water continued to flow into machine during spin cycle

After moving machine to an area that allowed easy access to the unit, disconnected the water supply hoses from the inlet valve.
Removed the two screws that keep the back in place, removed the clips that keep the top in place, moved the top over far enough to get the valve out. Removed the screw that keeps the inlet valve in place, disconnected the power supply to the valve, Pulled valve out in order to remove the water outlet hose. Repalced with new vale, and reversed order to install. Works just fine now.
  • Howard from Lcolnton, GA
  • Difficulty Level:
    Easy
  • Total Repair Time:
    15 - 30 mins
  • Tools:
    Screw drivers
16 of 18 people found this instruction helpful.
Was this instruction helpful to you?
Thank you for voting!

Washer Continued To Fill To Point Of Overflow

First I removed the top panel held by four screws at rear of panel, pulling the panel foward and up. Then disconnected the power and water connections. Then I removed the two screws holding the flow valve to the washer rear panel,pulled the valve foward ,removed the two electric connectors, pinched the water clamp with pliers and removed the water connection to the valve. Then replaced with the new valve followed the above steps in reverse order, finishing up by re placing the water connections and power. Then checked fo proper replacenent and leaks before replacing top panel.
  • alvaro from east hampton, NY
  • Difficulty Level:
    Really Easy
  • Total Repair Time:
    Less than 15 mins
  • Tools:
    Pliers, Screw drivers
86 of 96 people found this instruction helpful.
Was this instruction helpful to you?
Thank you for voting!
Fixes Symptom 16% of time
★★★★★
★★★★★
3 Reviews

Rated by 1 customer 


Easy 

30 - 60 mins 

Ratings submitted by customers like you who bought this part.   

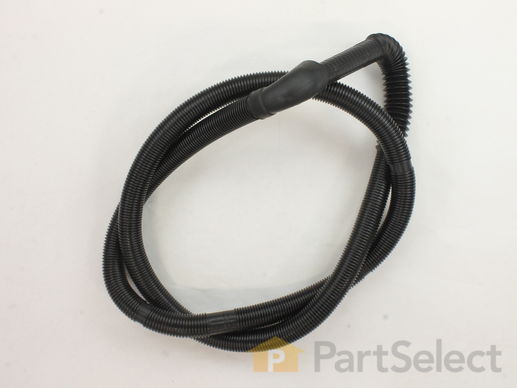
This drain hose, used in washing machines, delivers water from the drain pump to the house drain. The hose is 7 1/2 feet (90 inches) long. If your hose is leaking, it is best to replace it with a new one. To repair it, first access the back of the washer and remove the clamp holding the hose. Switch the clamp onto the new hose before placing it back into the fitting. Refer to the manual provided by the manufacturer for further instructions and guidance. Remember to unplug the appliance from the power source before beginning installation.

$ 70.75
  In Stock
PartSelect Number PS1524515
Manufacturer Part Number 134592700

Customer Repair Stories

drain hose was leaking

on front of machine,,,removed 2 screws at bottom corners. open top cover, using putty knife to release spring clips between front panel & top cover, lift & support top cover.note; tape hinged lid of machine to hold closed.the remove front panel of washer using a downward motion.re move spring clamp on water pump ,w/pliers, by sliding clamp upwards along drain hose. with a twisting motion,remove hose from pump.thread old hose out through back of machine.reverse reassembly,using new drain hose.note; suggest using an automotive radiator hose clamp on pump/hose connection instead of spring clamp.most spring type clamps will lose their tension with repeated plier action.
  • William F. from Poughkeepsie, NY
  • Difficulty Level:
    Really Easy
  • Total Repair Time:
    15 - 30 mins
  • Tools:
    Pliers, Screw drivers
Was this instruction helpful to you?
Thank you for voting!

water leaking on floor

Removed two screws at bottom of front panel, removed front panel. Used pliers to remove hose clamp on drain hose. Fished hose out of chassis and installed new hose. Tested for leaks.
  • Edward from New Smyrna Beach, FL
  • Difficulty Level:
    Easy
  • Total Repair Time:
    30 - 60 mins
  • Tools:
    Pliers, Screw drivers
60 of 76 people found this instruction helpful.
Was this instruction helpful to you?
Thank you for voting!
Fixes Symptom 6% of time
★★★★★
★★★★★
23 Reviews

Rated by 21 customers 


Easy 

30 - 60 mins 

Ratings submitted by customers like you who bought this part.   

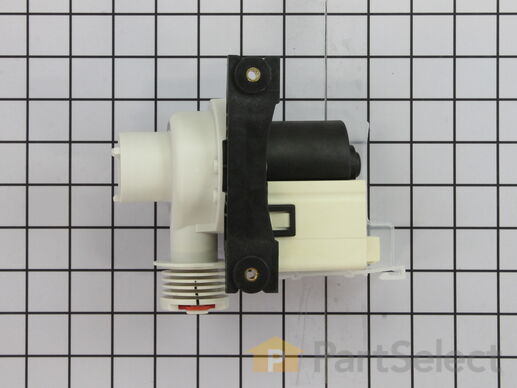
This is a 120 volt, 60 hertz drain pump that is manufactured to remove water from the tub of your washer once your clothes are washed. This part is the pump and motor assembly, which includes a red flapper to prevent drain backflow. You will need to remove the front panel of your washer to access the drain pump. The tools you will need for the repair are a Phillips screw driver, a putty knife, a pair of slip joint pliers, and a 5/16 nut driver. Be sure to disconnect the water supply from your washer before doing the repair. The metal edges on the appliance are sharp, so use work gloves to safely complete the repair.

$ 165.56
  In Stock
PartSelect Number PS7783938
Manufacturer Part Number 137221600

Replacing your Frigidaire Washer Drain Pump - 120V 60 Hz.

Replacing your Drain Pump - 120V 60  Hz.

Customer Repair Stories

After a full cycle the washer would not drain the water

After reading the possiblilities of problem, I determined that the drain pump was not working; therefore I ordered a new one. When I opened the washer to replace the part, I found out that the pump was working but the filter was stuffed with pieces of rubber that came out from a rug I washed. Once all the stuff was removed, the washer worked just fine. PartSelect was very gracious to accept the returned with not questions asked!! Thanks partSelect.
  • sara from North Miami, FL
  • Difficulty Level:
    Really Easy
  • Total Repair Time:
    Less than 15 mins
81 of 90 people found this instruction helpful.
Was this instruction helpful to you?
Thank you for voting!

would't spin all water out or rinse out clothes

uplugged washer took front off washer 2 screws pryed up top pump was mounted with 2 screws and 2 wires took off found change in pump and the fins to pump worn off ordered part off line the wait for part was longer than the amount of time to fix problem and cost of part saved me about $25-35 if I was to buy local worth wait save money and fix problem washes like new spins and drains all water from tub.
  • kenneth from willard, OH
  • Difficulty Level:
    Really Easy
  • Total Repair Time:
    15 - 30 mins
  • Tools:
    Nutdriver, Pliers, Screw drivers
166 of 202 people found this instruction helpful.
Was this instruction helpful to you?
Thank you for voting!
Fixes Symptom 6% of time
★★★★★
★★★★★
1 Review

Rated by 1 customer 


Difficult 

More than 2 hours 

Ratings submitted by customers like you who bought this part.   

$ 57.22
  In Stock
PartSelect Number PS417966
Manufacturer Part Number 131494800

Customer Repair Stories

Leaking hoses

I made my job difficult by removing the back panel, then the side, and finally discovered the front panel opens giving access to the washer. Using heavy pliers I removed the spring clamps and replaced the pump to washer hose and the other hose end to the tub. Turned on the washer no leak only to discover the drain hose had developed a leak. So I ordered the second hose. I was not sure how to release the plastic retaining clamps. Finally just yanked them loose, which worked. Ran the hose through the machine out the back into the drain pipe. I was able to reattach the retaining clamps put the spring clamp on the pump end of the hose. The difficult part was getting the back, sides and front of the washing machine together that took hours.
  • Dixie from STRANG, OK
  • Difficulty Level:
    Difficult
  • Total Repair Time:
    More than 2 hours
  • Tools:
    Pliers, Screw drivers
3 of 4 people found this instruction helpful.
Was this instruction helpful to you?
Thank you for voting!
Fixes Symptom 4% of time

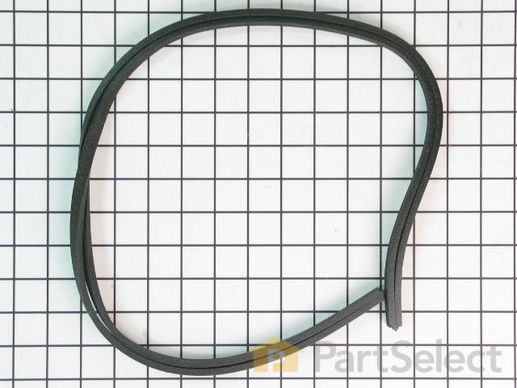
The tub ring seal or splash cover seal is used for washers. This part seals the tub cover to the outer one and prevents water leakage from around the tub ring. If your seal is damaged and you are experiencing water leakage, it is best to replace this part. Refer to the manual provided by the manufacturer for further installation instructions. Remember to unplug your washer from the power source before starting this installation process.

$ 38.44
  Special Order
PartSelect Number PS418992
Manufacturer Part Number 131901400

Customer Repair Stories

water leaking when washing machine went to spin

removed two screw at the bottom of front panel and pulled down on panel to remove, determined water coming out splash seal, splash cover held on with plastic clips around cover. Removed two screws on back side of top and hinged top over removed splash cover and cleaned old seal out replaced with new seal.Simple job but could not find parts locally and found Partselect on internet and ordered parts, very friendly and knowledgible person, ordered parts and had them in three days, would very highly recommend. Thank You Joe Lumpkin
  • William J from Prattville, AL
  • Difficulty Level:
    Really Easy
  • Total Repair Time:
    30 - 60 mins
  • Tools:
    Screw drivers
Was this instruction helpful to you?
Thank you for voting!
Fixes Symptom 4% of time
★★★★★
★★★★★
1 Review

Rated by 1 customer 


A Bit Difficult 

More than 2 hours 

Ratings submitted by customers like you who bought this part.   

The upper spin bearing for a washer can solve many issues such as loud and odd noises, or leaking water. Replacing the spin bearing could solve these issues. The tools needed for this replacement are screwdrivers, a socket set, and a putty knife. To repair, first lift the top of the washer and remove the screws at the bottom of the front panel to pull away. Next, pull off the dispenser cover, cup, and agitator. Detach switch tube from the tub cover and remove tub cover, then use the 1/2 inch socket to remove the trunnion bolts and pull out inner tub. For the rest of the installation instructions, refer to the diagram provided by the manufacturer. Remember to unplug the appliance from the power source as a safety precaution.

$ 12.94
  In Stock
PartSelect Number PS473382
Manufacturer Part Number 5308002401
Fixes Symptom 3% of time
★★★★★
★★★★★
1 Review

Rated by 1 customer 


A Bit Difficult 

More than 2 hours 

Ratings submitted by customers like you who bought this part.   

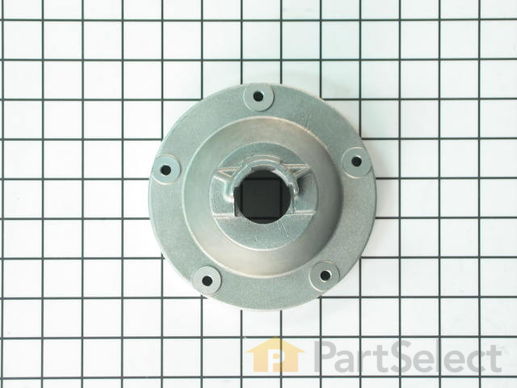
The spin bearing, used for your washer, is located at the bottom of the outer tub near the transmission. The spin bearing carries the transmission shaft in the drive system, therefore ensuring the shaft is spun properly during its spin cycle. If your spin cycle makes loud or odd noises, replacing the bearing could be a solution to your problem. Refer to the diagram provided by the manufacturer for further installation instructions. As a safety precaution make sure to unplug appliance from the power source.

$ 77.44
  In Stock
PartSelect Number PS446536
Manufacturer Part Number 3204405
Fixes Symptom 3% of time

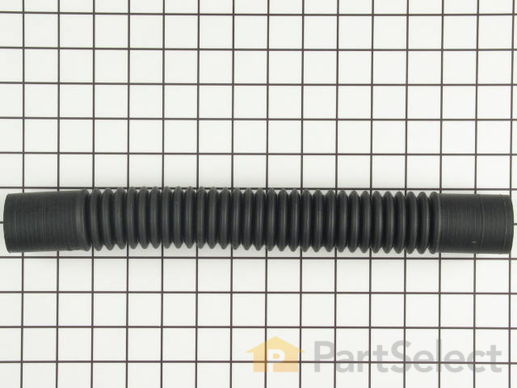
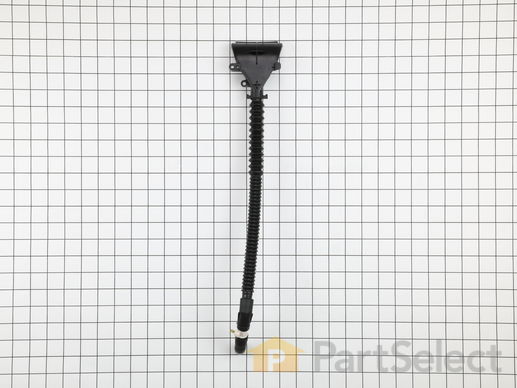
This water inlet hose is used in washers. The hose connects the washer water inlet valve to the water supply in your home. There are two solenoids on the valve, which are referred to as coils, and there are two wires attached to each solenoid that should be labelled to ensure they are properly reconnected after replacing the new hose. Over time, your hose can begin to leak which can lead to floods. Replacing your hose earlier on can prevent this problem. Refer to the diagram provided by the manufacturer for installation instructions. Remember to unplug your appliance from the power source before beginning this installation project.

  No Longer Available
PartSelect Number PS1524416
Manufacturer Part Number 134211701

Customer Repair Stories

The washer hose assembly had mutiple tears in the bellow section of the hose, towards the outlet net the spout.

Used a metal cooking spoon to pry open the lid, held it in place with a chain (mentioned in the tools required) and used needlenose pliers to remove the clamp on the old hose assmbly. Transferd that clamp to the new hose assembly and replace the (1) screw holding it in place. Closed the lid of the washer, and now it is like the problm had never existed. (Very easy fix, 1 of 10 on difficulty scale).
  • Humberto Aarón from Castroville, TX
  • Difficulty Level:
    Really Easy
  • Total Repair Time:
    Less than 15 mins
  • Tools:
    Pliers, Screw drivers, Wrench (Adjustable)
Was this instruction helpful to you?
Thank you for voting!

hose leaking

lifed the lid .remove oud hose and replaced with new hose
  • Daniel from Daingerfield, TX
  • Difficulty Level:
    Easy
  • Total Repair Time:
    15 - 30 mins
  • Tools:
    Pliers, Screw drivers
Was this instruction helpful to you?
Thank you for voting!
Fixes Symptom 2% of time

Rated by 1 customer 


Really Easy 

1- 2 hours 

Ratings submitted by customers like you who bought this part.   

This part helps with the spinning and agitating cycles.

$ 111.47
  In Stock
PartSelect Number PS418105
Manufacturer Part Number 131545101
Fixes Symptom 1% of time

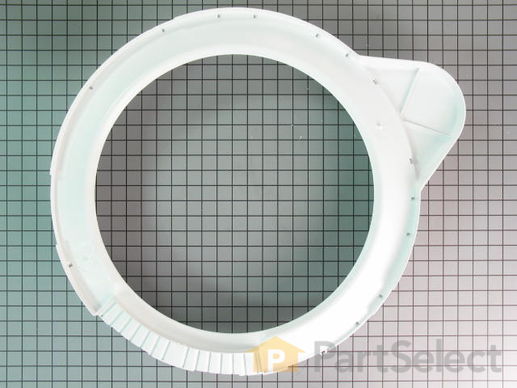
Tub cover includes Tub Seal

$ 173.65
  Special Order
PartSelect Number PS418114
Manufacturer Part Number 131551103