Make sure you haven't got the discount earlier.
Parts That Fix General Electric Refrigerator DFE28JMKBES Fridge too warm
Fridge too warm is a commonly reported symptom for the DFE28JMKBES General Electric Refrigerator, and we have put together a full guide on how to fix this. This advice is based on feedback from people who own this exact appliance. We have listed the most common parts for your DFE28JMKBES General Electric Refrigerator that will fix Fridge too warm. We have included repair instructions, and helpful step-by-step video tutorials. If you are experiencing this issue, not to worry, DIYers just like you have fixed this, and shared their experience to help you!
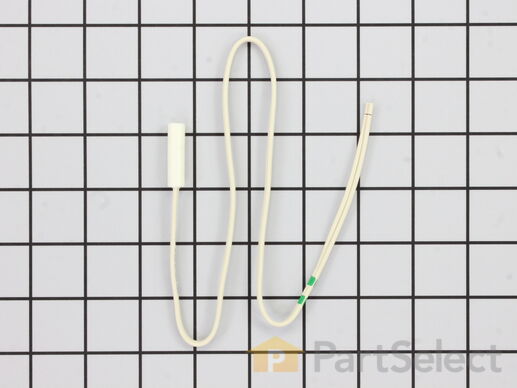
This sensor (Temperature Sensor, Thermistor, Refrigerator Temperature Sensor) sends the temperature reading of the compartment to the control board. If you notice your refrigerator is too warm, too cold, or not defrosting properly, then there may be a problem with your sensor. The temperature sensor can break from material fatigue or through normal use, and should be replaced. It is attached to the evaporator and control housing in your appliance. It measures approximately 1.25 inches long with 18 inch wire leads, and is constructed out of plastic. This part comes in white, beige. It includes the sensor, with wire leads.
Replacing your General Electric Refrigerator Temperature Sensor

Replacing your General Electric Refrigerator Temperature Sensor

Customer Repair Stories
refrigerator was getting too cold
-
Larry from Menomonie, WI
-
Difficulty Level:A Bit Difficult
-
Total Repair Time:15 - 30 mins
my refigerator was warm but the freezer was cold and working correcttly
I went on line to see if there were others having this same problem and found that there were many with the same problem.
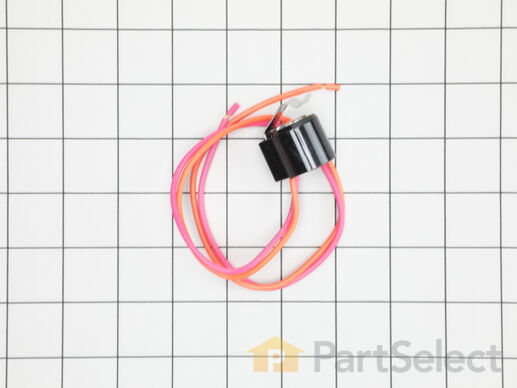
I tried the most common component and the less expensive one first , the thermostat switch I installed it very easily snipping two wires and attaching the news using wire nuts I used the diagram on this website to pinpoint the component and there has not been a problem since.
-
michele from North Smithfield, RI
-
Difficulty Level:Really Easy
-
Total Repair Time:15 - 30 mins
-
Tools:Pliers
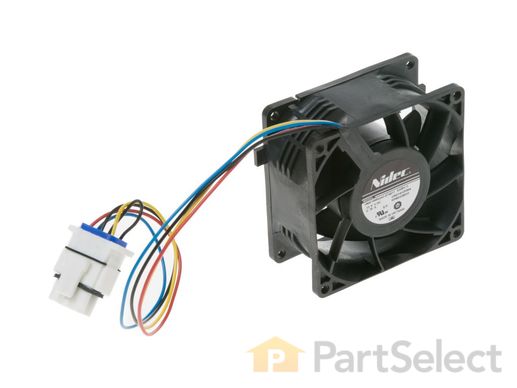
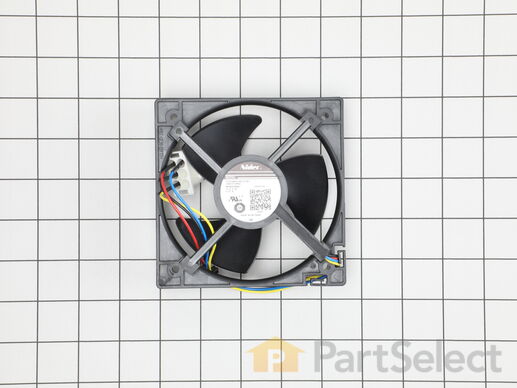
This evaporator fan motor is for refrigerators. The evaporator fan motor circulates air through the fresh food compartment for efficient cooling. Safely store any food that could deteriorate while the power is off and unplug the refrigerator before installing this part. Wear work gloves to protect your hands.
Customer Repair Stories
The refrigerator was too warm. The drawers where vegetables and fruits are kept were being frozen. The vents blowing cool air into bins were iced up.
Plugged in refrigerator to make sure it would ... Read more work. After 15 minutes, unplugged fridge and put rails and drawers back. Total time 45 minutes. Plugged refrigerator back in and let run 24 hours.
It took 5 days to get part due to snow storm delaying delivery. It works perfectly. Our GE will be 10 years old in August.
-
Eunice from POWELL, WY
-
Difficulty Level:Easy
-
Total Repair Time:1- 2 hours
-
Tools:Nutdriver, Screw drivers
+-LOWER DRAWER ICED OVER IN BACK AND CONTENTS FROZEN UPPER STORES NOT COLD ENOUGH
-
CHARLES from FAYETTEVILLE, OH
-
Difficulty Level:Easy
-
Total Repair Time:30 - 60 mins
-
Tools:Socket set
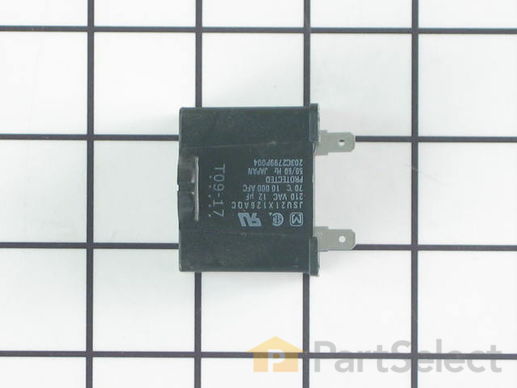
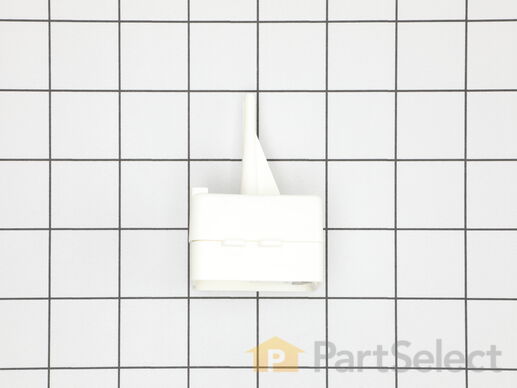
This part helps the compressor kick on and off while maintaining a constant temperature to keep things frozen in your freezer. This part has been updated by the manufacturer and may appear different than the original, but should function the same.
Replacing your General Electric Refrigerator Run Capacitor

Customer Repair Stories
Refrigerator to warm
-
Lloyd from PITTSBURG, CA
-
Difficulty Level:Easy
-
Total Repair Time:15 - 30 mins
-
Tools:Screw drivers
Freezer not getting cold enough to freeze ice cream
the problem is change the run capacitor. I felt assured that I would
have a working refrigerator freezer after making this change. I was
pretty disheartened when it didn`t solve anything. I was not going to
take the new part back out after the sma ... Read more ll challenge of putting it in.
The next day I found out how to test the old capacitor and it was still
good. I will just have to eat the $49. I did learn not to take advice from
a website even if it seems like a sure thing
-
Gary from ROSETO, PA
-
Difficulty Level:A Bit Difficult
-
Total Repair Time:30 - 60 mins
-
Tools:Screw drivers
The evaporator fan motor circulates air through the fresh food compartment for efficient cooling.
Customer Repair Stories
Top of frig would not cool. Now temperature display in in sync with the 37 degree setting I adjusted it to.
-
david from SMYRNA, GA
-
Difficulty Level:Very Easy
-
Total Repair Time:Less than 15 mins
-
Tools:Nutdriver
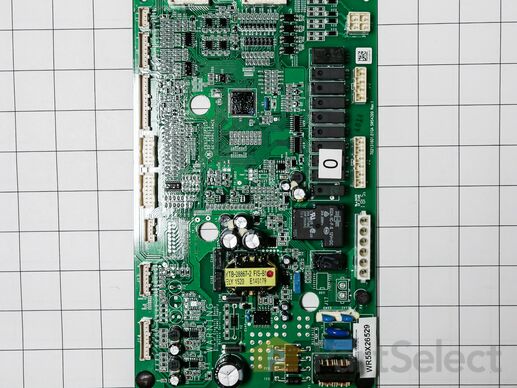
The main board assembly, also known as an electronic control board, is an authentic OEM replacement part used in refrigerators. It has dimensions of approximately 10 inches in by 6 inches. It controls the various features and function of the refrigerator such as temperature regulation, ice production, defrost control, and energy usage. If the control board is malfunctioning, you may notice temperature fluctuations, difficulties dispensing ice, a blank or unresponsive display panel and unusual noises such as clicking or humming. You can visually inspect the board for signs of damage or use a multimeter to test for continuity.
Customer Repair Stories
Refrigerator would warm up while freezer got colder
Tried ordering that part from Part Select since they have been great, but GE discontinued the part and their was not a r ... Read more eplacement available. After much research, found the new replacement part number and ordered that, it went in quickly and for now seems to have solved the problem.
-
Richard from CHEBOYGAN, MI
-
Difficulty Level:Really Easy
-
Total Repair Time:Less than 15 mins
-
Tools:Nutdriver
Customer Repair Stories
compressor motor wouldn't start, so no refrigeration
-
William from Pasco, WA
-
Difficulty Level:A Bit Difficult
-
Total Repair Time:15 - 30 mins
-
Tools:Nutdriver, Pliers
Compressor would run for three seconds and stop, two minutes and repeat.
If you pull the overload protector and it rattles when you shake it, that's probably your diagnosis.
The replacement is different from the original and the wire connectors are different. Hold the thin ... Read more g in the same orientation as if it were plugged in. The vertical connector goes to the neutral wire, which on my fridge is orange. The horizontal connector is for the overload, which for mine is black and white. If you have a schematic you should verify the wires yourself.
Anyway, the refrigerator now works like new.
-
Steve from SPRINGFIELD, SC
-
Difficulty Level:Really Easy
-
Total Repair Time:Less than 15 mins
-
Tools:Nutdriver
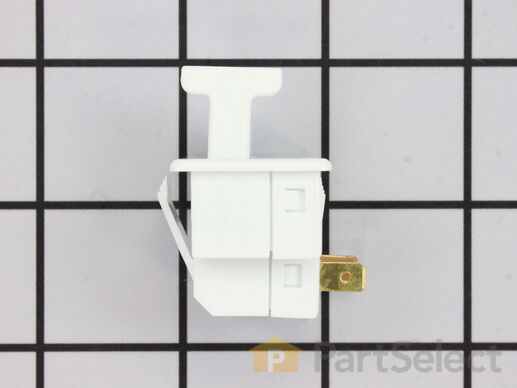
The interior light of your refrigerator is controlled by a switch that is activated when the door is opened and closed. If your refrigerator light will not turn on, there could be an issue with the switch. The switch is spring loaded and is a generally closed type of switch meaning there should be no continuity when the button is depressed, and continuity through the switch when the button is not depressed. This plastic, white, OEM switch is sourced directly from the manufacturer, is sold individually and is easy to replace. The repair usually takes less than 15 minutes and requires a flat blade screwdriver and needle nose pliers.
Replacing your General Electric Refrigerator Light Switch

Customer Repair Stories
The refrigirator light would not come on.
-
Jania from Novato, CA
-
Difficulty Level:Really Easy
-
Total Repair Time:Less than 15 mins
-
Tools:Screw drivers
Sticking Light Switch
-
Jonathan from Lilburn, GA
-
Difficulty Level:Really Easy
-
Total Repair Time:Less than 15 mins
-
Tools:Pliers, Screw drivers


