Parts That Fix Maytag Dryer DE410 Too hot
Too hot is a commonly reported symptom for the DE410 Maytag Dryer, and we have put together a full guide on how to fix this. This advice is based on feedback from people who own this exact appliance. We have listed the most common parts for your DE410 Maytag Dryer that will fix Too hot. We have included repair instructions, and helpful step-by-step video tutorials. If you are experiencing this issue, not to worry, DIYers just like you have fixed this, and shared their experience to help you!
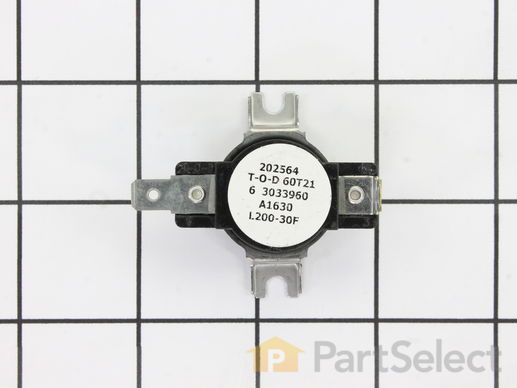
This high limit/safety thermostat is used on many of Maytag's brands of gas and electric clothes dryers. With this thermostat, a dryer's heating element will cut out if the internal temperature reaches 200 degrees Fahrenheit. The element will kick back in when the temperature drops to 170 degrees Fahrenheit.
Replacing your Maytag Dryer High Limit Thermostat (Limit: 200-30)

Customer Repair Stories
Dryer ran hot
-
Larry from Swanton, OH
-
Difficulty Level:A Bit Difficult
-
Total Repair Time:30 - 60 mins
-
Tools:Screw drivers, Socket set
Broken contact on high limit thermostat - dryer no start
-
Nova from Hudson, OH
-
Difficulty Level:Really Easy
-
Total Repair Time:Less than 15 mins
-
Tools:Screw drivers, Socket set
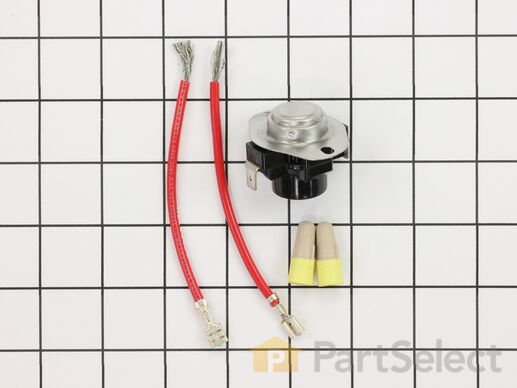
Cycling themostats continually cycle the heating element off and on to maintain a constant inner temperature within the dryer. This particular cycling thermostat can be adjusted between 135 and 155 degrees Fahrenheit. The differential of this thermostat is 20 degrees, meaning that with this thermostat, the heating element will cycle back on once the internal temperature drops by 20 degrees.
Replacing your Kenmore Dryer Cycling Thermostat - Limit 135/155

Customer Repair Stories
No heat in dryer
-
Noah from Maiden, NC
-
Difficulty Level:Really Easy
-
Total Repair Time:Less than 15 mins
-
Tools:Wrench (Adjustable)
Temperature setting not working
NOTE: Replacement thermostat 694674 has an adjustable temperature range setting that MUST be manually set prior to installing! You need to use ... Read more the enclosed chart to find your original part# and make sure the setting is matched. My original part# 341146 had a "D" setting so I had to change but very easy to do.
-
Robert from Buffalo, NY
-
Difficulty Level:Easy
-
Total Repair Time:30 - 60 mins
-
Tools:Nutdriver, Screw drivers
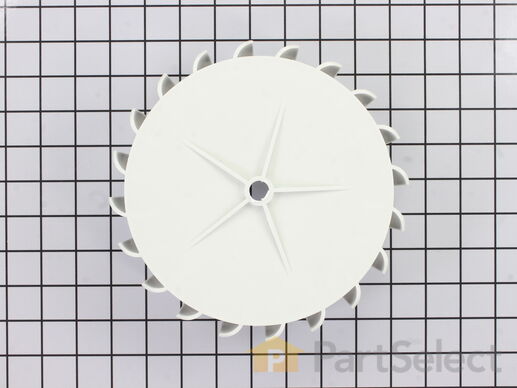
This comes with a metallic hub clamp to hold it firmly in place. The blower wheel with clamp is part of your dryer assembly. You will find this part attached to the drive motor shaft, which disperses air through the drum and out of the exhaust vent. This part might need to be replaced if you notice your dryer is taking too long to dry clothing, it is not tumbling, or is making any unusually loud noises. The blower wheel measures about 7.5 inches in diameter by 3-3/8 wide. The blower wheel can be accessed by removing the front panel of your appliance.
Replacing your Maytag Dryer Blower Wheel with Clamp

Customer Repair Stories
Loud rumbling at startup, periodic rumbling during drying, rumbling after motor stopped
Turn off the power.
Remove the two screws on the access panel, which is the canted panel just below the dryer door, and remove the panel.
Remove the two screws at the top ... Read more of the dryer door. These screws are on top of the dryer facing downward, and unless you're Yao Ming, you won't see them without a stepstool. You can then lift up the door and swing it out from the bottom.
There are two wires attached to the door which you should disconnect. You can set the door aside without disconnecting any other wires.
Next, remove the lint filter and the housing assembly it fits into. First, disconnect the ground wire connected to the upper-left corner of the housing, then remove 4 hex-screws accessed from inside the dryer tumbler.
You should take this opportunity to thoroughly remove lint from inside the housing.
The blower housing is now accessible. Remove the screws on the periphery of the blower housing cover (a.k.a. faceplate), and remove the cover.
The blower wheel is held in place by an external retaining ring and by a blower clamp. The replacement blower wheel came with a new blower clamp, and that clamp can be manipulated with a regular pair of pliers. I went out and bought a pair of snap ring pliers to deal with the retaining ring.
After removing the retaining ring and then taking off the blower clamp, I removed the old wheel. The new wheel was a little tough to put on, but after reading the story of the people who used a hammer to break their wheel, I just pushed on it until it popped on. I used my pliers to install the new clamp, then re-installed the retaining ring and the blower housing cover.
Reinstall the lint duct housing, making sure housing duct centers into the blower seal (looks like a felt circle). Reconnect the ground wire.
While you're inside the tumbler, at the front end of the tumbler just below the door there is a black plastic sensor with two metal bars on it called an automatic dry sensor. Fabric softener can coat the metal bars and cause the sensor to not function. Lightly sand the metal bars to remove any buildup.
Reconnect the wires to the dryer door. Reinstall the door by tilting the bottom in first, guiding the clips on the bottom of the door into the slots they fit in, then push the top of the door into position. Reinstall the screws at the top.
Reinstall the access door.
Turn the power back on! Done!
-
Ed from Long Beach, CA
-
Difficulty Level:Easy
-
Total Repair Time:1- 2 hours
-
Tools:Nutdriver, Pliers, Screw drivers
The blower fan (nylon) stripped off the motor shaft (steel)
-
Stephen from Lafayette, IN
-
Difficulty Level:Really Easy
-
Total Repair Time:1- 2 hours
-
Tools:Nutdriver, Pliers, Screw drivers
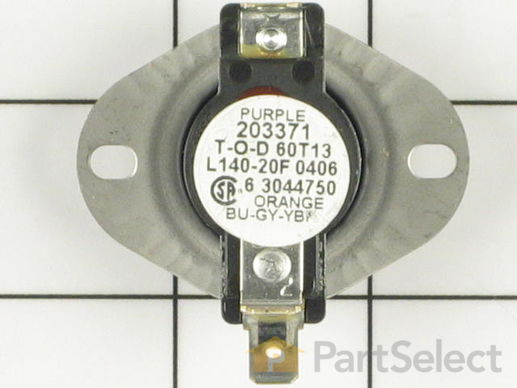
Cycling thermostats continually cycle the heating element off and on to maintain a constant inner temperature. This particular cycling thermostat has a limit of 140 degrees Fahrenheit and a differential of 20 degrees. Meaning that with this thermostat, the heating element will cut out at 140 degrees and cycle back on once the internal temperature drops by 20 degrees.
Replacing your Maytag Dryer Cycling Thermostat (Limit: 140-20)

Customer Repair Stories
No Heat in my ancient Maytag Dryer
-
GAIL from WOODBRIDGE, VA
-
Difficulty Level:Really Easy
-
Total Repair Time:15 - 30 mins
-
Tools:Screw drivers
Dryer not heating
I researched and found a list of items to check for dryer not heating. Only 3 items were listed as possible causes, the Heating Element, Cycling Thermostat, and Heating Element T ... Read more erminal & Insulator.
First and most important step - UNPLUG THE DRYER FROM THE WALL
To access the cycling thermostat, I removed the back panel. The thermostat is located on top of the blower housing and is easily accessable. I was unable to test the old part.
Accessing the heating element and terminal insulators is a bit more difficult as they are located in the fron of the dryer around the door opening. Further research showed the way to access these parts was to remove the cabinet from the chassis. After photographing the wiring connections, I disconnected the cycling thermostat and motor connections. Next, I removed the 3 screws at the bottom of each side panel. With the dryer door removed (it lifts off when open), I simply lifted the cabinet up over the drum. I recommend having someone assist with this as it is awkward and a little heavy. Lay the cabinet on its front on a rug to keep from scratching the finish. The heating element and insulators can be inspected at this time.
Having found no breaks in the element or insulators, I assumed the problem was the cycling thermostat and ordered one. When I got it (less than 2 days), I installed it and reassembled the cabinet to the chassis. I plugged the dryer in and set the timer. Still no heat!
After looking at the schematic, I found 2 other possible causes for no heat. The motor contains a centrifugual switch (closes when the motor spins) which I was not able to check. There is also a HIGH LIMIT thermostat on the shroud that holds the heating element. I decided I could test this part by by-passing it. I unplugged the dryer and removed the back once again. I reached past the drum from the back (not easy to do) and disconnected the 2 wires from the thermostat and connected them together. I plugged the dryer back in and started the dryer. It heated up like it should. I then ordered the high limit thermostat. After removing the cabinet once again (easier 2nd time), I installed the high limit thermostat and reassembled the unit.
The Dryer is working fine and hopefully should last another 25-30 years.
-
William from Exmore, VA
-
Difficulty Level:A Bit Difficult
-
Total Repair Time:30 - 60 mins
-
Tools:Nutdriver, Screw drivers, Wrench set
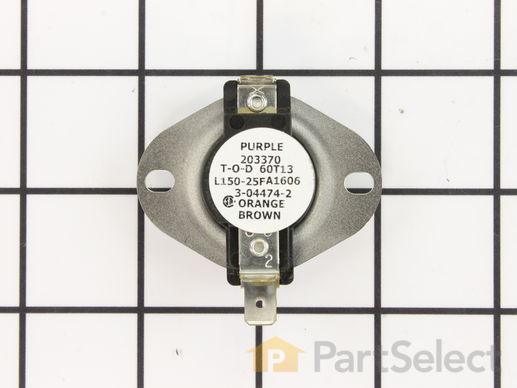
This thermostat controls the internal drying temperature. Cycling themostats continually cycle the heating element off and on to maintain a constant inner temperature. This particular cycling thermostat has a limit of 150 degrees Fahrenheit and a differential of 25 degrees. Meaning that with this thermostat, the heating element will cut out at 150 degrees and cycle back on once the internal temperature drops by 25 degrees.
Customer Repair Stories
Dryer ran too hot.
The hardest part was finding a schematic showing where the thermostat was in this model. The video showed removing the back panel and this model required the front panel to be removed.
-
Nancy from Orinda, CA
-
Difficulty Level:Easy
-
Total Repair Time:15 - 30 mins
-
Tools:Nutdriver, Pliers, Screw drivers
Old Maytag Dryer Overheats, Then Shuts Off Before Cycle Finished
-
Jon from GRAPEVINE, TX
-
Difficulty Level:Easy
-
Total Repair Time:30 - 60 mins
-
Tools:Screw drivers, Socket set


