Parts That Fix Speed Queen Washer AWN311SP111TW01 Leaking
Leaking is a commonly reported symptom for the AWN311SP111TW01 Speed Queen Washer, and we have put together a full guide on how to fix this. This advice is based on feedback from people who own this exact appliance. We have listed the most common parts for your AWN311SP111TW01 Speed Queen Washer that will fix Leaking. We have included repair instructions, and helpful step-by-step video tutorials. If you are experiencing this issue, not to worry, DIYers just like you have fixed this, and shared their experience to help you!
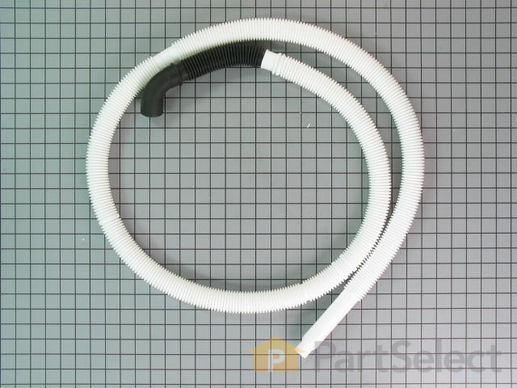
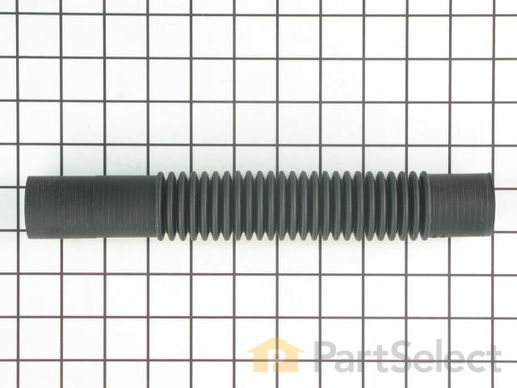
This hose attaches to the pump to help remove the water out of the washer. 7 feet in length.
Customer Repair Stories
The thin walled plastic drain line got a pin hole leak
This is the second time I needed to replace this same drain hose on this same washer since I had the machine
There is only my wife ant myself maybe, 2 -3 medium size loads per week - why I would have two drain lines develop the same problem in almost the same location in two years is disconcerting ... Read more
There must be a design problem with the clear plastic hose - Suggest Maytag go to a thick walled rubber hose
The hole is alway inside the washer on the bottom just after the hose bracket - I suspect that something rubbing causing a small pin hole to develop - when the condition first starts it is very difficult to located -There will be water under the washer
Run the washer and discharge the water - to locate
The replacement must be made through the lower front removable panel - and is easier to do if the pump return hose is also disconnected from the pump
Be very carful with the thin wall replacement hose - very light weight plastic - do not pull across the floor of washer - it could easily get damaged
Your company did a get job getting the part to me - The Fed Ex track system was great
I could tell exactly where the delivery was al all times -
-
WALTER from Holualoa, Hawaii, AL
-
Difficulty Level:Really Easy
-
Total Repair Time:15 - 30 mins
-
Tools:Pliers, Wrench set
Water leaking on floor from "mysterious place underneath washer"
I t was obvious that water was spraying from a hole in the rubber end of the hose (the hose is a fused assembly of a plastic section and a rubber ... Read more section).
So, I finished draining, removed the hose (required pliers to squeeze off a hose clamp).
Upon inspecting the hose, it was also apparent that the hole was caused by rubbing against a support bracket for the motor. This should not happen, but it did because the plastic standoff supposed to keep the hose away from the bracket was installed 180 degrees backwards.
So, I simply replaced the hose and turned the bracket around to the correct orientation.
Everything worked as planned and my repair cost was much less than if I had called someone out.
-
Bryan from Chicago, IL
-
Difficulty Level:Easy
-
Total Repair Time:Less than 15 mins
-
Tools:Pliers, Socket set
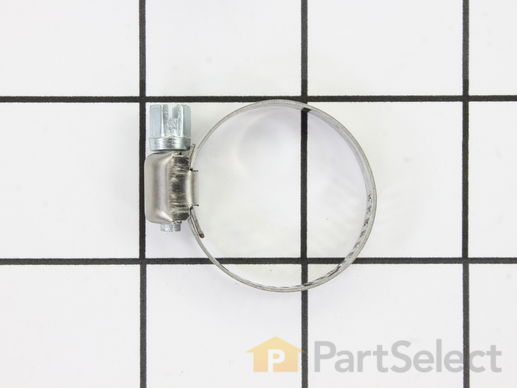
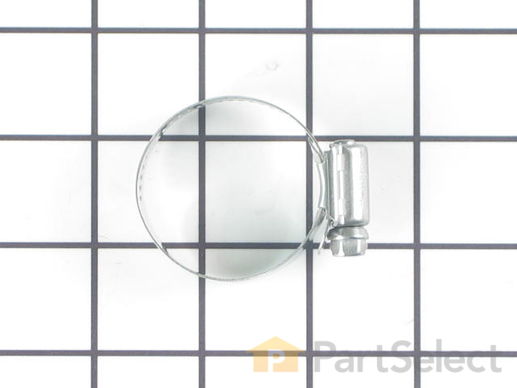
This hose clamp is used in a wide variety of household appliances. Most often it is found in washers, dishwashers, refrigerators, freezers, dehumidifiers, garbage disposals, or air conditioners. This clamp is used to securely attach a hose to another part of your appliance, which helps prevent leaks from those connections. Depending on the appliance, it can attach hoses to drain pumps, water inlet valves, pressure switches, and injector nozzles. We recommend you refer to model-specific diagrams for appropriate uses and exact placement. This hose clamp is made of metal, and is sold individually. To access and replace this part you will need a nut driver, pliers, and screwdrivers. Before you begin any repair work, make sure you have unplugged your appliance, and shut off the water supply if applicable.
Replacing your Kenmore Washer Hose Clamp

The hose clamp is used to hold the water hose in place which will prevent the hose from leaking water. Sometimes the clamp may lose its ability to latch on, causing a leaking washer. For the installation, you will need a flat head screw driver to replace the clamp and a drill to access the screws to remove the front of the washer. Be careful if you do not have specific clamp pliers as the clamp could fly off. Once the front of the washer has been removed, take a quick look for water damage or any obvious signs of where the leak is coming from. If it is not obvious, run water to test.
Replacing your Kenmore Washer Hose Clamp

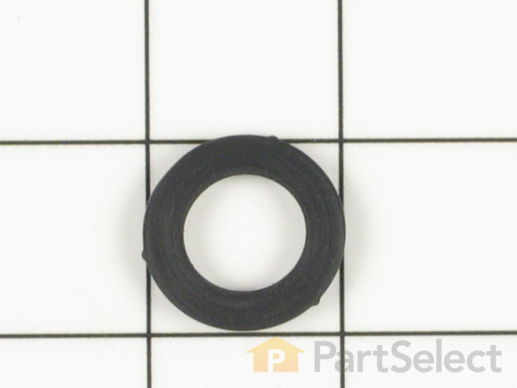
This inlet hose washer, also known as a high pressure inlet hose washer, is used in washing machines, refrigerators, freezers, and dishwashers. The function of this part is to create a watertight seal in the appliance. If your gasket gets dry and brittle over time it will start to crack and will lose its function. In this case, it is important to replace it. Refer to the manual provided by the manufacturer for further installation instructions and accurate guidance. As a safety precaution, remember to unplug your washer from the power source before beginning.
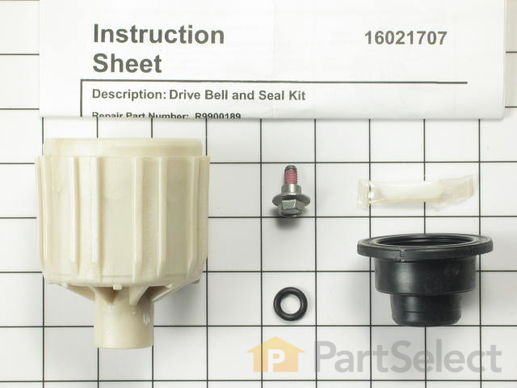
This washing machine drive bell and seal kit comes with a seal, a plug, a shoulder screw, a drive bell, and some grease.
Customer Repair Stories
grease in washer
-
Jan from Denver, CO
-
Difficulty Level:A Bit Difficult
-
Total Repair Time:1- 2 hours
-
Tools:Socket set
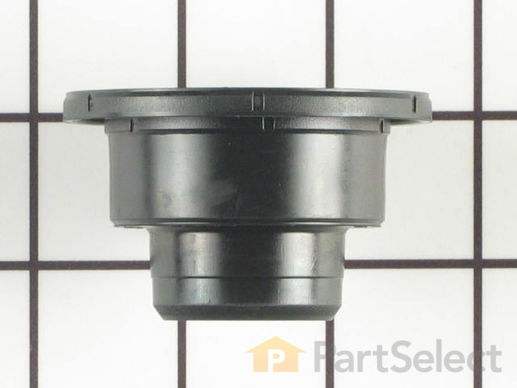
This hose attaches to the pump inlet port and tub outlet port.
Customer Repair Stories
Water leak
-
Ronald from Swanton, OH
-
Difficulty Level:Really Easy
-
Total Repair Time:15 - 30 mins
-
Tools:Pliers
This hose can handle hot or cold water and is five feet long.
Replacing your Kenmore Washer Inlet Hose - 5 FT

Customer Repair Stories
Old hot water inlet hose had budge at both ends.
-
Jimmy from MEMPHIS, TN
-
Difficulty Level:Very Easy
-
Total Repair Time:Less than 15 mins
-
Tools:Pliers
Leaking water inlet hoses.
-
Helen from NASHUA, NH
-
Difficulty Level:Really Easy
-
Total Repair Time:30 - 60 mins
Customer Repair Stories
Leaking water while washer runs
Next the old seal will also seem to be attached. The edge is firm but not bolted. A small prybar will help.
Easy repa ... Read more ir to do, but it did not fix my problem. I decided to get a new washer rather than go through further disassembly.
-
John from Roswell, GA
-
Difficulty Level:Easy
-
Total Repair Time:15 - 30 mins
-
Tools:Nutdriver


