Models > ADE4BRGS171TW01 > Symptoms > Noisy

Parts That Fix Speed Queen Dryer ADE4BRGS171TW01 Noisy

Noisy is a commonly reported symptom for the ADE4BRGS171TW01 Speed Queen Dryer, and we have put together a full guide on how to fix this. This advice is based on feedback from people who own this exact appliance. We have listed the most common parts for your ADE4BRGS171TW01 Speed Queen Dryer that will fix Noisy. We have included repair instructions, and helpful step-by-step video tutorials. If you are experiencing this issue, not to worry, DIYers just like you have fixed this, and shared their experience to help you!

Fixes Symptom 38% of time
★★★★★
★★★★★
2 Reviews

Rated by 37 customers 


Easy 

1- 2 hours 

Ratings submitted by customers like you who bought this part.   

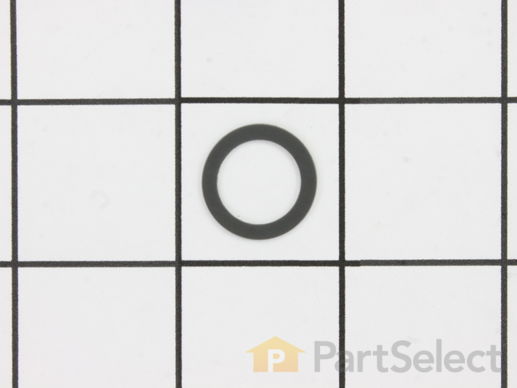
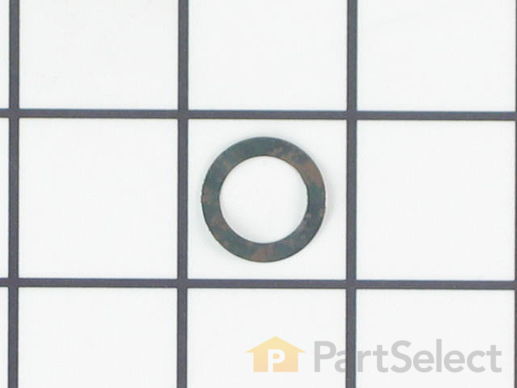
This genuine OEM washer has a 3/4 inch outside diameter. This thrust washer can be used on most makes and models of dryers. A complete list of compatible dryers is available below. The washer is found on dryers around the drum support rollers and idler pulleys, and helps prevent the rollers and pulleys from bumping up against the brackets they are installed on. Your thrust washer could be defective if you notice your dryer wont tumble, rotate, or turn; or there is a load squealing or whining noise when the dryer tumbles. The repair is a relatively easy job. You will require a putty knife, 5/16 inch nut driver, and E-Ring pliers. Remember to disconnect the power to your dryer before you begin the repair.

$ 7.95
  In Stock
PartSelect Number PS11740482
Manufacturer Part Number WP233520

Replacing your Amana Dryer Thrust Washer

Replacing your Thrust Washer

Customer Repair Stories

Clanging of dryer when rolling

Followed video on PartsSelect website, they made it real easy.
  • John from Bel Air, MD
  • Difficulty Level:
    Easy
  • Total Repair Time:
    15 - 30 mins
  • Tools:
    Nutdriver, Screw drivers
1 person found this instruction helpful.
Was this instruction helpful to you?
Thank you for voting!

belt was cracking and dryer was somewhat noisy

I used your great video for pointers as to what to do. I took off the front, raised the top, vacuumed the whole thing up, that took quite a while. Took out the drum. Did more cleaning. Then took off the old retaining rings with retaining ring pliers, took off the old drum rollers and support. Replaced with new roller supports, washer, roller, washer and retaining rings. Then I replaced the belt. Tested it and turned the wrong way and it came off. Replaced and tested it again and I don't know why but it came off. Replaced the belt again, tested fine. Then I replaced the felt pads and glides, they were worn. I ended up asking my husband to help hold the drum so I could get the front back on. Replaced front and door. Tried the dryer. Works great AND very, very little noise. Note: when taking the wiring off the light and the door switch, I took photo's of those places with my cell phone and had them to look at to make sure the wiring was correct.
  • Melody from Silverton, CO
  • Difficulty Level:
    Easy
  • Total Repair Time:
    More than 2 hours
  • Tools:
    Nutdriver, Screw drivers
3 of 5 people found this instruction helpful.
Was this instruction helpful to you?
Thank you for voting!
Fixes Symptom 27% of time
★★★★★
★★★★★
9 Reviews

Rated by 21 customers 


Easy 

1- 2 hours 

Ratings submitted by customers like you who bought this part.   

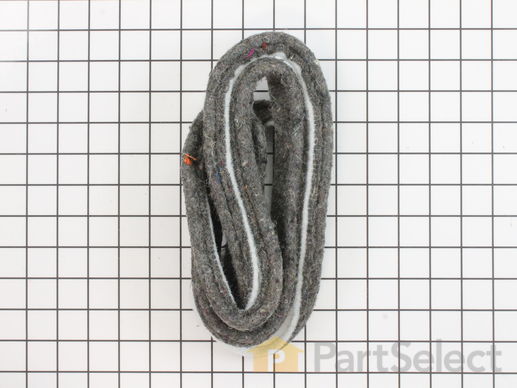
This cylinder felt seal is used in dryers and is located between the back of the drum and the rear dryer panel. If your dryer is experiencing any of these symptoms, replacing the felt seal could solve your problem: squealing or banging noise, clothes are getting stuck between tub and felt pad, takes too long to dry, not heating enough or not heat at all, or does not tumble. The tools needed for this installation are a 5/16 nut driver and a putty knife. Make sure to unplug the dryer from the power source before beginning this project. Refer to the manual provided by the manufacturer for further instructions.

$ 48.55
  In Stock
PartSelect Number PS11741917
Manufacturer Part Number WP37001132

Replacing your Speed Queen Dryer Cylinder Felt Seal

Replacing your Cylinder Felt Seal

Customer Repair Stories

Worn Felt Seal

remove bottom two screws on lower front panel, remove panel. remove two screws on lower portion of door panel, pull bottom panel towards yourself to release pins at the top. Disconnect wiring for light and door switch (make sure to note what wires go where. Complete removal of front door panel. Remove 4 screws holding cylinder frame in place, lift to remove. remove remnants of old felt seal, use rotary tool to remove excess glue, etc. apply glue (used rubberized gorilla super glue), apply felt seal - allow glue to set up. reinstall in reverse direction from removal. Be sure to use glue as there are no clips or other retaining pieces for the new felt and it will not hold in place. overall pretty easy.
  • robert from hillsborough, NC
  • Difficulty Level:
    Easy
  • Total Repair Time:
    15 - 30 mins
  • Tools:
    Nutdriver, Screw drivers
3 of 5 people found this instruction helpful.
Was this instruction helpful to you?
Thank you for voting!

Cylinder Seal came out

Early in the life of my dryer, the Cylinder Seal came out. For the past two years I put off buying the part. When it came in, I p[opped the top of the dryer, removed the two screws holding on the front panel, and pulled the Cylinder of the back wall of the dryer. I then placed the seal in the right spot, glued it down and reassembled. About Fifteen minutes of work and a cheap part, and now my dryer dries a l;oad of clothes in an hour instead of three.
  • Marcia from Hammond, LA
  • Difficulty Level:
    Easy
  • Total Repair Time:
    Less than 15 mins
  • Tools:
    Pliers
4 of 6 people found this instruction helpful.
Was this instruction helpful to you?
Thank you for voting!
Fixes Symptom 25% of time

Rated by 35 customers 


Easy 

1- 2 hours 

Ratings submitted by customers like you who bought this part.   

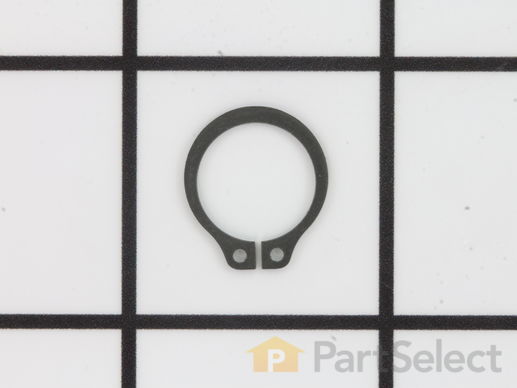
The metal retaining ring, which is under an inch long, holds the rear wheels on the axels of the dryer. The main reason why it would need to replaced is if the retaining ring has sprung out of place or is damaged. Some the symptoms could be that your dryer does not tumble, it makes a loud buzzing noise, or if it pumps, but will not spin. The tools needed for this project are a putty knife, 5/16 nut driver, and snap ring pliers. Refer to the installation video and diagram for further instructions and guidance. Customers ranked this replacement project as easy.

$ 13.58
  In Stock
PartSelect Number PS11740487
Manufacturer Part Number WP23748

Replacing your Amana Dryer Retaining Ring

Replacing your Retaining Ring
Fixes Symptom 5% of time

Rated by 6 customers 


Really Easy 

30 - 60 mins 

Ratings submitted by customers like you who bought this part.   

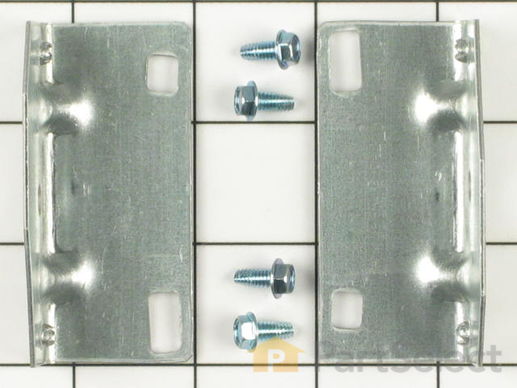
This kit contains two glide brackets and four screws.

$ 74.64
  In Stock
PartSelect Number PS2003560
Manufacturer Part Number 12002090
Fixes Symptom 4% of time

Rated by 1 customer 


Easy 

15 - 30 mins 

Ratings submitted by customers like you who bought this part.   

  No Longer Available
PartSelect Number PS2200824
Manufacturer Part Number Y504082
Fixes Symptom 1% of time
★★★★★
★★★★★
148 Reviews

Rated by 135 customers 


Easy 

30 - 60 mins 

Ratings submitted by customers like you who bought this part.   

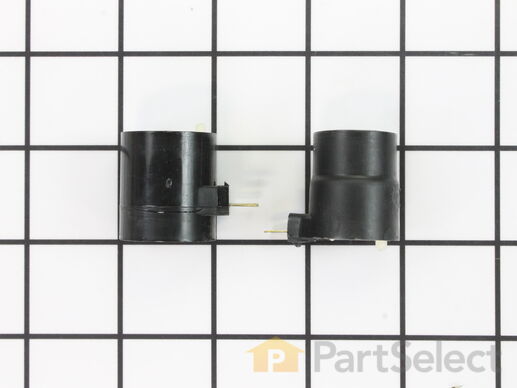
When the igniter reaches a high enough temperature, these coils (Coil Valve, Dryer Gas Valve Coil Kit, Dryer Valve Coil Kit, Gas Valve Solenoid) work together to open the gas valve and allow the gas to enter the burner. This is a safety mechanism to ensure that there are no unsafe buildups of gas inside your appliance. The coils are attached to the dryer gas valve. If the dryer does not heat or heats intermittently, the coil may not be opening the gas valve. Both coils must be operational for the valve to open. No continuity would indicate a defective coil, but they can be intermittent and fail when they get hot. Both coils should be replaced when one of them is broken. This part can break as a result of material fatigue from normal use. This part measures approximately 1 inch in diameter and 1 inch in height, and is constructed of plastic and metal. It comes in black/beige. This part features a 3-terminal boost/hold coil and a 2-terminal secondary coil

$ 30.89
  In Stock
PartSelect Number PS334310
Manufacturer Part Number 279834

Customer Repair Stories

Dryer would only heat cycle once

I removed the two screws holding the front panel to expose the lower works and verified the heating cycle failure. After a check of the vent system, checking the sensors for continuity and coils for resistance, I retired to the 'net for support. Accepting the general consensus that the most frequent, common and likely failure to be the coils, I rechecked them with the meter and found the two pronged coil to have significantly more resistance than the three prong coil. That was enough evidence to point to the coils. While I waited for the part to arrive, I replace the vent ducting. When the parts arrived I removed the two Phillips screws holding the coils, removed the old ones, installed the new ones, replaced the bracket, put the front cover back on and in less then ten minutes clothes where drying.
  • Robert from Seattle, WA
  • Difficulty Level:
    Really Easy
  • Total Repair Time:
    Less than 15 mins
  • Tools:
    Nutdriver, Screw drivers
81 of 90 people found this instruction helpful.
Was this instruction helpful to you?
Thank you for voting!

Dryer ran but would not heat

PartSelect showed seven different possibilities why the dryer wouldn't heat. I removed the two screws to remove the bottom panel and turned the dryer on and noticed that the heating element that ignites the gas was working fine. This meant that it was not getting gas so it could be the gas valve or one of the two gas valve coils which are located on top of the gas valve. I borrowed my neighbor"s ohm meter and touched the two probes on the coils terminals to check for continuity and found that one of the coils read zero. I then took both of the coils out by removing two screws and tested each coil again. One coil read 500-850 and the other read zero. This meant that it was no good so I called for the part and received it in three days. I reassembled the parts and turned the dryer on and it fired up after a few seconds. It works as good as new. The part plus shipping was less than $30. My repairman would have charged me $150-$200. While the dryer was apart I gave it a good cleaning with a vacuum and a toothbrush in delicate areas. I also removed and cleaned the lint trap housing by removing two nuts. I didn't know much about gas dryers, but thanks to PartSelect I easily fixed it myself.
  • Gary from Haverhill, NH
  • Difficulty Level:
    Easy
  • Total Repair Time:
    30 - 60 mins
  • Tools:
    Nutdriver, Screw drivers, Socket set
391 of 440 people found this instruction helpful.
Was this instruction helpful to you?
Thank you for voting!
Fixes Symptom 1% of time
★★★★★
★★★★★
19 Reviews

Rated by 27 customers 


Really Easy 

15 - 30 mins 

Ratings submitted by customers like you who bought this part.   

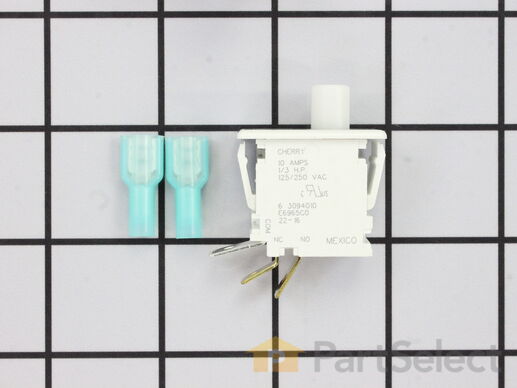
This part replaces two terminal switches in a dryer and prevents the dryer from running when the door is open. This includes two connectors. If your dryer will not shut off, start, or does not tumble, replacing the door switch can solve this appliance problem. The tools needed for replacement are a screw driver and wire strippers. Make sure to attach the two wires to the right two poles of the new switch, to do this you can check the resistance of the switch. Unplug the dryer before installing this part, also refer to the diagram provided by the manufacturer.

$ 29.94
  In Stock
PartSelect Number PS1964648
Manufacturer Part Number W10169313

Replacing your Maytag Dryer Door Switch Kit

Replacing your Door Switch Kit

Customer Repair Stories

Switch did not turn off dryer when door opened

Switch can be removed from outside of dryer and your video described the repair as having to work from inside dryer. But since wires were still attached to old switch, it could be popped out and wires switched. Since there were three wires on new switch to allow it to turn on and off a circuit, it was useful to check the resistance of the switch compressed or released to be certain I was attaching the two wires to the right two poles of the new switch. But that all required only a couple of minutes. Thank you.
  • paul from madison, CT
  • Difficulty Level:
    Really Easy
  • Total Repair Time:
    Less than 15 mins
13 of 17 people found this instruction helpful.
Was this instruction helpful to you?
Thank you for voting!

Switch sticking in on position

FIRST unplug dryer from electrical source, CAUTION, the top of this dryer does not open with clips, do not pry on top to open! On the front of the dryer look under the lower panel, and find two screws, one on the left side, and one on the right, remove these screws, and pull slightly down on panel to remove. Behind this panel find two screws holding the door panel, one on the left, and one on the right, remove the left, and support the door panel while removing the right side. Gently pull the bottom of door panel outward, and the clips on top of door panel will unhinge from top, carefully rotate left side of door panel to floor, and note the wire connections on switch, and orientation of switch, then unplug wires, and move door panel to a comfortable working positon. Door must be open to remove switch, then depress the two plastic retaining keepers on each side of switch, and push switch through toward door. Replace with new switch, reconnect the wires, and reassymble in reverse order. Remember, door assymbly must be inserted in dryer top at an angle, and then bottom rotated downward, and bottom panel nylon guildes inserted into door panel bottom.
  • Don from Jacksonville, FL
  • Difficulty Level:
    Really Easy
  • Total Repair Time:
    15 - 30 mins
  • Tools:
    Nutdriver
99 of 133 people found this instruction helpful.
Was this instruction helpful to you?
Thank you for voting!