Parts That Fix Amana Dishwasher ADB1100AWS5 Not drying dishes properly
Not drying dishes properly is a commonly reported symptom for the ADB1100AWS5 Amana Dishwasher, and we have put together a full guide on how to fix this. This advice is based on feedback from people who own this exact appliance. We have listed the most common parts for your ADB1100AWS5 Amana Dishwasher that will fix Not drying dishes properly. We have included repair instructions, and helpful step-by-step video tutorials. If you are experiencing this issue, not to worry, DIYers just like you have fixed this, and shared their experience to help you!
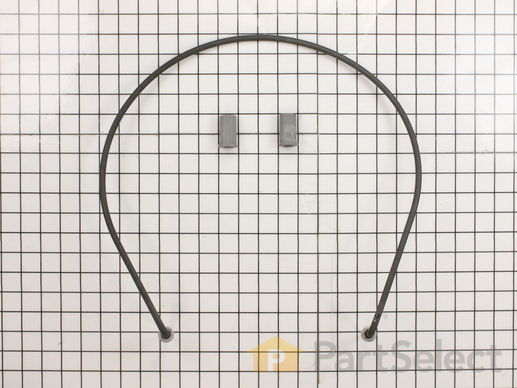
This manufacturer-certified heating element is used to create heat during the dry cycle and increase water temperature during portions of the wash cycle when certain options are selected. If your dishes are not drying or the water in the dishwasher is not getting hot you may need to replace the element. This kit includes the heater, two heater fasteners, and is a genuine OEM part. Please remember to disconnect the power before starting the repair. Use a multi-meter to test your heating element for continuity to determine whether this is the part that is causing your symptom. This part does not include any washers. To make your repair, disconnect the wires from the bottom of the element in the back, remove the plastic nuts holding it in place, remove the element, and repeat these steps in reverse order to install your new part. This is an easy repair that requires only a screwdriver, wrench set, and should take less than 30 minutes.
Replacing your Whirlpool Dishwasher Dishwasher Heating Element

Customer Repair Stories
clean light flashing 7 times would not run
-
Mark from Winchester, VA
-
Difficulty Level:Really Easy
-
Total Repair Time:30 - 60 mins
-
Tools:Screw drivers, Wrench (Adjustable), Wrench set
Heater element broken.
Step 2: Remove the screws holding the bottom kickplate.
Step 3: Loosen leveling legs.
Step 4: Pull dishwasher out of hole.
Step 5: Unlplug dishwasher.
Step 6: Disconnect wires from bottom of element in back.
Step 7: ... Read more Remove plastic nuts holding element in place.
Step 8: Remove element.
Step 9: Reverse Steps 1-7.
Step 10: Drink beer.
-
Dennis from Sedro Woolley, WA
-
Difficulty Level:Really Easy
-
Total Repair Time:Less than 15 mins
-
Tools:Screw drivers, Wrench set
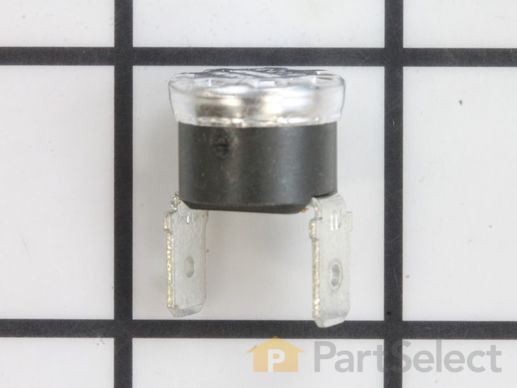
This part acts as as safety mechanism that keeps the dryer from overheating. Once the dryer temperature reaches a certain point, this part will shut down power to the heating element.
Replacing your Kenmore Dishwasher High Limit Thermostat

Customer Repair Stories
No heat. Replaced thermostat
-
Tim from BURTONSVILLE, MD
-
Difficulty Level:Really Easy
-
Total Repair Time:30 - 60 mins
-
Tools:Screw drivers, Socket set
Dishes wouldn't dry
-
George from Lisbon, CT
-
Difficulty Level:Really Easy
-
Total Repair Time:15 - 30 mins
-
Tools:Screw drivers
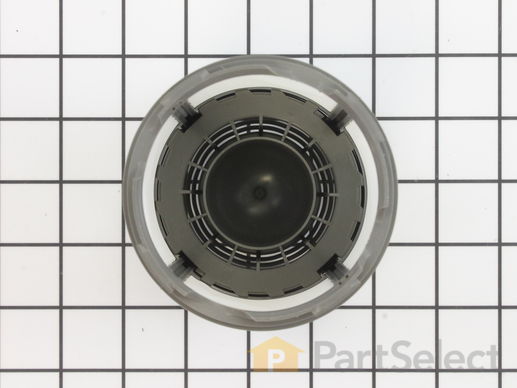
This filter works with the water pump in your dishwasher. It prevents debris from entering the pump and causing damage. As a result, the filter can occasionally become clogged or damaged, and will need to be replaced. A good indication of a damaged filter is if your dishwasher is not draining or cleaning the dishes properly. This filter has a gray plastic top and bottom that are approximately 5 inches in diameter. This is a genuine OEM part that comes directly from the manufacturer. To replace the filter, simply turn it counterclockwise to unlock, and then screw in the new filter
Replacing your Whirlpool Dishwasher Dishwasher Filter

Customer Repair Stories
Water filter needed replacing
-
Martha from SAN DIEGO, CA
-
Difficulty Level:Very Easy
-
Total Repair Time:Less than 15 mins
Dishwasher would not drain
-
Edward F from CINCINNATI, OH
-
Difficulty Level:Really Easy
-
Total Repair Time:30 - 60 mins


