Models > 1CWTW4845EW1 > Symptoms > Spins slowly

Parts That Fix Whirlpool Washer 1CWTW4845EW1 Spins slowly

Spins slowly is a commonly reported symptom for the 1CWTW4845EW1 Whirlpool Washer, and we have put together a full guide on how to fix this. This advice is based on feedback from people who own this exact appliance. We have listed the most common parts for your 1CWTW4845EW1 Whirlpool Washer that will fix Spins slowly. We have included repair instructions, and helpful step-by-step video tutorials. If you are experiencing this issue, not to worry, DIYers just like you have fixed this, and shared their experience to help you!

Fixes Symptom 43% of time
★★★★★
★★★★★
356 Reviews

Rated by 276 customers 


Really Easy 

15 - 30 mins 

Ratings submitted by customers like you who bought this part.   

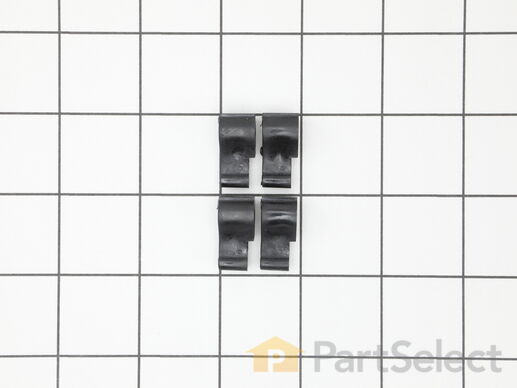
This kit is used for replacing the agitator directional cogs (Agitator Dogs, Agitator Repair Kit, Washer Agitator Dogs, Agitator Dog Ears). The agitator is what creates the thrusting motion in your washer to tumble your clothes during the washer cycle. Your agitator will rotate one way, and not the other. The agitator dogs are what prevent the agitator from rotating in both directions, while allowing it to rotate in one direction. Your agitator cogs may be malfunctioning if you can manually rotate the agitator in both directions. If broken they will need to be replaced. Cogs can be found by simply removing the softener dispenser and then removing the agitator cap. The are attached to the agitator. This replacement part features 4 agitator directional cogs. There are 4 cogs per package that are made up of high-quality plastic. This part comes in white/beige.

$ 4.39
  In Stock
PartSelect Number PS388034
Manufacturer Part Number 80040

Replacing your Whirlpool Washer Agitator Directional Cogs

Replacing your Agitator Directional Cogs

Customer Repair Stories

top half of agitator did not move during wash cycle

pull off softner dispenser, pop off agitator cap by inserting straight screw driver into small slot, remove bolt inside agitator with socket wrench and long extension, pull agitator straight up off shaft, place agitator on floor, with feet holding bottom half pull top half apart from bottom half by pulling straight up, note direction of old cogs remove and replace with new, reassemble
  • dennis from new stanton, PA
  • Difficulty Level:
    Really Easy
  • Total Repair Time:
    Less than 15 mins
  • Tools:
    Socket set
276 of 319 people found this instruction helpful.
Was this instruction helpful to you?
Thank you for voting!

washer wouldn't agitate

First pry off the cap of the agitator. Then using a socket remove the bolt that holds the plastic cup in place. Remove this cup by prying it loose from the two tabs that hold it in place. Once this cup is removed you can get to the broken cogs.
Slip the new cogs into the underside of the cup, and slide the cup back down in the agitator housing using the slots on the side for a guide. (You may want to remove the entire agitator and assemble everything upside down, then flip it all back over to mount, so the cogs don't fall out).
Tighten the bolt, snap the cap back in place on top of the agitator and your'e done. Easy repair.
  • mike from Kent, WA
  • Difficulty Level:
    Easy
  • Total Repair Time:
    15 - 30 mins
  • Tools:
    Screw drivers, Socket set
931 of 1007 people found this instruction helpful.
Was this instruction helpful to you?
Thank you for voting!
Fixes Symptom 20% of time
★★★★★
★★★★★
20 Reviews

Rated by 13 customers 


Easy 

30 - 60 mins 

Ratings submitted by customers like you who bought this part.   

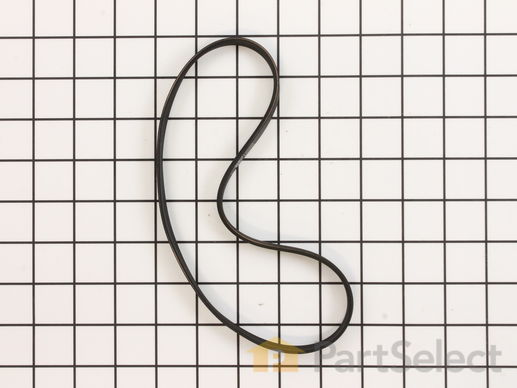
The main drive belt is designed to ride on the pulley until the basket gets up to speed.

$ 19.71
  In Stock
PartSelect Number PS11747978
Manufacturer Part Number WPW10006384

Replacing your Whirlpool Washer Drive Belt

Replacing your Drive Belt

Customer Repair Stories

washer wasn't spinning after rinsing but the motor was running

I had taken the time to watch videos of this repair so when the switch arrived I knew what I had to do. Removing the screws to get the back cover off was simple as was installing the switch. No tricks here just watch the videos and your all set to do the job
  • Terry from HANCOCK, MD
  • Difficulty Level:
    Easy
  • Total Repair Time:
    30 - 60 mins
  • Tools:
    Nutdriver, Pliers, Screw drivers
8 of 10 people found this instruction helpful.
Was this instruction helpful to you?
Thank you for voting!

Smelled a burning odor occasionally

First, I checked the belt before ordering and then decided to order the belt, capacitor, and clutch assembly (if I needed to replace). I replaced the belt noticing the older belt came right off and new one was tighter going on. I replaced the capacitor since I had it handy and it can be known to cause this smell also. After setting washer back up and started a cycle I noticed the spin cycle would not start properly so I thought maybe the capacitor (new one) was faulty or just not the exact match even though it was said to be. I replaced my older capacitor back on and again ran cycle and it ran great. Thus I decided to send the parts which were not used. I would recommend this site as I have used them in the past before on other items. They ship fast and have a great return policy if parts not used.
  • Paul from E NORTHPORT, NY
  • Difficulty Level:
    Very Easy
  • Total Repair Time:
    15 - 30 mins
  • Tools:
    Nutdriver, Socket set, Wrench (Adjustable)
16 of 22 people found this instruction helpful.
Was this instruction helpful to you?
Thank you for voting!
Fixes Symptom 17% of time
★★★★★
★★★★★
202 Reviews

Rated by 363 customers 


Really Easy 

15 - 30 mins 

Ratings submitted by customers like you who bought this part.   

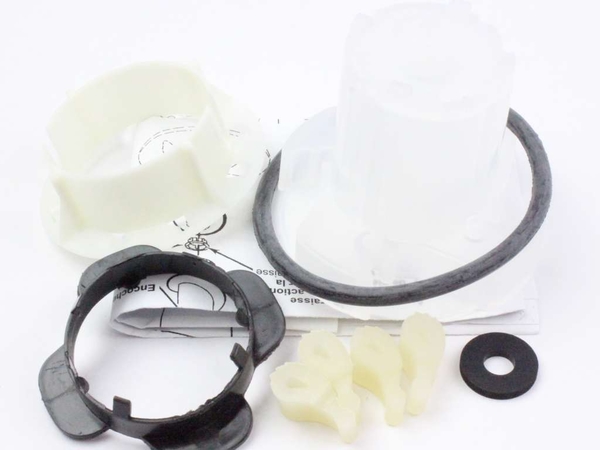
This kit (Medium Cam Agitator Repair Kit, Washer Agitator Cam Repair Kit, Cam Agitator) is used to repair the agitator. These parts are located inside the agitator auger near the top. You will need to remove the softener dispenser first if your model is equipped with one. This part is driven by the output shaft of the transmission to move the clothes during a wash cycle. The agitator auger rotates one way but not the other, which forces the laundry down and out for a constant tumbling during the wash cycle. The agitator is subjected to a lot of force during the washer wash cycle. Constant and frequent use of the appliance can cause damage, especially during heavy loads. If you’re experiencing a noisy agitator, or an agitator that spins freely in both directions, then it may be in need of repairs. If your agitator is no longer agitating properly, your clothes will not tumble, and will not be washed properly. The agitator repair kit includes an agitator cam, 4 directional cogs, a bearing, thrust spacer, inner cap seal, and a washer. It is constructed of plastic and rubber, and comes in black/white.

$ 14.02
  In Stock
PartSelect Number PS334650
Manufacturer Part Number 285811

Replacing your Whirlpool Washer Agitator Repair Kit

Replacing your Agitator Repair Kit

Customer Repair Stories

agitator making noise and didn't want to turn

I unsnapped the top of the mechanism and removed the agitor assembly, (I had already put together the new one,) I just had to unsrew the old one to get it out and screw in the new one. This took me less than 10 minutes from start to finish. My husband was away for the week and this was left up to me if I wanted it done. So I (a female) decided that I would attempt it.
A Piece of Cake. thanks to Parts Select, I have a few more years with this machine. I was really hating to purchase a new machine. So for less than $25.00 with no service call "I Fixed It!"
  • Jo Anne from Crossville, TN
  • Difficulty Level:
    Really Easy
  • Total Repair Time:
    Less than 15 mins
  • Tools:
    Socket set
21 of 22 people found this instruction helpful.
Was this instruction helpful to you?
Thank you for voting!

Upper portion of agitator, no longer pushing clothing down.

The instructions came with the repair kit, it was fairly simple and straight foward.

One bolt held the entire agitator unit in the washer, as well as held the upper and lower halves together. Once that nut was removed the two halves seperated and the plastic clutch pieces could easily be replaced wtih the new onces in the repair kit.

Very easy do-it-yourself repair! Took about 20 minutes because I was being cautious. Next time I could do it in 5 minutes.
  • Matt from Pawtucket, RI
  • Difficulty Level:
    Easy
  • Total Repair Time:
    15 - 30 mins
  • Tools:
    Pliers, Socket set
796 of 829 people found this instruction helpful.
Was this instruction helpful to you?
Thank you for voting!
Fixes Symptom 12% of time
★★★★★
★★★★★
21 Reviews

Rated by 15 customers 


Really Easy 

30 - 60 mins 

Ratings submitted by customers like you who bought this part.   

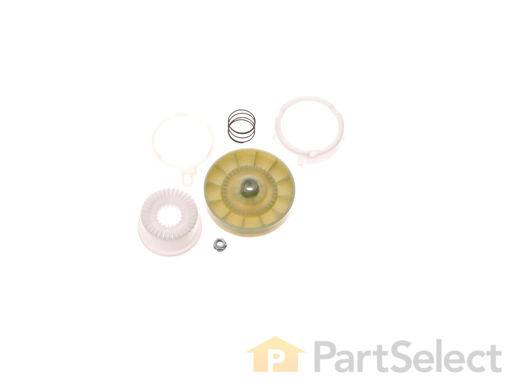
This is a replacement clutch assembly or cam kit for your washer. The clutch assembly is mounted on the drive shaft on the bottom of your washer. You may need to replace the clutch assembly if the splines on the clutch assembly are stripped and the washer is making noise, or if you are having problems with the wash and spin cycles. You will need to access the bottom of the washer for this repair. It is easiest to if you disconnect your washer from both the water and power source, and lay it on its back. The clutch assembly contains 6 parts, and all are included with the kit. It is also important to change out the entire assembly, rather than individual pieces.

$ 54.38
  In Stock
PartSelect Number PS10057144
Manufacturer Part Number W10721967

Replacing your Whirlpool Washer Washer Drive Pulley

Replacing your Washer Drive Pulley

Customer Repair Stories

Making loud noises.

The video you sent me was very helpful told me the exact tools I needed and how to do it.
Thank you
  • Roy from BROOKLYN, NY
  • Difficulty Level:
    Really Easy
  • Total Repair Time:
    30 - 60 mins
  • Tools:
    Nutdriver, Pliers, Screw drivers, Socket set
8 of 10 people found this instruction helpful.
Was this instruction helpful to you?
Thank you for voting!

Noise, grinding sounds. Wash tub stopped turning but motor and cycles kept functioning. Process of elimination, must be the clutch assembly.

Easy, just followed the repair video. Recommend also ordering the drive belt. Bought one locally during my repair.
  • David from BLOOMINGTON, IN
  • Difficulty Level:
    Easy
  • Total Repair Time:
    30 - 60 mins
  • Tools:
    Screw drivers, Socket set
35 of 43 people found this instruction helpful.
Was this instruction helpful to you?
Thank you for voting!
Fixes Symptom 5% of time
★★★★★
★★★★★
8 Reviews

Rated by 76 customers 


Really Easy 

15 - 30 mins 

Ratings submitted by customers like you who bought this part.   

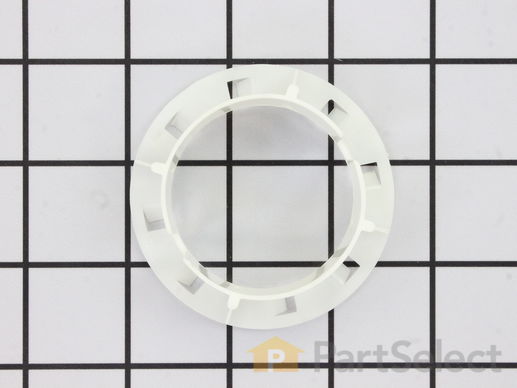
This is a genuine OEM thrust spacer for your washer, and is also commonly known as a retainer ring. The spacer is about 2.5 inches in diameter, is made of plastic, and is white in color. It is used in the agitator assembly of many direct drive washing machine models. The spacer is fitted between the agitator and the agitator auger to support it as it moves. This part is sold individually. Although it is not included in this part, you should have some dual-action agitator grease for the repair as well.

$ 7.64
  In Stock
PartSelect Number PS334562
Manufacturer Part Number 285587

Replacing your Whirlpool Washer Thrust Spacer

Replacing your Thrust Spacer

Customer Repair Stories

The agiator would not work properly

Removed the agiator and replaced the broken part and replaced the agiator.
  • Velma from Belvidere, IL
  • Difficulty Level:
    Easy
  • Total Repair Time:
    15 - 30 mins
  • Tools:
    Socket set
0 of 1 people found this instruction helpful.
Was this instruction helpful to you?
Thank you for voting!

Agitator seperated from inside of wash drum

I had to find a point of reference first since item came apart in wash cycle and internal pieces fell out - thank goodness for YOUTUBE. Another guy was thoughtful enough to do a video on how the assembly came apart / went back together - a huge help for sure. Actual repair was less than a half hour after obtaining new part and seeing video. The 12 year old washer works like brand new - saving me close to 1,000 dollar replacement charges.
  • Larry from Brandon, FL
  • Difficulty Level:
    Easy
  • Total Repair Time:
    15 - 30 mins
  • Tools:
    Screw drivers, Socket set
1 person found this instruction helpful.
Was this instruction helpful to you?
Thank you for voting!
Fixes Symptom 3% of time
★★★★★
★★★★★
2 Reviews

Rated by 3 customers 


A Bit Difficult 

1- 2 hours 

Ratings submitted by customers like you who bought this part.   

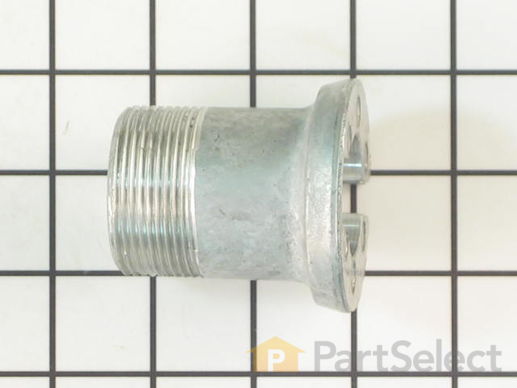
This part is for large capacity belt drive and direct drive appliances.

$ 23.77
  In Stock
PartSelect Number PS11741977
Manufacturer Part Number WP389140

Replacing your Kenmore Washer Drive Block - 2 5/16 Inch High

Replacing your Drive Block - 2 5/16 Inch High

Customer Repair Stories

No spin on spin cycle

Easy, If your drive block has an open top, it's worn. Look at a picture of a new drive block and compare. If it doesn't match, then you need a new drive block. Note: Also check the drive clutch and clutch liners or pads...they may be worn. In my case it was the drive block this time. So to start, take off the fabric softenner dispenser in the center of the washer. Then pull out the seal. then remove the bolt. and pull off the agitator assembly. after that tap off the lock nut with a punch and hammer or if you have the special spanner wrench tool, use that. Once removed, pull out the inner tub and then pull the drive block off the shaft. Put the new drive block on and reverse the procedure from there. Tap the lock nut tight with the punch and hammer while re-installing. I'm so glad I did this repair. $15 is so much better than just giving in and buying a new washer!!!
  • Thomas from Port Jervis, NY
  • Difficulty Level:
    Really Easy
  • Total Repair Time:
    30 - 60 mins
  • Tools:
    Wrench (Adjustable)
Was this instruction helpful to you?
Thank you for voting!

Loud Banging Sound At The End Of Spin Cycle

First I removed the two screws on the back of the control console( at the bottom, phillips head). Flip that up and out of the way. Then you could remove the 2 big clips that hold the back of the washer to the cabinet. Disconnect the lid switch and flip the cabinet forward and out of the way. Remember when putting the cabinet back on, line up the slots on the bottom of the cabinet with the toungues on the base. Next pull off the fabric softner dispenser, then reach down in there and pull out the bottom seal of that to expose the bolt that hold the agitator on. Remove that bolt and pull off the agitator. Remove that little clip and the plastic piece above the spanner nut. I didn't have a spanner wrench so I hade to use a small extension from my socket set and a hammer to loosen it. Once that is removed then you could remove the ring around the top of the tub, and pull the tub off. Now you could see the block and probably all the metal shavings it's been creating. If the two ears that stick up and fit in to the block are worn, you should replace that too. I think you hve to replace that from the bottom. Now just put it all back together. Print out the exploded diagram from the web sit so you have it right there. Good luck!
  • John from Hawley, PA
  • Difficulty Level:
    Easy
  • Total Repair Time:
    30 - 60 mins
  • Tools:
    Pliers, Screw drivers, Socket set
132 of 540 people found this instruction helpful.
Was this instruction helpful to you?
Thank you for voting!