This dryer drum belt (Whirlpool Dryer Belt, Drive Belt) has four ridges, three grooves and is 1/4" wide, and 92 1/4 inches in length. It comes in black and is made of rubber. The belt transfers the ro...
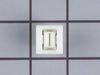
This dryer door switch is a simple on/off switch mechanism that prohibits the dryer from operating when the door is open, and operates the drum light. White in color and 6.5 inches long, this OEM swit...
If your washer shakes or vibrates loudly when it reaches its max speed, check that the leveling legs are even. To ensure that the washer is firmly on the ground using all four legs, adjust the legs so...
This manufacturer-certified dryer lint filter is used to collect lint during the dryer cycle, to prevent damage to the machine and to prevent lint from sticking to clothes. This model comes in white a...
This switch or push to start switch is used for dryers. It is the tool that completes the circuit and ultimately starts the dryer by pressing and releasing the button after selecting a setting on the ...
This touch-up paint can be used on a wide variety of household appliances. It is most often used on washers, dryer, refrigerators, dishwashers, ranges, freezers, trash compactors, or microwaves. It is...
$8.00
In Stock
Questions And Answers for 110C61182010
Ask our experts a question about this model and we'll get back to you as soon as possible!
4 questions answered by our experts.
Sort by:
< Prev
1
Next >
Search filter:
Clear Filter
Your search term must have 3 or more characters.
Keep searches simple. Use keywords, e.g. "leaking", "pump", "broken" or "fit".
Sorry, we couldn't find any existing answers that matched.Try using some different or simpler keywords, or submit your new question by using the "Ask a Question" button above!
Colin
December 15, 2021
Dryer does not heat and element is in good shape.
For model number 110C61182010
Hello Colin, thank you for writing. Our research indicates the Dryer Thermal Fuse PartSelect Number PS11741460 or Thermal Cut-Off Kit PartSelect Number PS334299 are the most recommended parts for you to replace. We hope this helps.
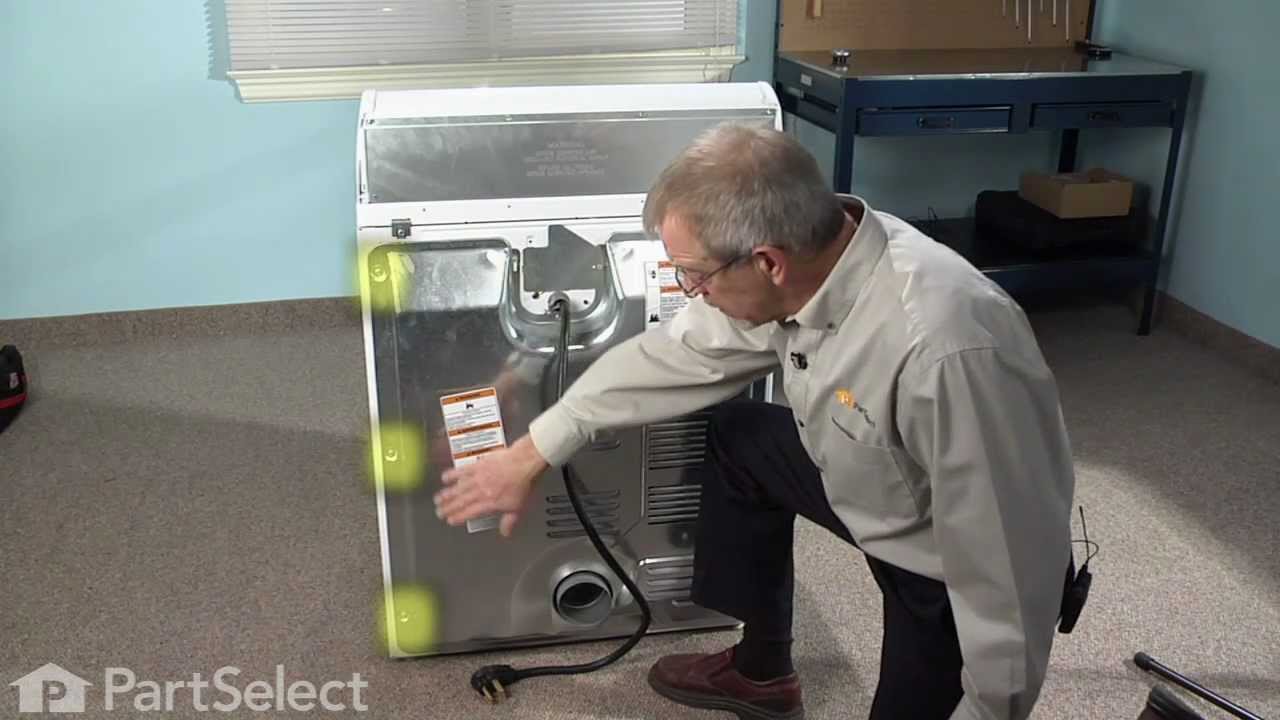
Hello Graham, Thank you for writing. We have attached a link on replacing a belt. This video will show how to disassembly the appliance and lift the top. We hope this helps!
1 person found this helpful.
Was this helpful?
Thank you for voting!
Zoltan
October 24, 2023
What is the right size belt for my dryer?
For model number 110C61182010
Hello Zoltan, thank you for your inquiry. The compatible drive belt for your model is part number PS346995. It is approximately 0.25 inches wide and 92.25 inches long. If you need help placing an order, customer service is open 7 days a week!
Drier running very hot. I have checked all fuses and limit switch and thermostat. All have continuity when tested with Ohm meter. So what do I do now?
For model number 110C61182010
Hello Garry, thank you for reaching out. Based on the description that you have provided, we would recommend checking the timer, part number PS11749831. It controls the electrical components and the duration of the dryer cycles. We hope this information helps!
Pryed dryer top open and opened front door. . Unscrewed the 2 retaining screws. Pulled old switch from the wiring harness. Put new switch in place and replaced the retaining screws. Put new switch wire plug into the wiring harness. Before closing top, checked door switch function with dryer on. Dryer cut off when door open an
... Read mored when closed dryer started normally. . . Maint. Note instruction book should warn that letting door slam, which I did on occaision, broke the switch arm. Might save future problems.
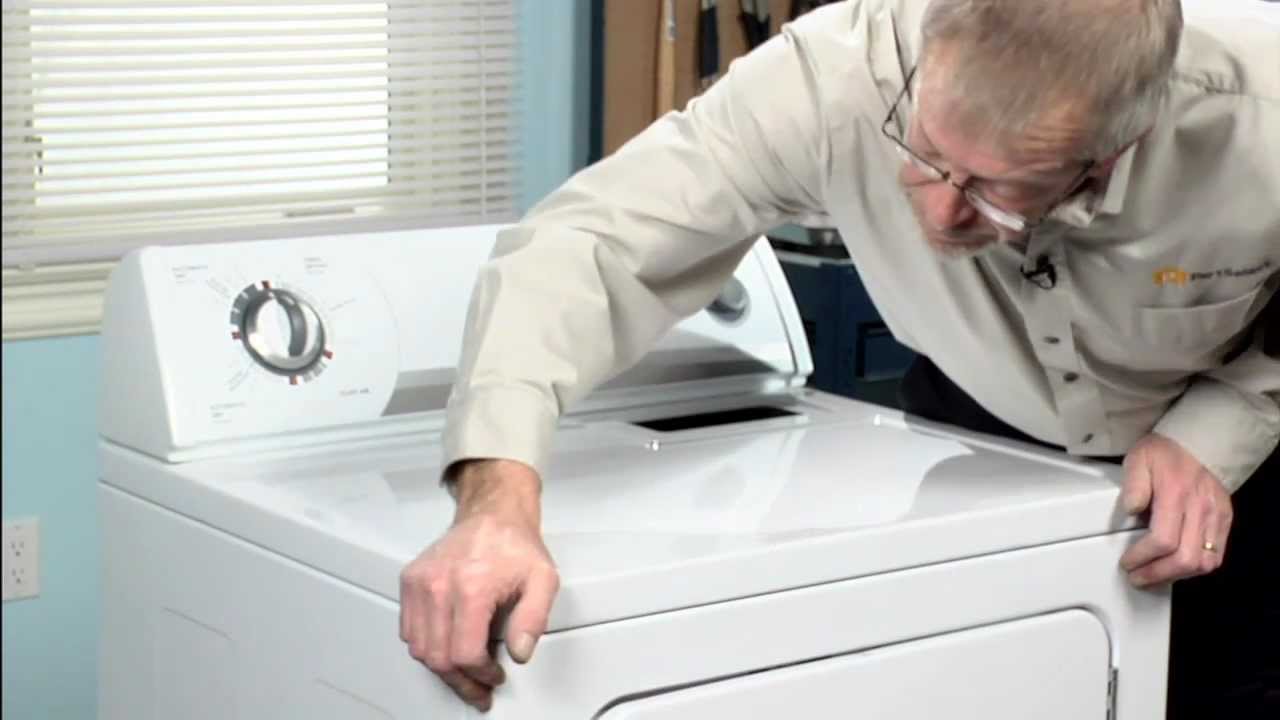
It was simple once I figured out what to do:). I removed the 2 screws on the top of the dryer... they were a bit hard to find. Even with the other descriptions on this site. I was removing things I didn't need to. The 2 screws you need to remove are under the LINT COLLECTOR LID. Remove those 2 screws & lift the lid... it will be tigh
... Read moret at first. the front of the lid has 2 "catches" in the corners.
The hardest part was getting the door switch assembly to "unplug". We pried it off -- eventually -- & then simply plugged in the new one.
Saved me LOTS of money & was worth the 30 minutes - 1 hour of work.
As I said previously, once you realize how to get the lid up & manage to pry off the plug, that's all there is to it -- easy!


 Diagram and Parts List for Kenmore Dryer")