Models > WTW8200YW0 > Symptoms > Leaking

Parts That Fix Whirlpool Washer WTW8200YW0 Leaking

Leaking is a commonly reported symptom for the WTW8200YW0 Whirlpool Washer, and we have put together a full guide on how to fix this. This advice is based on feedback from people who own this exact appliance. We have listed the most common parts for your WTW8200YW0 Whirlpool Washer that will fix Leaking. We have included repair instructions, and helpful step-by-step video tutorials. If you are experiencing this issue, not to worry, DIYers just like you have fixed this, and shared their experience to help you!

Fixes Symptom 35% of time
★★★★★
★★★★★
1 Review

Rated by 17 customers 


Easy 

30 - 60 mins 

Ratings submitted by customers like you who bought this part.   

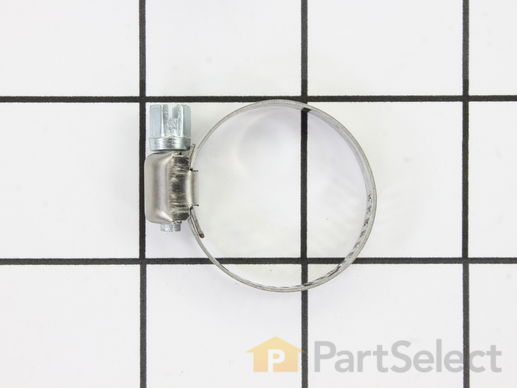
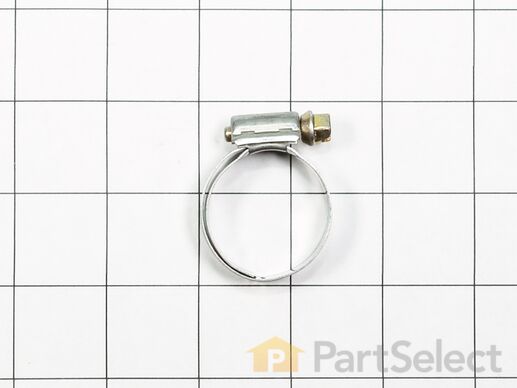
This hose clamp is used in a wide variety of household appliances. Most often it is found in washers, dishwashers, refrigerators, freezers, dehumidifiers, garbage disposals, or air conditioners. This clamp is used to securely attach a hose to another part of your appliance, which helps prevent leaks from those connections. Depending on the appliance, it can attach hoses to drain pumps, water inlet valves, pressure switches, and injector nozzles. We recommend you refer to model-specific diagrams for appropriate uses and exact placement. This hose clamp is made of metal, and is sold individually. To access and replace this part you will need a nut driver, pliers, and screwdrivers. Before you begin any repair work, make sure you have unplugged your appliance, and shut off the water supply if applicable.

$ 11.80
  In Stock
PartSelect Number PS11743008
Manufacturer Part Number WP596669

Replacing your Kenmore Washer Hose Clamp

Replacing your Hose Clamp
Fixes Symptom 23% of time
★★★★★
★★★★★
2 Reviews

Rated by 3 customers 


A Bit Difficult 

1- 2 hours 

Ratings submitted by customers like you who bought this part.   

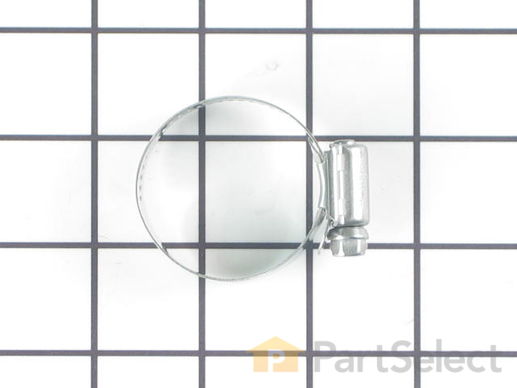
The hose clamp is used to hold the water hose in place which will prevent the hose from leaking water. Sometimes the clamp may lose its ability to latch on, causing a leaking washer. For the installation, you will need a flat head screw driver to replace the clamp and a drill to access the screws to remove the front of the washer. Be careful if you do not have specific clamp pliers as the clamp could fly off. Once the front of the washer has been removed, take a quick look for water damage or any obvious signs of where the leak is coming from. If it is not obvious, run water to test.

$ 11.10
  In Stock
PartSelect Number PS11740613
Manufacturer Part Number WP285655

Replacing your Kenmore Washer Hose Clamp

Replacing your Hose Clamp
Fixes Symptom 11% of time
★★★★★
★★★★★
3 Reviews

Rated by 2 customers 


Really Easy 

30 - 60 mins 

Ratings submitted by customers like you who bought this part.   

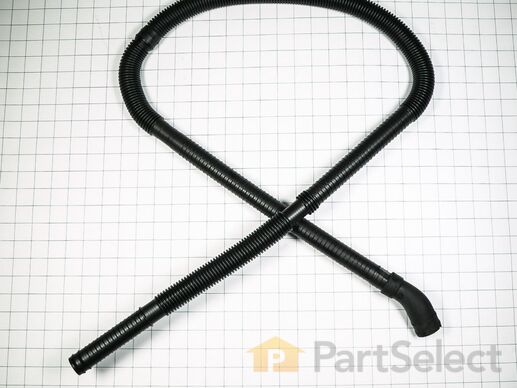
$ 23.62
  In Stock
PartSelect Number PS11745038
Manufacturer Part Number WP8182767

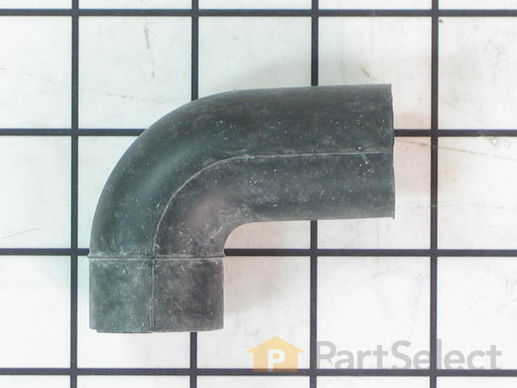
Replacing your Whirlpool Washer Hose, Drain Pump

Replacing your Hose, Drain Pump
Fixes Symptom 9% of time
★★★★★
★★★★★
7 Reviews

Rated by 2 customers 


Really Easy 

30 - 60 mins 

Ratings submitted by customers like you who bought this part.   

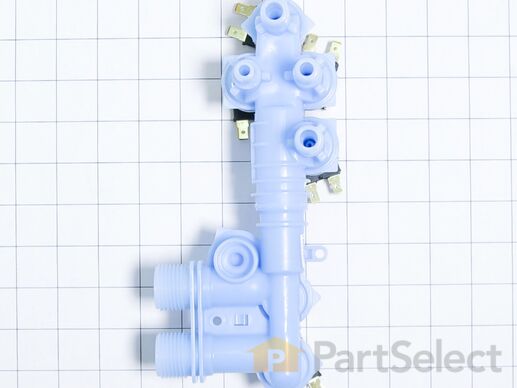
This water inlet valve attaches the water lines to the back of your appliance. The attaching solenoids on the valve open and close according to the desired temperature, or amount of water needed.

$ 152.28
  In Stock
PartSelect Number PS11731257
Manufacturer Part Number W10853723

Replacing your Whirlpool Washer Water Inlet Valve

Replacing your Water Inlet Valve

Customer Repair Stories

Water streaming from under lid down front of washer

The inlet/diverter valve relacement steps:
1. Turn off electric and water supply and disconnect hoses
2. Remove hold down screws on back of control console
-Remove console to access valve and remove valve hold down screws
3. Label and disconnect valve connections
4. Insert putty knife 3 in. from each front edge to release hold down clips for top panel.
5. Disconnect hoses from valve assembly.
6. Remove old valve and install new.
  • Martin from FRONT ROYAL, VA
  • Difficulty Level:
    Easy
  • Total Repair Time:
    30 - 60 mins
  • Tools:
    Nutdriver, Pliers, Screw drivers
4 of 5 people found this instruction helpful.
Was this instruction helpful to you?
Thank you for voting!

Cold water leaked into tub

Replaced water inlet valve. Parts select video was incorrect for my unit. There are no spring clips to be released using a putty knife. Rather remove the two screws in the back of the top, pull the top forward and up to get at hose connections to the valve. Hint, place a towel under the valve connections because after removed from the valve, the hoses will leak to the floor. I propped the top up with a stick. All the other stuff in the video is good. Unplug and turn water off, remove connectors from old valve etc. . I also removed the protective plate over the cabled that runs between the washer and the control panel located on the back of the washer. The will make the sliding of the top forward easier. Only one screw involved.
  • Benjamin from FLINT HILL, VA
  • Difficulty Level:
    Really Easy
  • Total Repair Time:
    30 - 60 mins
  • Tools:
    Nutdriver, Pliers
5 of 5 people found this instruction helpful.
Was this instruction helpful to you?
Thank you for voting!
Fixes Symptom 8% of time
★★★★★
★★★★★
25 Reviews

Rated by 9 customers 


Easy 

30 - 60 mins 

Ratings submitted by customers like you who bought this part.   

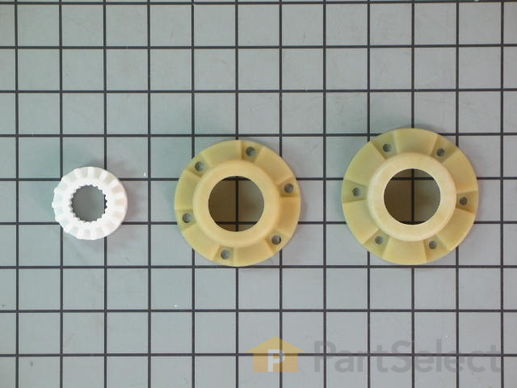
This kit includes one driver hub and two driven basket hubs. The basket hub is located under the agitator. If your washer is not agitating or spinning properly, the hubs will need to be replaced.

$ 37.73
  In Stock
PartSelect Number PS11723155
Manufacturer Part Number W10820039

Customer Repair Stories

Washer would vibrate and bang viciously in the spin cycles

Remove agitator and replace hub. I also recommend replacing the Suspension too. I could tell the hub was bad the piece of metal washer on the bottom was gone. The suspension lost a lot of its stiffing
  • Jerry from YORK, PA
  • Difficulty Level:
    Easy
  • Total Repair Time:
    30 - 60 mins
  • Tools:
    Pliers, Socket set
19 of 31 people found this instruction helpful.
Was this instruction helpful to you?
Thank you for voting!

The washer was making a horrible noise during the spin cycle

Removed a cap in the center of the tub basket which has a bolt that needs removed I believe it's a 9/16 after I removed the bolt I then removed the center of the bottom of the basket assembly which then allowed me to get to the basket hub that needed replaced it was a little dirty and I couldn't get it out so I sprayed a little penitrating oil on it let it sit a little then I was able to remove the hub and install the new one then I put it all back together and the washer is working great
  • Kevin from CLARK, MO
  • Difficulty Level:
    Really Easy
  • Total Repair Time:
    30 - 60 mins
  • Tools:
    Pliers, Screw drivers, Socket set
48 of 58 people found this instruction helpful.
Was this instruction helpful to you?
Thank you for voting!
Fixes Symptom 6% of time
★★★★★
★★★★★
1 Review

Rated by 2 customers 


Really Easy 

30 - 60 mins 

Ratings submitted by customers like you who bought this part.   

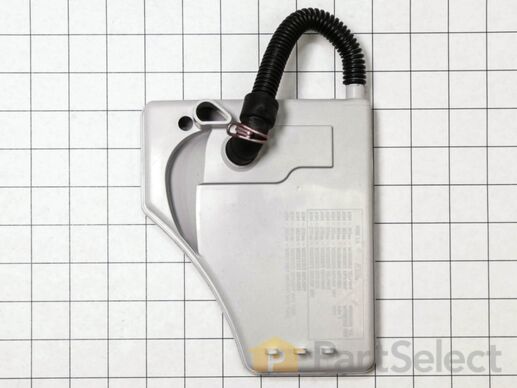
$ 25.31
  In Stock
PartSelect Number PS11745039
Manufacturer Part Number WP8182769

Replacing your Whirlpool Washer Hose, Recirc Pump

Replacing your Hose, Recirc Pump
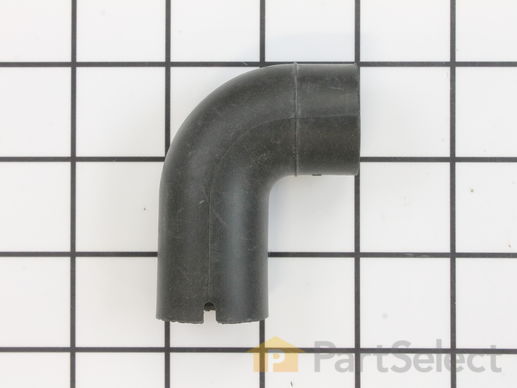
7 Hose
Fixes Symptom 2% of time
★★★★★
★★★★★
1 Review

$ 40.93
  In Stock
PartSelect Number PS11753764
Manufacturer Part Number WPW10363893
Fixes Symptom 2% of time

$ 109.78
  In Stock
PartSelect Number PS11749854
Manufacturer Part Number WPW10187307
Fixes Symptom 2% of time

Rated by 1 customer 


Really Easy 

15 - 30 mins 

Ratings submitted by customers like you who bought this part.   

$ 7.59
  In Stock
PartSelect Number PS11741247
Manufacturer Part Number WP3367052
Fixes Symptom 2% of time

$ 51.66
  On Order
PartSelect Number PS11748280
Manufacturer Part Number WPW10106990