Models > MAV7600AWW > Symptoms > Leaking

Parts That Fix Maytag Washer MAV7600AWW Leaking

Leaking is a commonly reported symptom for the MAV7600AWW Maytag Washer, and we have put together a full guide on how to fix this. This advice is based on feedback from people who own this exact appliance. We have listed the most common parts for your MAV7600AWW Maytag Washer that will fix Leaking. We have included repair instructions, and helpful step-by-step video tutorials. If you are experiencing this issue, not to worry, DIYers just like you have fixed this, and shared their experience to help you!

Fixes Symptom 23% of time
★★★★★
★★★★★
24 Reviews

Rated by 84 customers 


Easy 

30 - 60 mins 

Ratings submitted by customers like you who bought this part.   

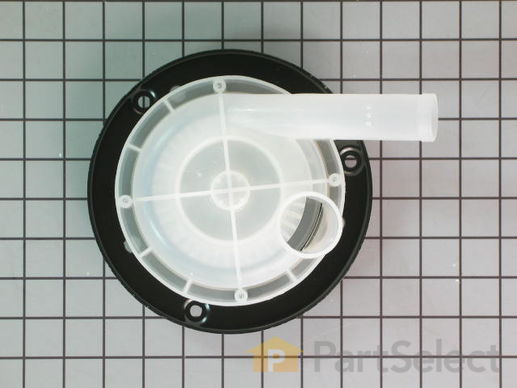
This drain pump with pulley, also known as the washing machine drain pump assembly, is a pump with two ports. The function of this pump is to help expel water from your washing machine. The pump is activated after the spin speed has been maintained for a specific period of time and is driven by the same drive belt that also runs the transmission pulley. If your washer is not draining properly the pump could be clogged by a small object or could be broken and in need of replacing. Tools you will need for this repair include a 5/16 nut driver, a putty knife, a 3/8 socket with a ratchet, and a pair of slip joint pliers.

$ 84.63
  In Stock
PartSelect Number PS11741799
Manufacturer Part Number WP35-6465

Replacing your Norge Washer Drain Pump with Pulley

Replacing your Drain Pump with Pulley

Customer Repair Stories

Load Grinding/Rubbing Noise in Rinse and Spin Cycles

First unplug the washer for the electrical outlet. You will need to tip the washer back to get to the bottom of the machine. There you will see the belt that drives the transmission and the water pump from the motor. Remove the belt and set it to the side. Then you will need to gain access to the top side of the machine by gently using a screwdriver to pry the front of the top up off the front panel on both sides then hinge it back out of the way. Use a nut driver to remove the two screws on the inside edge of the front panel and remove the front panel. Once the front panel is off you will see the water pump on the right hand side as you face the front of the machine. Remove the hose clamp on the water pump with the flat head screw driver or nut driver and use a pair of pliers to remove the compression clip on the water pump. Remove the 4 bolts holding the water pump in place. Reverse the entire process to put it back together. This job was very easy and I was only without a washer for 2 days because of partselect.com.
  • Doug from Port Richey, FL
  • Difficulty Level:
    Really Easy
  • Total Repair Time:
    Less than 15 mins
  • Tools:
    Pliers, Screw drivers
139 of 151 people found this instruction helpful.
Was this instruction helpful to you?
Thank you for voting!

washing machine was making alot of noise

I found the water pump bearings were going bad from humidity. I replaced the pump with a new one and it runs quiet again.
  • David from Boca Raton, FL
  • Difficulty Level:
    Easy
  • Total Repair Time:
    Less than 15 mins
  • Tools:
    Screw drivers, Wrench set
561 of 571 people found this instruction helpful.
Was this instruction helpful to you?
Thank you for voting!
Fixes Symptom 13% of time
★★★★★
★★★★★
1 Review

Rated by 17 customers 


Easy 

30 - 60 mins 

Ratings submitted by customers like you who bought this part.   

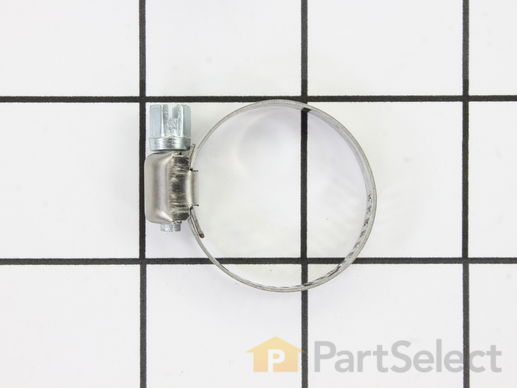
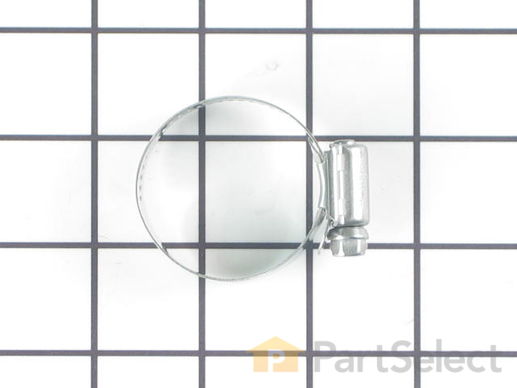
This hose clamp is used in a wide variety of household appliances. Most often it is found in washers, dishwashers, refrigerators, freezers, dehumidifiers, garbage disposals, or air conditioners. This clamp is used to securely attach a hose to another part of your appliance, which helps prevent leaks from those connections. Depending on the appliance, it can attach hoses to drain pumps, water inlet valves, pressure switches, and injector nozzles. We recommend you refer to model-specific diagrams for appropriate uses and exact placement. This hose clamp is made of metal, and is sold individually. To access and replace this part you will need a nut driver, pliers, and screwdrivers. Before you begin any repair work, make sure you have unplugged your appliance, and shut off the water supply if applicable.

$ 11.80
  In Stock
PartSelect Number PS11743008
Manufacturer Part Number WP596669

Replacing your Kenmore Washer Hose Clamp

Replacing your Hose Clamp
Fixes Symptom 11% of time
★★★★★
★★★★★
28 Reviews

Rated by 49 customers 


Easy 

30 - 60 mins 

Ratings submitted by customers like you who bought this part.   

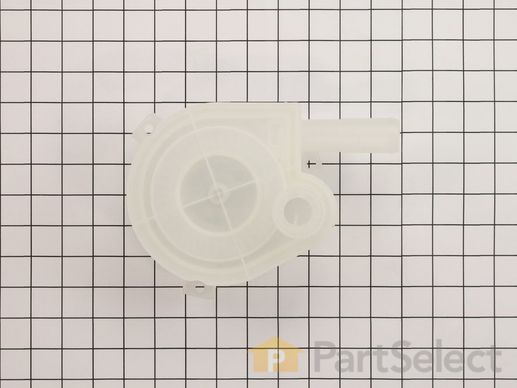
This pump helps expel water from the washing machine and is activated after the spin speed is maintained for a specific period of time. If your machine is not draining properly or if it is noisy and shakes during operation, you may need to replace the drain pump. This is a redesigned part. The pump now mounts on to the base of the washer. This product is made of white plastic and has a metal center. Before you can replace the drain pump, you will have to disengage the drive belt under the machine. To reach the drain pump you will need to remove the access panel on the backside of the washing machine.

$ 120.13
  In Stock
PartSelect Number PS11741803
Manufacturer Part Number WP35-6780

Replacing your Maytag Washer Washer Drain Pump

Replacing your Washer Drain Pump

Customer Repair Stories

Skreeching noise during spin cycle

Pulled out washer, laid on front, removed access panel and the pump was right there. Three screws with 5/16" nut driver, pliers to release hose clamps, remove hoses, remove belt from pully, remove old pump. Install new pump with three screws, two hoses and clamps, finally put belt on new pulley and other small pulley and used screw driver shaft to pull belt on to large pulley. replace access panel, put washer back in place. It literally took me more time to clean the floor under where the washer was than to change the part. Piece-o'-cake.
  • Robert from Mesa, AZ
  • Difficulty Level:
    Really Easy
  • Total Repair Time:
    15 - 30 mins
  • Tools:
    Nutdriver, Pliers, Screw drivers
64 of 65 people found this instruction helpful.
Was this instruction helpful to you?
Thank you for voting!

bearing on water pump siezed

back panel,belt two hoses,three screws, $100 dollars for the part!! pump is a molded part with a bearing insertion, is made in USA ! I'm guessing around 7 to 10 dollar manufacturing cost. I'm thinking that kind of mark-up is only exceded by the pharmacutical industry. I'm looking to buy a used machine for parts!!
  • kevin from rochester, NY
  • Difficulty Level:
    Really Easy
  • Total Repair Time:
    Less than 15 mins
  • Tools:
    Nutdriver, Pliers
119 of 133 people found this instruction helpful.
Was this instruction helpful to you?
Thank you for voting!
Fixes Symptom 9% of time
★★★★★
★★★★★
3 Reviews

Rated by 6 customers 


Easy 

15 - 30 mins 

Ratings submitted by customers like you who bought this part.   

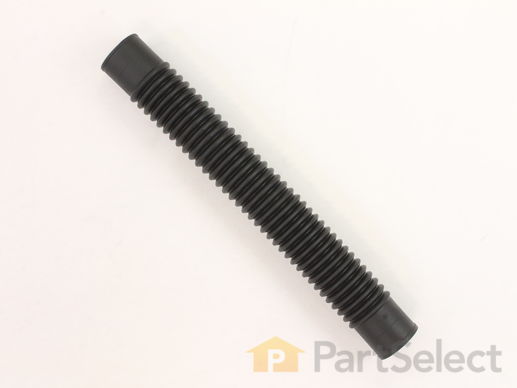
This tub to pump hose is thirteen and a half inches long. It is all black in color and is made of plastic.

$ 26.42
  In Stock
PartSelect Number PS11739426
Manufacturer Part Number WP22003285

Replacing your Maytag Washer Tub to Drain Pump Hose

Replacing your Tub to Drain Pump Hose

Customer Repair Stories

Water leaking under washer. Tub to pump hose sprung a leak.

There are two clips that hold the top of the washer down. Releasing these clips allows you to lift the top; it is hinged at the back. Then remove two screws holding the front panel and remove the front panel. The tub to pump hose is easily accessible. It is held in place by a hose clamp at each end. Use pliers to squeeze the clamps and remove the hose. Replace with new hose. I re-used the original clamps.
  • Richard from Cedar Park, TX
  • Difficulty Level:
    Really Easy
  • Total Repair Time:
    15 - 30 mins
  • Tools:
    Nutdriver, Pliers, Screw drivers
13 of 13 people found this instruction helpful.
Was this instruction helpful to you?
Thank you for voting!

Leaking pump hose

I thought I was going to need to replace the leaking washer machine. Water was every where and after checking the main sewer drain was ok I lifted the washer and found the water pouring out the bottom when i put it on.
After finding out how to get the whole top open and the front panel off I was able to locate the source of the water leak on my washer machine. The cause was split in the plastic hose that goes from the tub to the pump. After the new hose arived I was able to replace it within 10 minutes. So far so good. Thank you Part Select.
  • Brian from Lynbrook, NY
  • Difficulty Level:
    Really Easy
  • Total Repair Time:
    Less than 15 mins
  • Tools:
    Nutdriver, Pliers
23 of 28 people found this instruction helpful.
Was this instruction helpful to you?
Thank you for voting!
Fixes Symptom 9% of time
★★★★★
★★★★★
2 Reviews

Rated by 3 customers 


A Bit Difficult 

1- 2 hours 

Ratings submitted by customers like you who bought this part.   

The hose clamp is used to hold the water hose in place which will prevent the hose from leaking water. Sometimes the clamp may lose its ability to latch on, causing a leaking washer. For the installation, you will need a flat head screw driver to replace the clamp and a drill to access the screws to remove the front of the washer. Be careful if you do not have specific clamp pliers as the clamp could fly off. Once the front of the washer has been removed, take a quick look for water damage or any obvious signs of where the leak is coming from. If it is not obvious, run water to test.

$ 11.10
  In Stock
PartSelect Number PS11740613
Manufacturer Part Number WP285655

Replacing your Kenmore Washer Hose Clamp

Replacing your Hose Clamp
Fixes Symptom 6% of time

Rated by 6 customers 


Easy 

1- 2 hours 

Ratings submitted by customers like you who bought this part.   

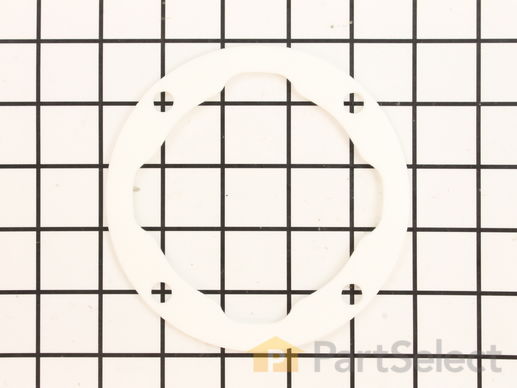
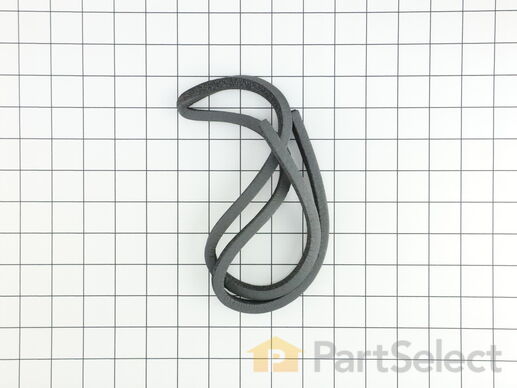
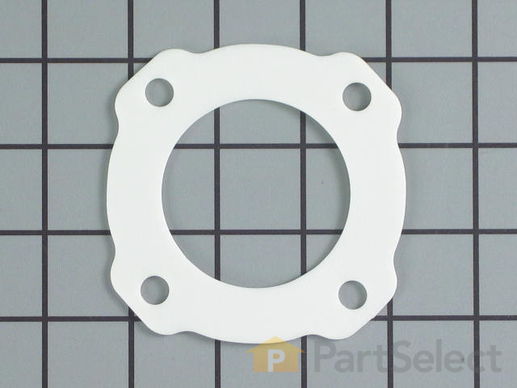
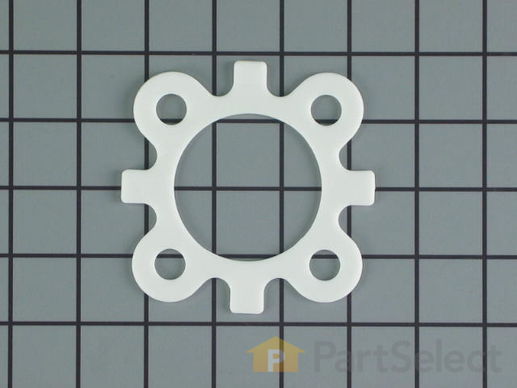
This gasket is intended to fit between the washer tub and machine housing of washing machines.

  No Longer Available
PartSelect Number PS2038190
Manufacturer Part Number 35-3686
Fixes Symptom 6% of time

Rated by 5 customers 


Easy 

1- 2 hours 

Ratings submitted by customers like you who bought this part.   

$ 8.05
  In Stock
PartSelect Number PS11741788
Manufacturer Part Number WP35-2978
Fixes Symptom 4% of time
★★★★★
★★★★★
2 Reviews

Rated by 1 customer 


Easy 

30 - 60 mins 

Ratings submitted by customers like you who bought this part.   

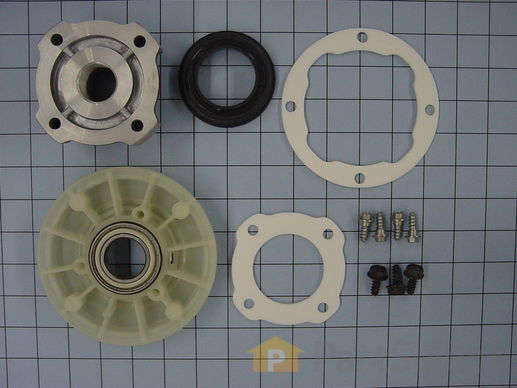
This kit prevents water from leaking around the drive shaft and down to the bottom of the tub.

$ 185.29
  Special Order
PartSelect Number PS2349020
Manufacturer Part Number W10219156

Replacing your Maytag Washer Hub and Seal Kit

Replacing your Hub and Seal Kit

Customer Repair Stories

washer was making a loud whirling noise on spinout

everything pretty much just unbolted real easy. the parts come with a nice set of instructions. you don't need to use the special hub removal tool. just take a small piece of wood and smack it on the ear of the hub to the left counter clockwise. it might be tough but just keep smacking it till it comes loose. then install it in reverse. simple job. you also might need some big vise scrips to get ahold of the springs real good to get them off and back on...
  • Brad from Logansport, IN
  • Difficulty Level:
    Easy
  • Total Repair Time:
    30 - 60 mins
  • Tools:
    Nutdriver, Pliers, Screw drivers, Socket set, Wrench set
Was this instruction helpful to you?
Thank you for voting!
Fixes Symptom 3% of time
★★★★★
★★★★★
3 Reviews

Rated by 2 customers 


Really Easy 

30 - 60 mins 

Ratings submitted by customers like you who bought this part.   

$ 43.26
  In Stock
PartSelect Number PS11739436
Manufacturer Part Number WP22003410

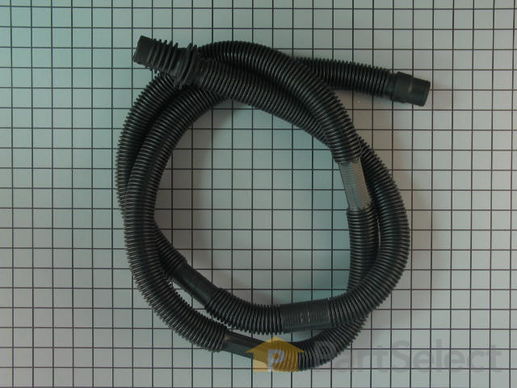
Replacing your Maytag Washer Corrugated Drain Hose

Replacing your Corrugated Drain Hose

Customer Repair Stories

water would not drain in washer tub, clothes were still very wet. starting with the hose

Moved washer away from wall. Removed rear panel (4 screws). removed hose bracket (1 screw). use vicegrip to "open" hose spring clamp. Removed old hose, slipped spring hose clamp over new hose. "Opened" spring hose clamp put new hose over washer drain, released vicegrip. Assemble in reverse.
  • Leo from Seaside, CA
  • Difficulty Level:
    Easy
  • Total Repair Time:
    15 - 30 mins
  • Tools:
    Nutdriver, Pliers
Was this instruction helpful to you?
Thank you for voting!

Hose had a split in it

took off front of washer , took off hose clamp removed old hose . replaced with new hose clamped back on put on front cover ran washer check for any leakes. done and done
  • Chris from Hoffman Estates, IL
  • Difficulty Level:
    Really Easy
  • Total Repair Time:
    15 - 30 mins
  • Tools:
    Nutdriver, Screw drivers
8 of 11 people found this instruction helpful.
Was this instruction helpful to you?
Thank you for voting!
Fixes Symptom 3% of time
★★★★★
★★★★★
1 Review

Rated by 4 customers 


Easy 

15 - 30 mins 

Ratings submitted by customers like you who bought this part.   

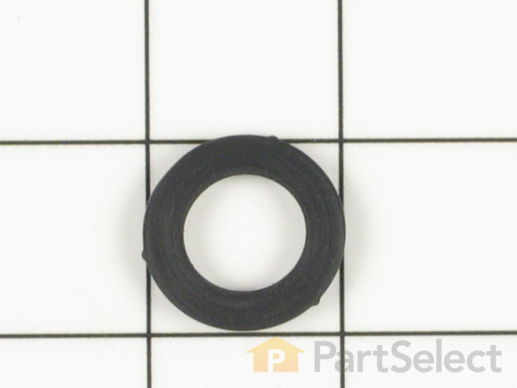
This inlet hose washer, also known as a high pressure inlet hose washer, is used in washing machines, refrigerators, freezers, and dishwashers. The function of this part is to create a watertight seal in the appliance. If your gasket gets dry and brittle over time it will start to crack and will lose its function. In this case, it is important to replace it. Refer to the manual provided by the manufacturer for further installation instructions and accurate guidance. As a safety precaution, remember to unplug your washer from the power source before beginning.

$ 8.00
  In Stock
PartSelect Number PS11757437
Manufacturer Part Number WPY013783
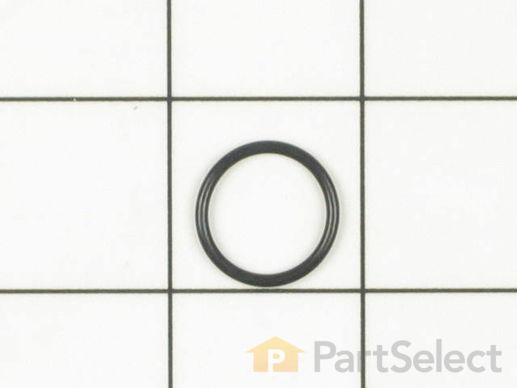
11 RING-O
Fixes Symptom 2% of time

Rated by 2 customers 


A Bit Difficult 

1- 2 hours 

Ratings submitted by customers like you who bought this part.   

  No Longer Available
PartSelect Number PS11740550
Manufacturer Part Number WP25-7941
Fixes Symptom 2% of time

Rated by 3 customers 


Easy 

30 - 60 mins 

Ratings submitted by customers like you who bought this part.   

  No Longer Available
PartSelect Number PS11741786
Manufacturer Part Number WP35-2328

Replacing your Maytag Washer Top Tub Seal

Replacing your Top Tub Seal

Customer Repair Stories

I had water leaking from the top of the tub.

I opened up the top of the washer which exposed the tub, I took the top ring off the tub and under in side of the ring is the seal. Took the old one out and put the new one in. The old seal was completely wore out.
It was real easy.
Finding the part is usually the hardest part, but thanks to Parts Select finding the part was the easiest part of the repair.
  • Lester from Elk Grove, CA
  • Difficulty Level:
    Really Easy
  • Total Repair Time:
    15 - 30 mins
6 of 8 people found this instruction helpful.
Was this instruction helpful to you?
Thank you for voting!
13 Seal
Fixes Symptom 2% of time
★★★★★
★★★★★
3 Reviews

Rated by 4 customers 


A Bit Difficult 

1- 2 hours 

Ratings submitted by customers like you who bought this part.   

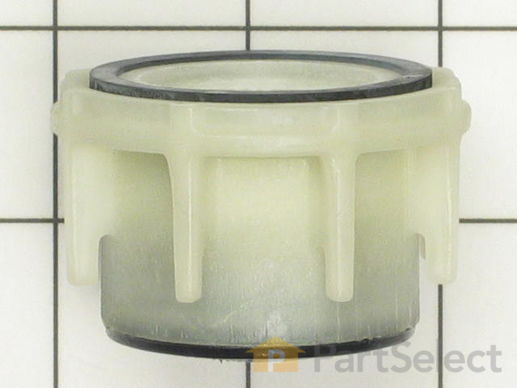
For easy removal, turn this piece counterclockwise.

  No Longer Available
PartSelect Number PS11741798
Manufacturer Part Number WP35-5655-1

Replacing your Maytag Washer Seal

Replacing your Seal
Fixes Symptom 2% of time

Rated by 1 customer 


Easy 

30 - 60 mins 

Ratings submitted by customers like you who bought this part.   

$ 1.55
  In Stock
PartSelect Number PS11731408
Manufacturer Part Number W10858715
Fixes Symptom 1% of time
★★★★★
★★★★★
5 Reviews

Rated by 2 customers 


Easy 

1- 2 hours 

Ratings submitted by customers like you who bought this part.   

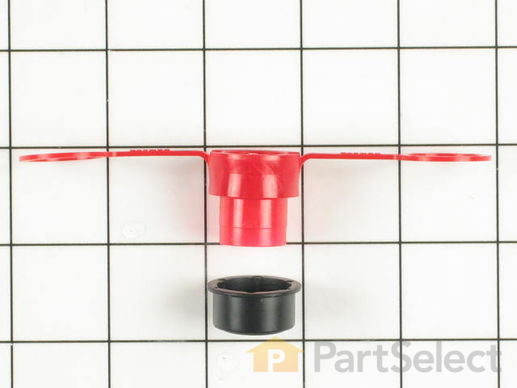
This transmission lip seal repair kit comes in two pieces: a red four inch long piece, and a black one inch long piece. Both pieces are made entirely of plastic. This repair kit comes with and instructions sheet and it is used for some washing machines.

$ 23.92
  In Stock
PartSelect Number PS2017479
Manufacturer Part Number 207843

Replacing your Maytag Washer Transmission Lower Lip Seal Repair Kit

Replacing your Transmission Lower Lip Seal Repair Kit

Customer Repair Stories

Oil leak from lower lip seal

I didn’t have special tool for brake but punch and hammer worked. Seal was easy to replace. Several videos online to show you how. It wasn’t worth it to tear apart the transmission and buy more parts/seals (if they were even available). But I didn’t know how much oil was in it. I drilled a hole in the side to somewhat check level and added 80-90 gear oil. It was almost empty and added almost a quart. Used a self taping screw/bolt with gasket sealer to plug the hole. I got 34 yrs out of this washer. If it fails, oh well. Just hate to buy a new one that only last 10yrs if im lucky.
  • Anthony from CHESANING, MI
  • Difficulty Level:
    Easy
  • Total Repair Time:
    1- 2 hours
  • Tools:
    Nutdriver, Screw drivers, Socket set, Wrench set
6 of 6 people found this instruction helpful.
Was this instruction helpful to you?
Thank you for voting!
Fixes Symptom 1% of time
★★★★★
★★★★★
3 Reviews

Rated by 2 customers 


Very Easy 

15 - 30 mins 

Ratings submitted by customers like you who bought this part.   

This hose can handle hot or cold water and is five feet long.

$ 21.53
  In Stock
PartSelect Number PS11746820
Manufacturer Part Number WP89503

Replacing your Kenmore Washer Inlet Hose - 5 FT

Replacing your Inlet Hose - 5 FT

Customer Repair Stories

Old hot water inlet hose had budge at both ends.

Turn water off at the inlet valve of hose you are replacing. Disconnect inlet hose the washer and let water drain out in a bucket. Then remove old hose. Replace new hose to inlet valve then washer . Use pliers to tighten both ends. Turn on water to check leaks at both ends of hose.
  • Jimmy from MEMPHIS, TN
  • Difficulty Level:
    Very Easy
  • Total Repair Time:
    Less than 15 mins
  • Tools:
    Pliers
2 of 4 people found this instruction helpful.
Was this instruction helpful to you?
Thank you for voting!

Leaking water inlet hoses.

Removed the old hoses and screwed on the new hoses.
  • Helen from NASHUA, NH
  • Difficulty Level:
    Really Easy
  • Total Repair Time:
    30 - 60 mins
4 of 5 people found this instruction helpful.
Was this instruction helpful to you?
Thank you for voting!
Fixes Symptom 1% of time
★★★★★
★★★★★
3 Reviews

Rated by 1 customer 


Easy 

1- 2 hours 

Ratings submitted by customers like you who bought this part.   

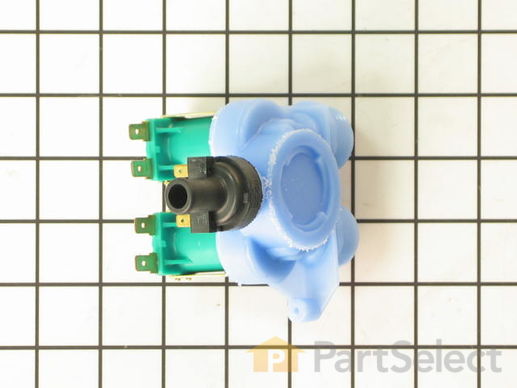
$ 132.20
  In Stock
PartSelect Number PS2003611
Manufacturer Part Number 12002158

Customer Repair Stories

washer filling very slowly

Relatively easy repair. Swapped new one for old one and it was done. What I really wanted to communicate is that I had inadvertently ordered the wrong part. I noticed when the new part was already in transit. I immediately contacted Part Select and they could not have been more accommodating. They told me to refuse the shipment of the original order and it would be returned to them, which I did. They credited my account within a couple of days of receiving the returned package. Excellent job Part Select!Bob New Hampshire
  • Robert from Bethlehem, NH
  • Difficulty Level:
    Easy
  • Total Repair Time:
    30 - 60 mins
  • Tools:
    Nutdriver, Pliers, Screw drivers
Was this instruction helpful to you?
Thank you for voting!

No cold Water

Shut-off water + power.With the putty knive; slide it under the front of the top to push back on the spring clips.The top will lift easily and it is hinged.The Water inlet unit in the back has a plastic cover.Remove carefully.One screw holds the unit in place. Remove and the the unit will slide out to the left. It's now easy to disconnect the hoses from the unit. The wiring to the coils is color coded,take note for proper reconnecting. Remove stakon connectors from the valve coils. Careful, do not pull on the wire but wiggle it of the coil connection.Pay attention to the routing of the wire harness. Also the kit comes with a clear plastic splash shield. make sure the new goes in the right place.Now the old water inlet valve can be removed from the metal bracket.One srew.Assembly goes in reverse
  • Reinhard from TORRANCE, CA
  • Difficulty Level:
    Easy
  • Total Repair Time:
    1- 2 hours
  • Tools:
    Nutdriver
2 of 3 people found this instruction helpful.
Was this instruction helpful to you?
Thank you for voting!
Fixes Symptom 1% of time
★★★★★
★★★★★
1 Review

Rated by 1 customer 


Easy 

30 - 60 mins 

Ratings submitted by customers like you who bought this part.   

$ 30.91
  Special Order
PartSelect Number PS2021157
Manufacturer Part Number 22003595
Fixes Symptom 1% of time
★★★★★
★★★★★
15 Reviews

Rated by 34 customers 


Easy 

30 - 60 mins 

Ratings submitted by customers like you who bought this part.   

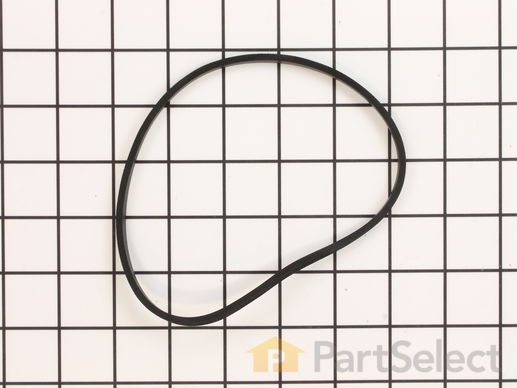
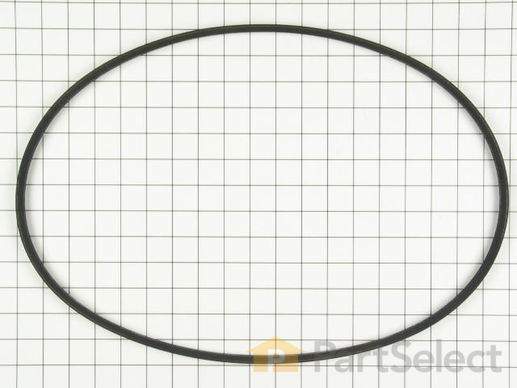
This washing machine drive belt is used with some clothes washers. This belt is all black in color and is made entirely of rubber.

$ 37.77
  In Stock
PartSelect Number PS11739438
Manufacturer Part Number WP22003483

Replacing your Maytag Washer Drive Belt - 52 inches long

Replacing your Drive Belt - 52 inches long

Customer Repair Stories

Belt was slipping, belt particles on the floor

I removed the screws to loosen the belt, took off the old belt and put on the new belt. Tightened it up and has been working ever since.

Thank you, Lester

you guys ship faster than anyone else. One day I order the part and a day or two later there it is. :)
  • Lester from Elk Grove, CA
  • Difficulty Level:
    Really Easy
  • Total Repair Time:
    Less than 15 mins
  • Tools:
    Pliers
5 of 6 people found this instruction helpful.
Was this instruction helpful to you?
Thank you for voting!

Wife complained the spin dry not so good

First tip front of washer up about six inches and block. Removed belt by holding the old belt to the side of the big pulley and turn big pulley on opposite side with the other hand. Old belt was dirty, black and some carbon on floor. Cleaned up. Put belt around motor pulley and water pump pulley. Hold belt in track of big pulley. Turn big pulley with opposite hand until belt goes around the big pulley. The motor has a spring that maintains the tension.

Wife thinks everything is back to normal. Get a cool drink out of refrigerator while she carries on and thinks you are a hero.

Special note: Be sure water is out of washing machine. There are instructions on the internet but I have owned Maytags for over forty years and know belt replacements are occassionally replaced.
  • Stephen from Tehachapi, CA
  • Difficulty Level:
    Really Easy
  • Total Repair Time:
    15 - 30 mins
21 of 22 people found this instruction helpful.
Was this instruction helpful to you?
Thank you for voting!
Fixes Symptom 1% of time

Rated by 3 customers 


Easy 

15 - 30 mins 

Ratings submitted by customers like you who bought this part.   

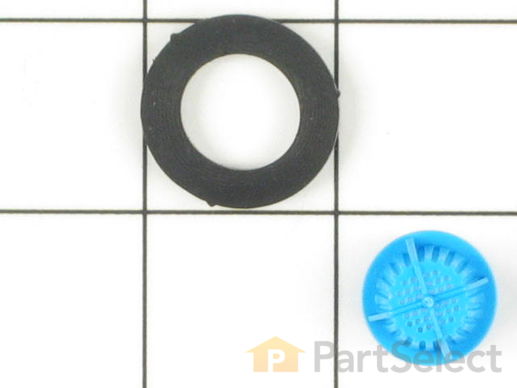
The hose washer in this washer and screen insert kit is an inch in diameter. The insert is all blue in color and is made entirely of plastic, while the washer is all black in color and made entirely of rubber.

$ 7.59
  In Stock
PartSelect Number PS2003023
Manufacturer Part Number 12001413

Customer Repair Stories

Deteriorated and clogged strainer; slow water fill.

Loosened the hose coupling, removed the old washer and strainer; cleaned the opening; flushed the opening; installed new strainer and washer; reattached hose and "Bob's your uncle"! No problem.
  • Richard from Jupiter, FL
  • Difficulty Level:
    Easy
  • Total Repair Time:
    Less than 15 mins
  • Tools:
    Pliers
2 of 7 people found this instruction helpful.
Was this instruction helpful to you?
Thank you for voting!
Fixes Symptom 1% of time

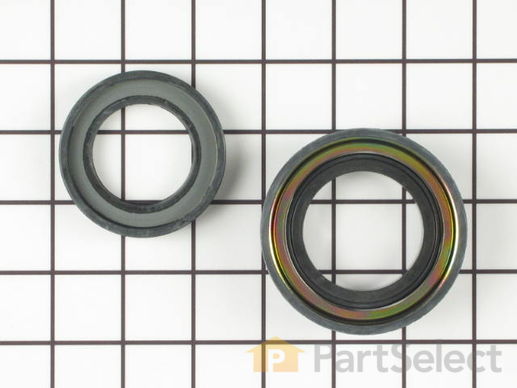
This seal helps prevent any leaking around the transmission of washing machines.

  No Longer Available
PartSelect Number PS2038124
Manufacturer Part Number 35-2974