Models > GLTF1670AS0 > Symptoms > Leaking

Parts That Fix Frigidaire Washer GLTF1670AS0 Leaking

Leaking is a commonly reported symptom for the GLTF1670AS0 Frigidaire Washer, and we have put together a full guide on how to fix this. This advice is based on feedback from people who own this exact appliance. We have listed the most common parts for your GLTF1670AS0 Frigidaire Washer that will fix Leaking. We have included repair instructions, and helpful step-by-step video tutorials. If you are experiencing this issue, not to worry, DIYers just like you have fixed this, and shared their experience to help you!

Fixes Symptom 24% of time
★★★★★
★★★★★
5 Reviews

Rated by 3 customers 


Easy 

15 - 30 mins 

Ratings submitted by customers like you who bought this part.   

$ 91.01
  In Stock
PartSelect Number PS418742
Manufacturer Part Number 131784700

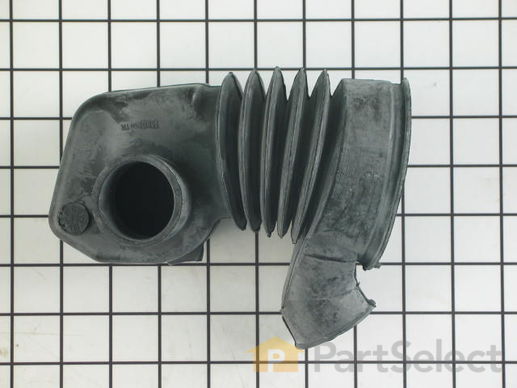
Replacing your Frigidaire Washer Tub-To-Pump Hose

Replacing your Tub-To-Pump Hose

Customer Repair Stories

Tub to pump hose leaking

From the front of the washer, I removed two sheet metal screws at the bottom of the access panel. The panel pulled off with a just a little effort due to the nylon inserts installed on either side of the panel that keep it in place. The tub-to-pump hose is located on the right hand side and easy to access. The hose includes a screw clamp and two tension retainer (?) clamps that need to be removed.Make sure to save them for the new hose! I used a phillips head screwdriver for the screw clamp and a pair of channel locks to remove the tension retainer clamps. The tension retainer clamps were easy to remove but tricky to put back on. There must be another tool used for them that I'm not familiar with. With just a little patience though, it's an easy enough repair for anyone to do.
  • Barbara from Los Angeles, CA
  • Difficulty Level:
    Easy
  • Total Repair Time:
    15 - 30 mins
  • Tools:
    Pliers, Screw drivers
11 of 13 people found this instruction helpful.
Was this instruction helpful to you?
Thank you for voting!

Washer would leak water out the bottom.

First I removed the two screws holding the front panel on and removed the panel. The hose is held on by two spring clips and a hose clamp. After getting those out of the way, I removed the damaged hose and slid the new one into place and fastening it down with the aforementioned clips and clamp.
  • Larry from East Point, KY
  • Difficulty Level:
    Easy
  • Total Repair Time:
    30 - 60 mins
  • Tools:
    Pliers, Screw drivers
26 of 32 people found this instruction helpful.
Was this instruction helpful to you?
Thank you for voting!
Fixes Symptom 20% of time
★★★★★
★★★★★
11 Reviews

Rated by 10 customers 


Easy 

30 - 60 mins 

Ratings submitted by customers like you who bought this part.   

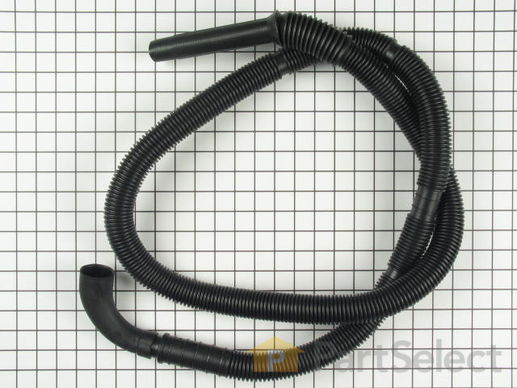
This drain hose is designed for use in your washer. The function of this part is to carry water from the drain pump to the house drain. If your washer is leaking or will not drain, you may need to replace the drain hose. This part is black in color and is made of plastic. This drain hose comes with a 90-degree elbow attachment. Before you begin this repair, be sure to disconnect the power supply, as well as the water supply to the washer. This part is sold individually. This is an OEM part sourced directly from the manufacturer.

$ 20.58
  In Stock
PartSelect Number PS417877
Manufacturer Part Number 131461200

Replacing your Frigidaire Washer Drain Hose

Replacing your Drain Hose

Customer Repair Stories

Discharge hose was leaking

This is a newer washer, but I don't know the age. I just bought the house...!

I made this repair more difficult than it needed to be. I took off the back panel of the machine completely, only to discover the coupling for the hose was near the front of the machine. I tilted the unit on its side and took off the bottom before I discovered the access panel on the front, which is held on by only two screws. I put the bottom panel back on, tilted it upright, took off the panel, and had easy access to the coupling. The new part fit perfectly, and a quick wash load proved the leak was fixed.
  • John from Hyattsville, MD
  • Difficulty Level:
    A Bit Difficult
  • Total Repair Time:
    30 - 60 mins
  • Tools:
    Screw drivers
6 of 8 people found this instruction helpful.
Was this instruction helpful to you?
Thank you for voting!

Drain hose was leaking due to small hole in hose

This is the third time I have ordered parts from this company .I can't say enough good things about them from their fast shipping( always arrives sooner than they state)To the quality of the parts and the shipping packages.A first class operation from start to finnish.First step was to disconect power supply.Second was to remove washer drain hose from house drain.Third remove two (2) phillips head screws from front cover of washer ,located at bottom right and left side of front panel near floor.Lift front panel up to unhook metal retainers on panel that connect it to washer side panels.Use pliers to remove spring clamp from hose. Remove hose from washer pump. Remove clamp from hose,remove plastic retainer holding hose to washer bottom.Feed hose out the back of the washer through washer drain hose hole in the back pannel of the washer.Remove plastic retainer.Insert the new hose through the hole in the back pannel install the hose clamp and install the hose back on the pump.Relocate clamp on hose, take front panel,lift into place,push down to lock retaining taps into side cover slots replace the two phillips head screws.
  • Carl from Wilmington, DE
  • Difficulty Level:
    Easy
  • Total Repair Time:
    15 - 30 mins
  • Tools:
    Pliers, Screw drivers
31 of 34 people found this instruction helpful.
Was this instruction helpful to you?
Thank you for voting!
Fixes Symptom 14% of time

Rated by 2 customers 


A Bit Difficult 

30 - 60 mins 

Ratings submitted by customers like you who bought this part.   

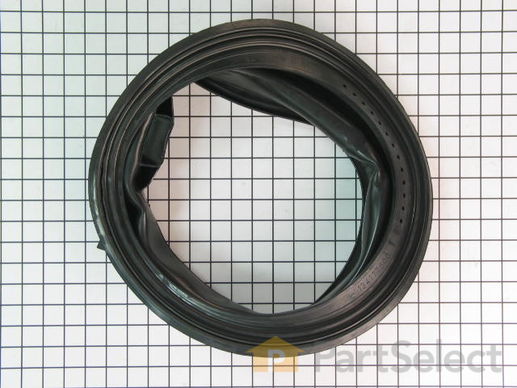
Also known as the door boot seal. This part is used to keep the clothes inside the tub during the wash cycle. The folds in the bellow allow the tub to move separately from the door during the spin cycle.

$ 140.36
  In Stock
PartSelect Number PS900237
Manufacturer Part Number 5303937187

Replacing your Frigidaire Washer Bellow with Clamp

Replacing your Bellow with Clamp

Customer Repair Stories

Front Door on Washer leaking

I bought this as much for the instructions as for the part...as I wasn't sure how to get a spring back around the bellows. The instructions were good, however I found that the spring went on best when I had two sets of hands - one set holding the spring in place (with a metal tool to make sure it didn't slip - as the rubber spacer didn't do the job) , and the other hand guiding the spring around the rest of the bellow. Also, when putting the metal clamp back around the water inlet area, I didn't have 3/8" soft copper tube on hand, so I used a couple of other tools to get the metal pieces to wrap around eachother. Also, leaning the washer back on the wall helped make room for my hands to get into the machine and do the work.
  • Jason from Austin, TX
  • Difficulty Level:
    A Bit Difficult
  • Total Repair Time:
    30 - 60 mins
  • Tools:
    Pliers
58 of 81 people found this instruction helpful.
Was this instruction helpful to you?
Thank you for voting!

The rubber boot on our front loading washing mashine was torn and needed replacing to stop the leaking water.

The instructions were good, but putting the spring on was quite difficult. The 3 spacers that came with the boot didn't want to stay in place. Finally I got 2 c clamps, putting a clamp over the spring and rubber spacer, and that did the trick. without the c clamps it would have been extremely difficult to get that spring on. Now it's fixed and no more leaks.
  • Durr from Mulino, OR
  • Difficulty Level:
    Difficult
  • Total Repair Time:
    30 - 60 mins
72 of 112 people found this instruction helpful.
Was this instruction helpful to you?
Thank you for voting!
Fixes Symptom 12% of time
★★★★★
★★★★★
12 Reviews

Rated by 29 customers 


Really Easy 

15 - 30 mins 

Ratings submitted by customers like you who bought this part.   

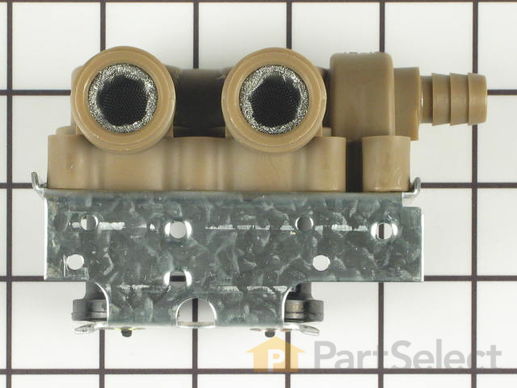
The water inlet valve has two ports for water to enter and controls the flow of water into a washing machine. Hot, cold, and warm water can easily enter the washer this way. If the water inlet valve is in any way damaged or defective, it may be slow to fill or even leak. Before beginning this replacement, make sure to unplug the washer from the power range or shut off the house circuit breaker. Remember to wear gloves for safety. Refer to the installation instructions and the diagram provided by the manufacturer for best results and accuracy.

$ 127.65
  In Stock
PartSelect Number PS815509
Manufacturer Part Number 134190200

Replacing your Frigidaire Washer Water Inlet Valve

Replacing your Water Inlet Valve

Customer Repair Stories

water continued to flow into machine during spin cycle

After moving machine to an area that allowed easy access to the unit, disconnected the water supply hoses from the inlet valve.
Removed the two screws that keep the back in place, removed the clips that keep the top in place, moved the top over far enough to get the valve out. Removed the screw that keeps the inlet valve in place, disconnected the power supply to the valve, Pulled valve out in order to remove the water outlet hose. Repalced with new vale, and reversed order to install. Works just fine now.
  • Howard from Lcolnton, GA
  • Difficulty Level:
    Easy
  • Total Repair Time:
    15 - 30 mins
  • Tools:
    Screw drivers
16 of 18 people found this instruction helpful.
Was this instruction helpful to you?
Thank you for voting!

Washer Continued To Fill To Point Of Overflow

First I removed the top panel held by four screws at rear of panel, pulling the panel foward and up. Then disconnected the power and water connections. Then I removed the two screws holding the flow valve to the washer rear panel,pulled the valve foward ,removed the two electric connectors, pinched the water clamp with pliers and removed the water connection to the valve. Then replaced with the new valve followed the above steps in reverse order, finishing up by re placing the water connections and power. Then checked fo proper replacenent and leaks before replacing top panel.
  • alvaro from east hampton, NY
  • Difficulty Level:
    Really Easy
  • Total Repair Time:
    Less than 15 mins
  • Tools:
    Pliers, Screw drivers
86 of 96 people found this instruction helpful.
Was this instruction helpful to you?
Thank you for voting!
Fixes Symptom 6% of time
★★★★★
★★★★★
22 Reviews

Rated by 67 customers 


Easy 

30 - 60 mins 

Ratings submitted by customers like you who bought this part.   

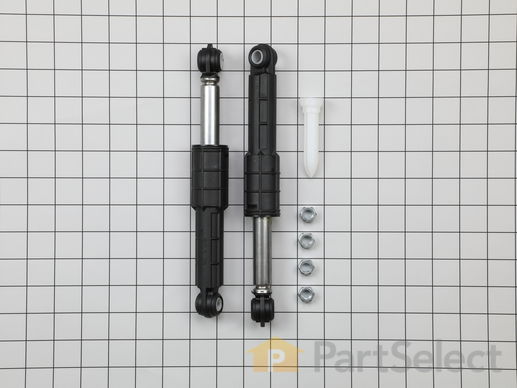
This shock absorber kit is an authentic OEM part that is sourced directly from the manufacturer. The kit includes two dual-stage shock absorbers, one spare shock mounting pin, and four locking nuts. These shock absorbers keep your front-load washer from shaking vigorously by absorbing and reducing vibrations from the wash and spin cycles of your appliance. This kit comes with two shock absorbers because it is recommended to replace both at the same time, as they wear at the same rate. To access your washer shock absorbers, simply remove the lower access panel after disconnecting the power to the appliance.

$ 39.67
  In Stock
PartSelect Number PS3508101
Manufacturer Part Number 5304485917

Replacing your Frigidaire Washer Shock Absorber Kit

Replacing your Shock Absorber Kit

Customer Repair Stories

Tub loose

Take off the back, one of the shock absorbers was broken, it was very obvious. Looked up part at partselect.com, very easy, ordered part, it came in 2 days, the repair took another 15 minutes. There were directions inside the repair part to tell you a trick to get the old one off. It worked like a charm. Why spend $200-300 or more on a repair on a $500 washer when you can do the entire job for about $30 and get it back working in 2 days!! No brainer.
  • Mel from Ipswich, MA
  • Difficulty Level:
    Really Easy
  • Total Repair Time:
    15 - 30 mins
  • Tools:
    Pliers, Socket set
34 of 37 people found this instruction helpful.
Was this instruction helpful to you?
Thank you for voting!

Both vibration shock absorbers broken

removed 2 screws and removed top access cover. removed 2 screws and removed front access cover. removed 4 retaining pins (one with nammer and punch because it was stuck) connected lower ends of new shocks with plastic pins, extended each shock to slip fit and connected upper ends to wash tub mounts. Reinstalled panels. I wish I could say that it all went well from there but......when the shocks broke, apparently the hit the motor took was enough to cause an electronic failure of the speed cycle control chip. Now Im waiting for that part.
  • Douglas from Medical Lake, WA
  • Difficulty Level:
    Easy
  • Total Repair Time:
    30 - 60 mins
  • Tools:
    Screw drivers, Socket set
179 of 192 people found this instruction helpful.
Was this instruction helpful to you?
Thank you for voting!
Fixes Symptom 6% of time
★★★★★
★★★★★
1 Review

Rated by 2 customers 


A Bit Difficult 

More than 2 hours 

Ratings submitted by customers like you who bought this part.   

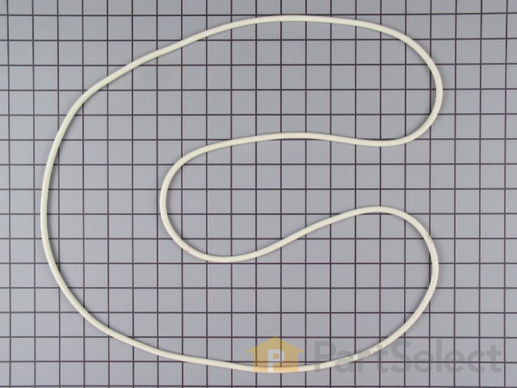
This part is between the front and rear outer tubs.

$ 57.57
  In Stock
PartSelect Number PS724852
Manufacturer Part Number 134146100

Customer Repair Stories

tub leak at seam in front load washer

Slowly took apart things to be able to get tub out and checked wear of parts. Our spider was in good shape, sounds like depending on your water the spider can in bad shape. Can't buy spider alone have to get $250+ assembly if that is bad. All other parts looked OK so ordered and replaced gasket and cleaned up other items as re-assembled. Takes time, but is do-able. Best with 2 people. Used youtube video to step through disassembly. After putting it back together no leak.
  • Pamela from Portland, OR
  • Difficulty Level:
    Difficult
  • Total Repair Time:
    More than 2 hours
  • Tools:
    Nutdriver, Pliers, Screw drivers, Socket set, Wrench (Adjustable), Wrench set
Was this instruction helpful to you?
Thank you for voting!

Stainless tub in front loader broke 2 out of 3 spider arms

Removed entire tub assembly, replaced bearings and seal in rear outer tub assembly, had spider arms welded by aluminum welder. alot of work ,saved 150.00 on parts by replacing bearings, savings untold hundreds by doing it myself instead of replare man.. BIG JOB. But just plug away and it goes rather smoothly.
  • Ed from International Falls, MN
  • Difficulty Level:
    A Bit Difficult
  • Total Repair Time:
    More than 2 hours
  • Tools:
    Nutdriver, Pliers, Screw drivers, Socket set, Wrench (Adjustable)
13 of 18 people found this instruction helpful.
Was this instruction helpful to you?
Thank you for voting!
Fixes Symptom 5% of time
★★★★★
★★★★★
14 Reviews

Rated by 25 customers 


Easy 

30 - 60 mins 

Ratings submitted by customers like you who bought this part.   

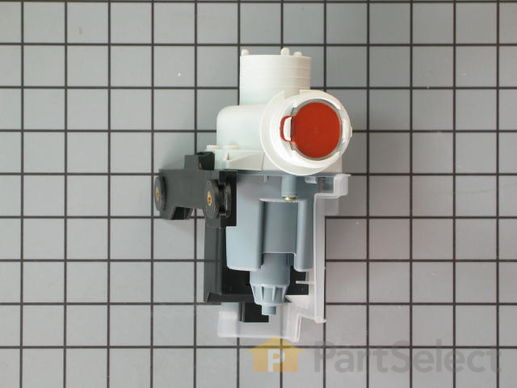
This pump helps expel water from the washing machine and is activated after the spin speed is maintained for a specific period of time.

$ 163.31
  In Stock
PartSelect Number PS2342445
Manufacturer Part Number 137108000

Replacing your Frigidaire Washer Drain Pump - 60Hz 120V

Replacing your Drain Pump - 60Hz 120V

Customer Repair Stories

washer wouldn't drain

First I turned off the breaker to the washer.

Then I removed the drain pump motor, saw that it was broken, and ordered a new one with expedited shipping. It was delivered about 36 hours later.

I should have used my wet/dry vac to suck out all of the water remaining in the drain lines. Because I didn't, nasty water dripped all over my laundry room. Lesson learned!

The part arrived at 2:20. I had to pick up my kids at school at 3pm. I wasn't sure I'd have time, but I tried anyway. I first removed the screws holding the entire pump assembly to the floor of the washer. Then I attempted to remove the clamps holding the three hoses onto the pump / motor assembly. I tried with regular pliers for about 10 minutes and finally realized I needed locking pliers. Mine are missing, but I have a stone mason doing a project at my house. I borrowed his and immediately had the clamps loosened. I slid them back onto the hoses, inserted the pump motor into each hose one by one, and reattached the clamps.

I ran a little water into the washer, checked to see that it didn't leak upon draining, then started a load and left to get my kids from school.

This was a very easy repair. The part was $75 plus about $20 for the expedited delivery. The Sears service call would have been $65 just to walk in the door PLUS whatever they would have charged me for the labor and the part. I am guessing I saved over $200.

The worst part was the gross water remaining in the drain lines. This would have been easily avoided if I'd just taken the time to get the shop vac. Learn from me and don't skip this step!!
  • Anita from Mission Hills, KS
  • Difficulty Level:
    Easy
  • Total Repair Time:
    15 - 30 mins
  • Tools:
    Screw drivers
24 of 26 people found this instruction helpful.
Was this instruction helpful to you?
Thank you for voting!

drain pump motor had seized as result of foreign objects

After turning off water, disconnecting power, and sucking water out of the tub and drain hose with a shop vac, I removed the front kick panel (took out two sheet metal screws). Then I removed two mounting screws from the pump assembly, and disconnected two hose clamps (inlet and outlet hoses) with a pair of pliers. Very simple, very easy. The pain in the fanny came when I tried to reattach the hoses. The hose clamps apparently require either a special tool or a technique I'm not familiar with. I finally tossed them and purchased two standard screw and band hose clamps which made the final connections a breeze. The surprise came when I found that the motor had seized because of a pair of tweezers that had somehow worked into the motor impeller. Free of tweezers and coins, the new motor works great! To quote another one of your contributors: wife happy!
  • Charles from Raleigh, NC
  • Difficulty Level:
    A Bit Difficult
  • Total Repair Time:
    15 - 30 mins
  • Tools:
    Pliers, Screw drivers, Wrench set
107 of 111 people found this instruction helpful.
Was this instruction helpful to you?
Thank you for voting!
Fixes Symptom 4% of time
★★★★★
★★★★★
62 Reviews

Rated by 38 customers 


Really Easy 

15 - 30 mins 

Ratings submitted by customers like you who bought this part.   

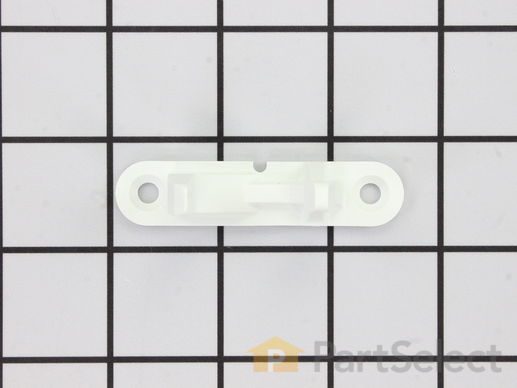
The door strike on your washing machine allows your washer door to lock properly, and operate efficiently. If you notice that your washer door will not open or close, leaks or the washer will not start or spin, you may need to replace the door strike. This part is for front load washers and is white in color. The part is made of plastic and is roughly 2 inches in length. To complete this repair, you will only need a Phillips screwdriver. Most of our customers found this repair to be easy and took less than 15 minutes to complete it. This part is sold individually, not as a part of a kit, and is a genuine part approved by the original manufacturer.

$ 13.76
  In Stock
PartSelect Number PS890617
Manufacturer Part Number 131763310

Replacing your Frigidaire Washer Door Strike

Replacing your Door Strike

Customer Repair Stories

washing machine front loader door would not close, making the machine useless

I removed the broken door catch, which consisted of removing two screws, making it a snap to do, all you needed was a screw driver, and replaced it with the new one using the same screws, This took about 5 mins. to do and was very simple. Turning the machine into a working washer again. : )
After looking all over for the part,and not finding it I was thrilled when you carried the part. Even though the machine is old, it works great. Thank you for the selection of all the parts you carry and how you make it so easy for us to find what we need. , and having it in stock, which was mailed right away, so I could replace the catch and have the washer back in use in less than a week. Thank you
  • Susan from Vero Beach, FL
  • Difficulty Level:
    Really Easy
  • Total Repair Time:
    Less than 15 mins
  • Tools:
    Screw drivers
71 of 81 people found this instruction helpful.
Was this instruction helpful to you?
Thank you for voting!

Broken Door Catch

This was one of the simpliest repairs I have ever done taking less than 5 minutes to complete. On the inner door I removed the two screws that hold the plastic catch in place. I then removed the broken catch and put the new catch in place. Finally I replaced the two screws that hold the catch in place and it was done.
  • Joy from Columbia, MO
  • Difficulty Level:
    Really Easy
  • Total Repair Time:
    Less than 15 mins
  • Tools:
    Screw drivers
563 of 580 people found this instruction helpful.
Was this instruction helpful to you?
Thank you for voting!
Fixes Symptom 2% of time

Rated by 1 customer 


Very Difficult 

1- 2 hours 

Ratings submitted by customers like you who bought this part.   

$ 154.69
  In Stock
PartSelect Number PS975857
Manufacturer Part Number 134426500

Customer Repair Stories

Rubber seal (boot) needed to be replaced.

I began by removing the seal from the exterior lip of the machine housing. I took a razor and removed any rubber and adhesive that remained on the unit.

Next, I remove the boot from the soap dispenser tube (located at about 11:00 of the opening) with a needlenose plyers. The manual recommends flattening a 3" copper pipe to fashon a tool to release the "bread tie" fastener. I can see why but patience with a needlenose sufficed.

I pulled the boot down from the tub housing (with much force) exposing the band that holds the boot in firmly. I one pull, both pieces came out. I could tell getting the new one is was going to be a chore.

I cleaned the area and after about 40 strenuous minutes of getting the new boot onto the tub, only a couple things remained. Even with help, be prepared to dedicate hours of frustration getting the band around the boot securing it to the tub. The working space is minimal and the task is virtually hopeless to slightly possible.

Once that's taken care of, you may feel like you can accomplish anything. The rest goes up in the order it came out. Make sure you slide the boot up as far up the soap dispensing unit as possible before securing the bread tie clamp.

Run the seal around, close the door and have one of you kids clean up the work area (and mop the blood, sweat and tears from the unit and the floor.
  • Jon from Stevens Point, WI
  • Difficulty Level:
    Very Difficult
  • Total Repair Time:
    1- 2 hours
  • Tools:
    Pliers, Screw drivers
10 of 23 people found this instruction helpful.
Was this instruction helpful to you?
Thank you for voting!
Fixes Symptom 2% of time
★★★★★
★★★★★
1 Review

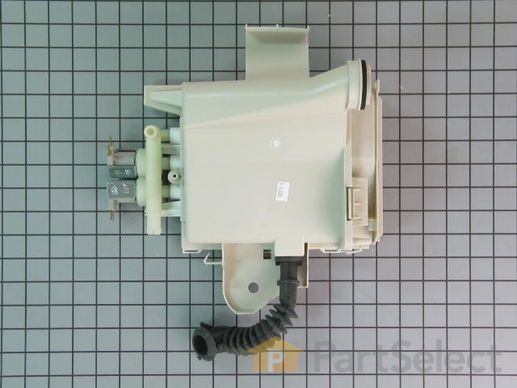
This part distributes detergent, bleach and fabric softener at the appropriate times.

  No Longer Available
PartSelect Number PS815456
Manufacturer Part Number 131803710
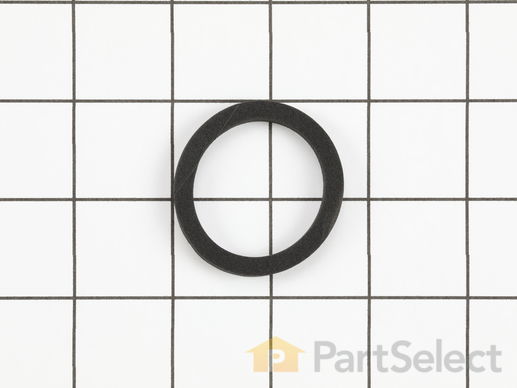
11 GASKET
Fixes Symptom 1% of time

  No Longer Available
PartSelect Number PS418683
Manufacturer Part Number 131749200
Fixes Symptom 1% of time
★★★★★
★★★★★
30 Reviews

Rated by 44 customers 


Really Easy 

15 - 30 mins 

Ratings submitted by customers like you who bought this part.   

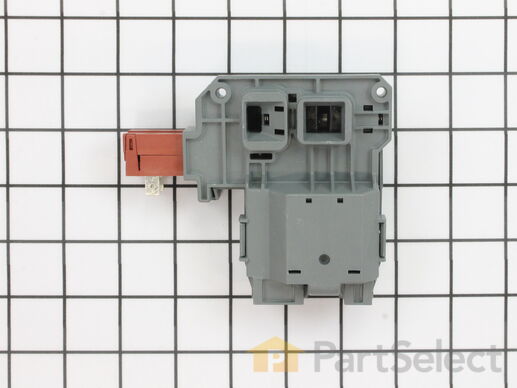
This door lock and switch assembly is manufactured to lock the door on your front load washer to prevent it from opening while it is running. You may need to replace the door lock and switch if the door does not open or lock. Your washer will not start if the door does not lock. This part is also known as a washing machine door lock assembly. As per the manufacturer, some models require a new wire harness and a door strike for this door lock assembly to work on the appliance. The original style lock would require the door lock kit.

$ 127.91
  In Stock
PartSelect Number PS12364048
Manufacturer Part Number 131763256

Replacing your Frigidaire Washer Front Load Washer Door Lock and Switch Assembly

Replacing your Front Load Washer Door Lock and Switch Assembly

Customer Repair Stories

Washer would not spin

Door lock takes a beating due to flimsy washer door which does not align well and subsequently gets slammed each time which causes lock to malfunction telling the washer that it is not locked. Due to safety the washer will not go into the spin mode. Remove top lid (2 screws) open washer door and loosed the 2 screws holding the lock assembly in place. Reach down into the washer and unsnap the 3 wire harnesses. Reverse to reinstall. Very easy.
  • Keith from Sayville, NY
  • Difficulty Level:
    Really Easy
  • Total Repair Time:
    Less than 15 mins
  • Tools:
    Screw drivers
124 of 140 people found this instruction helpful.
Was this instruction helpful to you?
Thank you for voting!

Door on washer wouldn't lock or start

1. Unplug unit.
2. Unscrew 2 nuts holding top in place in rear of unit using phillips head screwdriver.
3.Slide top back and remove.
4. Open door of washer and unscrew 2 screws holding in door lock unit.
5.Pull out unit from the top and install new unit reconnecting the 3 wire connections.
  • DOUG from KING FERRY, NY
  • Difficulty Level:
    Really Easy
  • Total Repair Time:
    Less than 15 mins
  • Tools:
    Screw drivers
471 of 553 people found this instruction helpful.
Was this instruction helpful to you?
Thank you for voting!
Fixes Symptom 1% of time

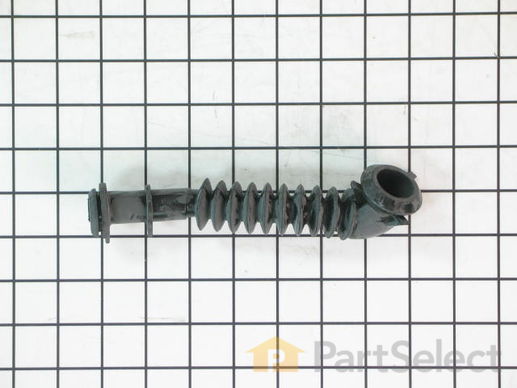
Dispenser to tub hose.

$ 71.27
  In Stock
PartSelect Number PS417346
Manufacturer Part Number 131271600