Parts That Fix Frigidaire Refrigerator FRT17G4BW9 Fridge too warm
Fridge too warm is a commonly reported symptom for the FRT17G4BW9 Frigidaire Refrigerator, and we have put together a full guide on how to fix this. This advice is based on feedback from people who own this exact appliance. We have listed the most common parts for your FRT17G4BW9 Frigidaire Refrigerator that will fix Fridge too warm. We have included repair instructions, and helpful step-by-step video tutorials. If you are experiencing this issue, not to worry, DIYers just like you have fixed this, and shared their experience to help you!
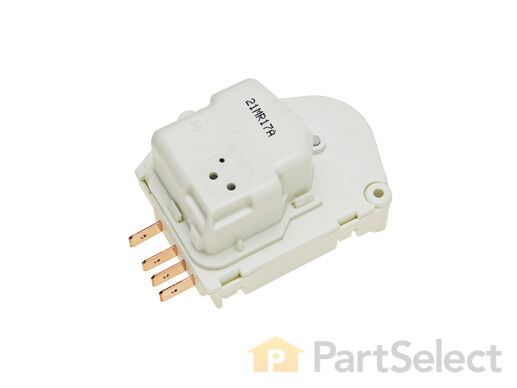
This Defrost Timer works like a clock by switching on the defrost heater circuit after a predetermined amount of compressor run time. This allows the defrost circuit to clear the evaporator of ice or frost to maintain proper airflow. The defrost timer is located in the control housing which is in the refrigerator section of your appliance. If this part is not working, it can lead to temperature increases in your refrigerator. If the compressor circuit fails, no cooling will take place; if the defrost circuit isn't activated, ice will quickly build up on the evaporator coils and reduce airflow and efficiency. If the timer doesn't advance or if the contacts have no continuity, the timer will need to be replaced. This timer measures approximately 3 inches long and 2.5 inches wide, and is constructed of plastic and metal. It comes in black/white/silver and is sold individually. This replacement part features 1 defrost timer.
Replacing your Frigidaire Refrigerator Defrost Timer - 60Hz 120V

Customer Repair Stories
no cooling in fridge or freezer due to bad defrost timer
-
Todd from pottstown, PA
-
Difficulty Level:Easy
-
Total Repair Time:Less than 15 mins
-
Tools:Screw drivers
Side-by-side .. freezer working, fridge not cooling
-
Tad from Lancaster, OH
-
Difficulty Level:Easy
-
Total Repair Time:15 - 30 mins
-
Tools:Screw drivers
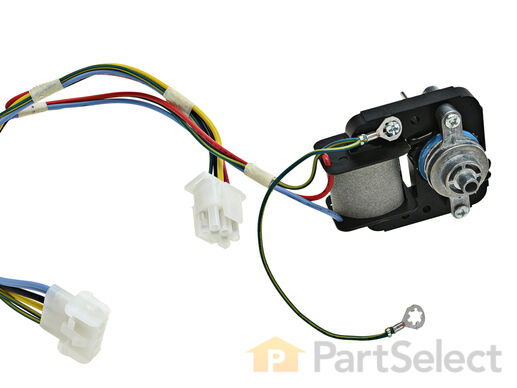
The evaporator fan motor (Motor Evaporator Fan, Evaporator Fan Motor Kit, Evaporator Fan Motor, Refrigerator Evaporator Fan Motor) circulates air through the food compartment for efficient cooling in refrigerators. The evaporator fan motor can squeal as its bearing dries out. The motor bearings can totally seize, preventing any movement. The motor coil can also burn out, preventing any fan movement. If this motor fails, the refrigerator compartment will warm up and eventually the freezer will reduce cooling as well. Excessive frost can build up on the evaporator coil due to lack of air movement. The motor can make a squealing noise when it is beginning to fail or will not operate at all when powered, and this is a sign it should be replaced. The evaporator is located in the rear of the freezer compartment. This part measures 2-1/2 inches wide by 3 inches tall by 1 inch thick, at its widest point. It is constructed of plastic and metal, and comes in black/silver. This kit includes the evaporator fan motor and harness.
Replacing your Frigidaire Refrigerator Evaporator Fan Motor Kit - 120V 60Hz

Customer Repair Stories
Motor on Evap Fan quite spinning
Th ... Read more e repair is very easy - remove all racks in the freezer and then remove their slides. Then remove the screws in the back plate. Due to the ice maker, the plate will not come out, so just pull it up and tie it off. Remove the screws to remove the motor fan assembly. I did the repair with the power on, BUT BE CAREFUL if you do so. Uplug the power from the motor, and remove the assembly from the freezer. Disamble and replace the motor. Then revese the above and you're freezing again.
-
Gary from League City, TX
-
Difficulty Level:Really Easy
-
Total Repair Time:15 - 30 mins
-
Tools:Pliers, Screw drivers
bottom of fridg. would not get cool. Temp was 50-60degrees. The freezer compartment worked so I knew it was not the compressor.
-
Larry from Carthage, NC
-
Difficulty Level:Easy
-
Total Repair Time:30 - 60 mins
-
Tools:Nutdriver
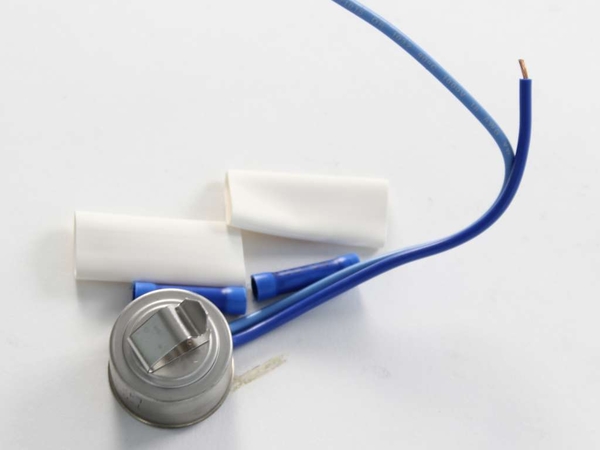
This defrost thermostat is also known as a refrigerator defrost bi-metal thermostat kit. The function of the defrost bi-metal thermostat is to prevent overheating during the defrost cycle in your refrigerator by protecting the evaporator. The most common sign that there is a problem with your refrigerator defrost thermostat kit is if your freezer is cold but your refrigerator is warm. If your evaporator coils are icy then your defrost bi-metal thermostat kit could be defective. To do this installation the tools you will need include a 1/4 inch nut driver, a pair of wire strippers and crimpers, and a heat gun.
Replacing your Frigidaire Refrigerator Defrost Thermostat

Customer Repair Stories
i smell very bad smell coming from refrigerator
-
Arsen from Glendale, CA
-
Difficulty Level:Really Easy
-
Total Repair Time:15 - 30 mins
-
Tools:Pliers, Screw drivers
evaporator coil kept freezing up, refridgerator warm.
-
Greg from Hanover Township, PA
-
Difficulty Level:A Bit Difficult
-
Total Repair Time:30 - 60 mins
-
Tools:Nutdriver, Pliers, Screw drivers
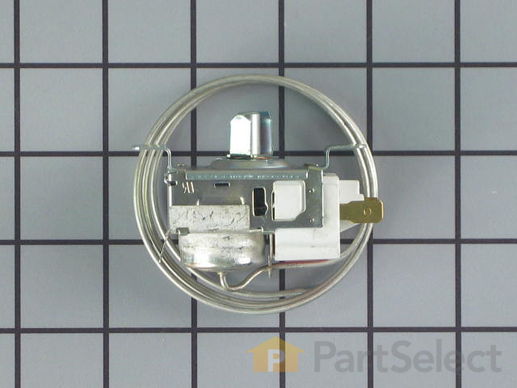
This cold control thermostat cycles on and off regularly to keep your refrigerator cold.
Replacing your Frigidaire Refrigerator Cold Control Thermostat

Customer Repair Stories
Not running
-
Kenneth from SAVANNAH, GA
-
Difficulty Level:Really Easy
-
Total Repair Time:Less than 15 mins
-
Tools:Nutdriver
Refrigerator would not run but interior light was on.
-
Bruce from Alton, IL
-
Difficulty Level:Really Easy
-
Total Repair Time:Less than 15 mins
-
Tools:Pliers, Screw drivers
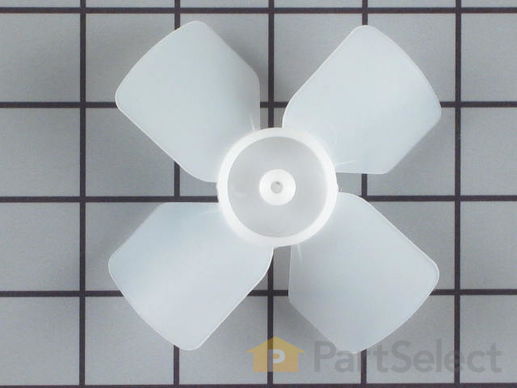
This evaporator fan blade is a genuine OEM part that is sourced directly from the manufacturer. The evaporator fan blade circulates air through the refrigerator to control the amount of cold air goes that goes to internal compartments of the unit. It may need to be replaced if the fridge is noisy or not cold enough. This part is made of plastic and is sold individually. It will be necessary to disconnect power to the refrigerator and empty the freezer compartment of the refrigerator. The tools needed to complete this repair are a 1/4 inch nut driver and a pair of needle nose pliers.
Replacing your Frigidaire Refrigerator Evaporator Fan Blade

Customer Repair Stories
loud noise fan blade broke,off balance
-
EDWIN from ELWOOD, IN
-
Difficulty Level:Really Easy
-
Total Repair Time:15 - 30 mins
-
Tools:Nutdriver
I had a broken fan blade due to ice build up from a leaking ice maker.
2. Next I took out 2 screws from the bottom of the auger drive box and unplugged the wiring harness and removed the box. The wiring harness was a little tricky. The lock on the plug pushes in to unlock even though ... Read more it looks like it pulls out,.
3.next you must remove 2 screws from the left side bracket that holds the auger box and remove the bracket.
4.Now take out 8 screws that hold the back panel in place and remove the back panel.
5. now your looking at the evaporator fan blade and motor. The simple way to replace the fan blade is to unplug the motor and remove it from the freezer. It just sits in with nothing holding it. The fan requires a little pressure but should pull right off. Install new fan blade and put everything back in the same order it was removed.
-
gary from ARANSAS PASS, TX
-
Difficulty Level:Easy
-
Total Repair Time:30 - 60 mins
-
Tools:Nutdriver
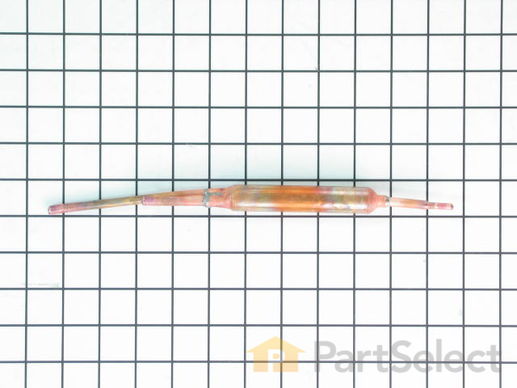
A filter-drier in a refrigerator has two essential functions. The first is to absorb system contaminants, such as water, which can create acids. The second is to provide physical filtration. This means trapping moisture, small metal chips, and dirt found in the refrigerant gas. If your refrigerator motor is constantly running, but the refrigerator is not getting cold, the issue could be due to a damaged or faulty filter-drier. Faulty filter-driers are sometimes the cause for abnormal freezer compartment temperatures and partially frosted evaporators. This filter-drier is approximately 11 inches long. Remember to disconnect the power from your refrigerator before beginning this repair.


