Models > DU1055XTVD0 > Symptoms > Not cleaning dishes properly

Parts That Fix Whirlpool Dishwasher DU1055XTVD0 Not cleaning dishes properly

Not cleaning dishes properly is a commonly reported symptom for the DU1055XTVD0 Whirlpool Dishwasher, and we have put together a full guide on how to fix this. This advice is based on feedback from people who own this exact appliance. We have listed the most common parts for your DU1055XTVD0 Whirlpool Dishwasher that will fix Not cleaning dishes properly. We have included repair instructions, and helpful step-by-step video tutorials. If you are experiencing this issue, not to worry, DIYers just like you have fixed this, and shared their experience to help you!

Fixes Symptom 43% of time

Rated by 52 customers 


Easy 

30 - 60 mins 

Ratings submitted by customers like you who bought this part.   

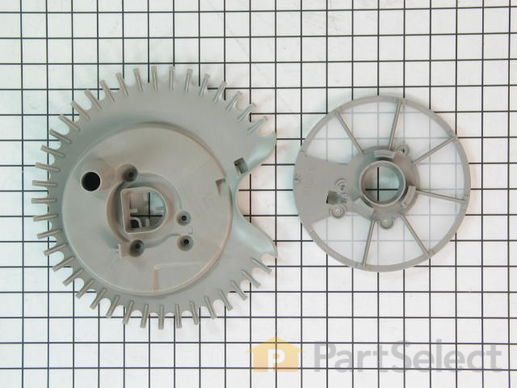
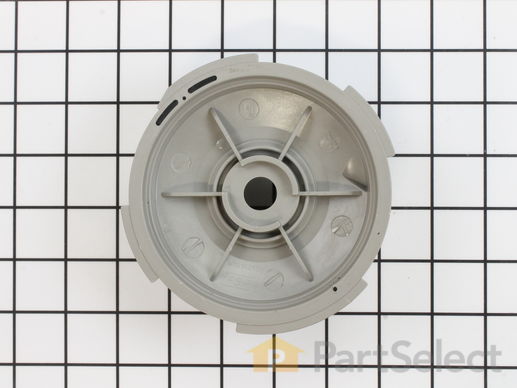
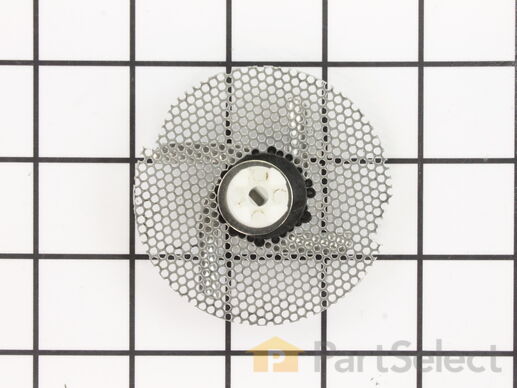
This is a chopper assembly or drain food chopper, and it is designed for your dishwasher. The chopper chops up/minces the food particles in your dishwasher to prevent them from clogging the pump. You may need to replace this part if your dishes are not being cleaned properly, your appliance is particularly noisy, or you are noticing draining problems. The tools you will need to make this repair include a number 20 and a number 15 torque screwdriver, a small flat blade screwdriver, and a pair of needle nose pliers.

  No Longer Available
PartSelect Number PS11722146
Manufacturer Part Number W10083957V

Customer Repair Stories

Dishes still dirty after full cycle. problem developed gradually over 2 week period

Several hours to diagnose problem: Removed all the plastic water distribution tubes to top rack and found no blockages. removed lower water jets, drain screens using star driver on 6 screws. still could find now blockages. decided problem had to be in pump mounted below unit so completely disconnected unit and removed from under counter. Upon removing lower plate below door I discovered a plastic pouch containing an excellent trouble shooting guide with complete dis-assembly instructions and parts breakout diagrams with P/N listings! First thing I discovered from this was that the chopper assembly was hiding under a plastic cover just under the filter screen I had already removed. The trick was to press down on the right side of the plate to get it to pop up and reveal the chopper. The whole chopper assembly slides out without tools. I found the strainer plate behind the chopper blade totally plugged as the blade had broken off the plastic drive shaft because the retaining knob on the end of the shaft had broken off. I was able to drill and tap the shaft and install a SS machine screw with washer to reassemble the chopper blade on the shaft. Not expecting this "Joe Maggee" repair to last more than a few cycles I went online with the P/N and googled PartSelect. Placed the order and chose std delivery over 2day or next day since I expected the repair to last for the week. I put everything back together and the first load came out perfect! This was Sunday afternoon. Tuesday the part arrived at my doorstep! 15 minutes and the new part was in. My "Joe Maggee" repair is now in the junk drawer awaiting the next pistachio shell that gets run through the washer.
  • Jeff from Vallejo, CA
  • Difficulty Level:
    Really Easy
  • Total Repair Time:
    Less than 15 mins
  • Tools:
    Screw drivers
31 of 35 people found this instruction helpful.
Was this instruction helpful to you?
Thank you for voting!

Dishes on top rack of dishwasher were not being cleaned.

1) Remove top and bottom dish baskets from the dishwasher, this will give you room to work. To remove top basket there are clips at the end of the slide rails.
2) Remove lower spray arm by unscrewing plastic screw, it should only be hand tight.
3) In order to remove the strainer cover, you will need to remove the plastic tube that takes water to the middle and top spray arms. Unclip this tube from the top and middle clips and then work it out of the strainer assembly tube. Now you should be able to remove the tube at the bottom of the dishwasher by unscrewing it 1/4 turn.
4) Remove the strainer cover by unscrewing the 4 Torqs screws.
5) You will now see two smaller torqs screws that hold the hold the Chopper Assembly cover down. Take these two screws out and remove the two piece cover.
6) Pull out the broken Chopper Assembly, make sure you get all the pieces!
7) Install the new Chopper Assembly. Make sure that you install the Assembly with the small part of the screen towards the bottom of the housing. Also make sure you compress the spring as you install the part. I used a small pair of neddle nose pliers to compress the spring behind the screen in order to install the chopper assembly.
8) Put everything back together and make sure it works!
  • Bill from North Richland Hills, TX
  • Difficulty Level:
    Easy
  • Total Repair Time:
    30 - 60 mins
  • Tools:
    Pliers
332 of 367 people found this instruction helpful.
Was this instruction helpful to you?
Thank you for voting!
Fixes Symptom 10% of time
★★★★★
★★★★★
30 Reviews

Rated by 15 customers 


Really Easy 

15 - 30 mins 

Ratings submitted by customers like you who bought this part.   

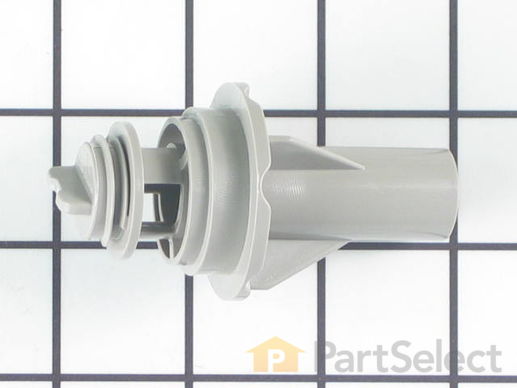
This is also called the 3rd-level spinner. This part works like a little spray arm at the top of your dishwasher.

$ 29.52
  In Stock
PartSelect Number PS972316
Manufacturer Part Number 8193983

Replacing your KitchenAid Dishwasher Spinner Kit

Replacing your Spinner Kit

Customer Repair Stories

Borke the spinner off with dishes that were too tall. (Oops!)

1. Put a towel over the bottom of the machine. (In case you drop the screw... duh!)

2. Remove the top screw.

3. Replace the snap pin (pointy end DOWN.)

4. Snap the spinner in place.

5. Replace the screw. (Or go to the hardware store to replace the screw you dropped into the bottom of the dishwasher. Dashitall!)
  • Stephen from Leavenworth, KS
  • Difficulty Level:
    Really Easy
  • Total Repair Time:
    Less than 15 mins
  • Tools:
    Screw drivers
47 of 48 people found this instruction helpful.
Was this instruction helpful to you?
Thank you for voting!

spinner kept falling off

i removed the top screw for the water input to the spinner, which gave me enough room to replace the worn nipple pin that the spinner snaps on to. then snapped the new spinner in place. and then screwed everything back into place.
  • paul from erie, CO
  • Difficulty Level:
    Really Easy
  • Total Repair Time:
    Less than 15 mins
  • Tools:
    Screw drivers
95 of 110 people found this instruction helpful.
Was this instruction helpful to you?
Thank you for voting!
Fixes Symptom 8% of time
★★★★★
★★★★★
6 Reviews

Rated by 11 customers 


Easy 

30 - 60 mins 

Ratings submitted by customers like you who bought this part.   

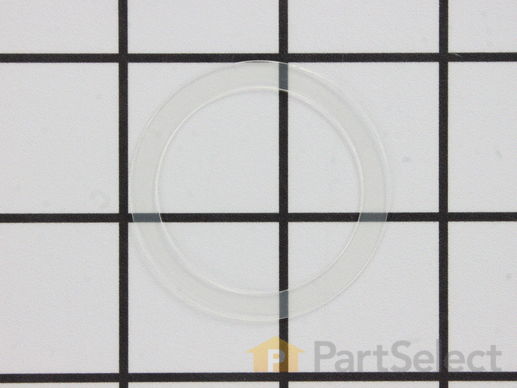
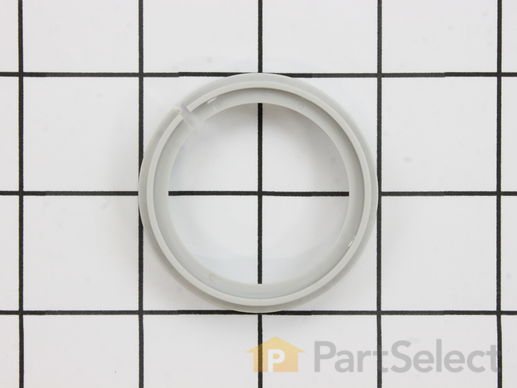
This seal is located between the spray arm and the water feed tube.

$ 13.70
  In Stock
PartSelect Number PS11745444
Manufacturer Part Number WP8268433

Replacing your KitchenAid Dishwasher Spray Arm Seal

Replacing your Spray Arm Seal

Customer Repair Stories

lack of water flow

removed rack
removed one screw
removed old seal
installed new seal
installed screw
  • Geoff from Avon, CT
  • Difficulty Level:
    Really Easy
  • Total Repair Time:
    30 - 60 mins
  • Tools:
    Screw drivers
6 of 8 people found this instruction helpful.
Was this instruction helpful to you?
Thank you for voting!
Fixes Symptom 6% of time
★★★★★
★★★★★
87 Reviews

Rated by 33 customers 


Easy 

30 - 60 mins 

Ratings submitted by customers like you who bought this part.   

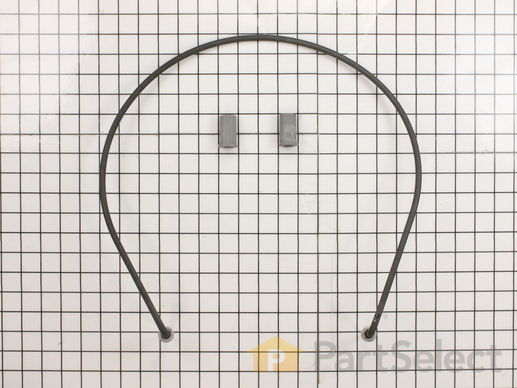
This manufacturer-certified heating element is used to create heat during the dry cycle and increase water temperature during portions of the wash cycle when certain options are selected. If your dishes are not drying or the water in the dishwasher is not getting hot you may need to replace the element. This kit includes the heater, two heater fasteners, and is a genuine OEM part. Please remember to disconnect the power before starting the repair. Use a multi-meter to test your heating element for continuity to determine whether this is the part that is causing your symptom. This part does not include any washers. To make your repair, disconnect the wires from the bottom of the element in the back, remove the plastic nuts holding it in place, remove the element, and repeat these steps in reverse order to install your new part. This is an easy repair that requires only a screwdriver, wrench set, and should take less than 30 minutes.

$ 66.15
  In Stock
PartSelect Number PS8260087
Manufacturer Part Number W10518394

Replacing your Whirlpool Dishwasher Dishwasher Heating Element

Replacing your Dishwasher Heating Element

Customer Repair Stories

clean light flashing 7 times would not run

removed screws holding dishwasher to counter top,raised leveling pads,pulled dishwasher out, unplugged wiring,removed hold down nuts from inside dishwasher and installed new heater element, this was all easy the hard part was finding the code to reset the dishwasher there was no paperwork inside the dishwasher although there was an empty plastic holder.The code that worked for my model was with the door open to push the normal wash button then the high temp button three times as fast as you can within four seconds then close the door. It worked and reset the dishwasher which ran a short cycle then shut down as normal and is now working fine.After doing this select the beverage of your choice and relax. Hope this helps someone.
  • Mark from Winchester, VA
  • Difficulty Level:
    Really Easy
  • Total Repair Time:
    30 - 60 mins
  • Tools:
    Screw drivers, Wrench (Adjustable), Wrench set
12 of 15 people found this instruction helpful.
Was this instruction helpful to you?
Thank you for voting!

Heater element broken.

Step 1: Remove the screws in the bottom of the countertop.

Step 2: Remove the screws holding the bottom kickplate.

Step 3: Loosen leveling legs.

Step 4: Pull dishwasher out of hole.

Step 5: Unlplug dishwasher.

Step 6: Disconnect wires from bottom of element in back.

Step 7: Remove plastic nuts holding element in place.

Step 8: Remove element.

Step 9: Reverse Steps 1-7.

Step 10: Drink beer.
  • Dennis from Sedro Woolley, WA
  • Difficulty Level:
    Really Easy
  • Total Repair Time:
    Less than 15 mins
  • Tools:
    Screw drivers, Wrench set
216 of 241 people found this instruction helpful.
Was this instruction helpful to you?
Thank you for voting!
Fixes Symptom 5% of time
★★★★★
★★★★★
3 Reviews

Rated by 11 customers 


A Bit Difficult 

1- 2 hours 

Ratings submitted by customers like you who bought this part.   

Also known as a wash arm seal.

$ 5.42
  In Stock
PartSelect Number PS11745436
Manufacturer Part Number WP8268340

Replacing your KitchenAid Dishwasher Spray Arm Seal

Replacing your Spray Arm Seal

Customer Repair Stories

PartSelect screwed up.

Couldn't do the repair because you people sent the wrong part.
I ordered #1174536, spray arm seal, but got #wp8268340, bearing.
Waiting for you to make this right.
Please feel free to publish this. Tom Hanna
  • Thomas from BLOOMFIELD, MI
  • Difficulty Level:
    Very Difficult
  • Total Repair Time:
    More than 2 hours
1 person found this instruction helpful.
Was this instruction helpful to you?
Thank you for voting!

Missing order

I wish I could describe how my repair went! My order was shipped on August 27 (per: the company's email ). However, I have not received our part, yet and it is September 11! I contacted the company, via email. The company's reply: Check FedEx's tracking. I tried that, but as soon as I got to that site, I remembered......PartSelect NEVER sent a tracking number for FedEx, whaaaat!!! Needless to say, I'm not a happy camper!!!
  • Patsy from PFAFFTOWN, NC
  • Difficulty Level:
    Very Difficult
  • Total Repair Time:
    More than 2 hours
1 person found this instruction helpful.
Was this instruction helpful to you?
Thank you for voting!
Fixes Symptom 5% of time
★★★★★
★★★★★
3 Reviews

Rated by 8 customers 


Easy 

1- 2 hours 

Ratings submitted by customers like you who bought this part.   

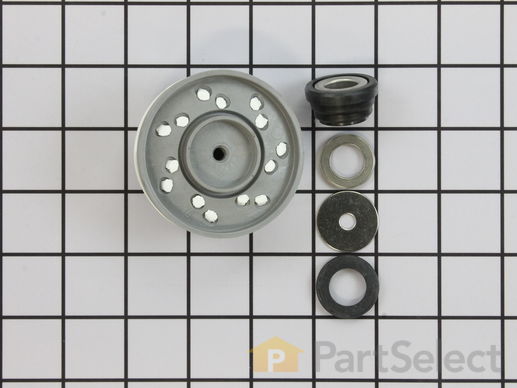
This is the replacement impeller kit for your dishwasher. This impeller kit comes with 4 pieces, including the impeller and seals which you will need for the repair. The impeller and seal kit is mounted on the dishwasher motor. If your dishwasher is not cleaning dishes properly, it may be an indication that your impeller has gone bad, and you are not getting proper water pressure. If the seals have gone bad, your dishwasher may start to leak. If you are having either of these problems, you may need to replace the impeller kit. Be sure to disconnect the water and power source from the dishwasher before you begin this repair. This is an OEM part sourced directly from the manufacturer.

$ 94.51
  In Stock
PartSelect Number PS12069388
Manufacturer Part Number 8193951A

Replacing your KitchenAid Dishwasher Impeller

Replacing your Impeller

Customer Repair Stories

The ceramic seal had failed, allowing water to destroy the front motor bearing.

Removed dishwasher from under the counter and took it to my shop. With the washer on its side, I removed the motor, then the impeller and seal. I then disassembled the motor and replaced the front bearing(purchased separately). This required an arbor press. I then reassembled the motor and installed the new seal and impeller. Reassembled in reverse order. Reinstalled under the counter and made conections. Checked for leaks and proper operation.
  • Jerome from Greensburg, IN
  • Difficulty Level:
    A Bit Difficult
  • Total Repair Time:
    More than 2 hours
  • Tools:
    Nutdriver, Pliers, Screw drivers, Socket set, Wrench (Adjustable), Wrench set
19 of 26 people found this instruction helpful.
Was this instruction helpful to you?
Thank you for voting!

Dishes would not clean

Checked grinder and cleaned it several times, adjusted blades. Dishes would be clean for approx. 6 cycles, then would not clean. Placed dishwasher on its front and removed the motor. Removed grinder and impeller which I found to be worn so that the blades would not turn on the grinder which caused it to collect food particles. The impeller locks in easily.
  • Kathryn from Gordon, NE
  • Difficulty Level:
    A Bit Difficult
  • Total Repair Time:
    30 - 60 mins
  • Tools:
    Screw drivers, Socket set
37 of 43 people found this instruction helpful.
Was this instruction helpful to you?
Thank you for voting!
Fixes Symptom 5% of time
★★★★★
★★★★★
1 Review

Rated by 9 customers 


Easy 

30 - 60 mins 

Ratings submitted by customers like you who bought this part.   

May differ in appearance, but functions same as original. This valve allows the water to flow in the drain direction only and prevents the dirty water from coming back into the tub.

$ 52.87
  In Stock
PartSelect Number PS11745441
Manufacturer Part Number WP8268375

Replacing your KitchenAid Dishwasher Sump Pump Check Valve

Replacing your Sump Pump Check Valve
Fixes Symptom 2% of time
★★★★★
★★★★★
4 Reviews

Rated by 1 customer 


Easy 

15 - 30 mins 

Ratings submitted by customers like you who bought this part.   

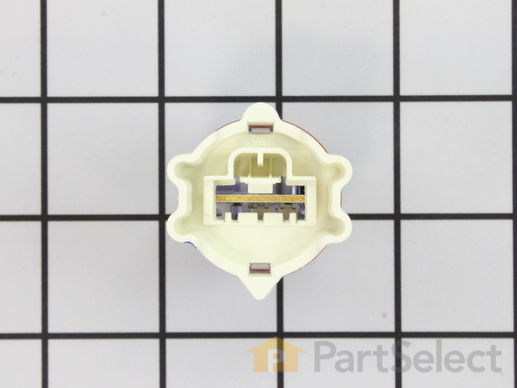
Measures level of soil in the water.

$ 33.73
  In Stock
PartSelect Number PS11757214
Manufacturer Part Number WPW10705575

Replacing your KitchenAid Dishwasher Turbidity Sensor

Replacing your Turbidity Sensor

Customer Repair Stories

Failed diagonistics test for OWI sensor

Pulled the dishwasher out from the counter, on the lower right hand side, about mid way back there is a bundle of all yellow wires, follow that to the sensor which mounts into the bottom of the wash tub. The sensor is easily removed by grasping it by hand and turn it about a half turn (can't remember which direction). It then just pulls out. Disconnect the wire bundle by pushing on the retaining clip and the install is the reverse.
  • Mark from Lancaster, NY
  • Difficulty Level:
    Easy
  • Total Repair Time:
    15 - 30 mins
  • Tools:
    Screw drivers
58 of 83 people found this instruction helpful.
Was this instruction helpful to you?
Thank you for voting!
Fixes Symptom 2% of time
★★★★★
★★★★★
3 Reviews

Rated by 4 customers 


Easy 

1- 2 hours 

Ratings submitted by customers like you who bought this part.   

This part is used with the lower spray arm.

$ 49.42
  In Stock
PartSelect Number PS11745437
Manufacturer Part Number WP8268342

Replacing your Whirlpool Dishwasher Lower Spray Arm Support/Hub

Replacing your Lower Spray Arm Support/Hub

Customer Repair Stories

Noisey motor

just followed what I took out and replaced washing unit
  • Richard from CHELMSFORD, MA
  • Difficulty Level:
    Really Easy
  • Total Repair Time:
    30 - 60 mins
  • Tools:
    Nutdriver, Pliers, Screw drivers
1 person found this instruction helpful.
Was this instruction helpful to you?
Thank you for voting!
Fixes Symptom 2% of time
★★★★★
★★★★★
10 Reviews

Rated by 12 customers 


Really Easy 

Less than 15 mins 

Ratings submitted by customers like you who bought this part.   

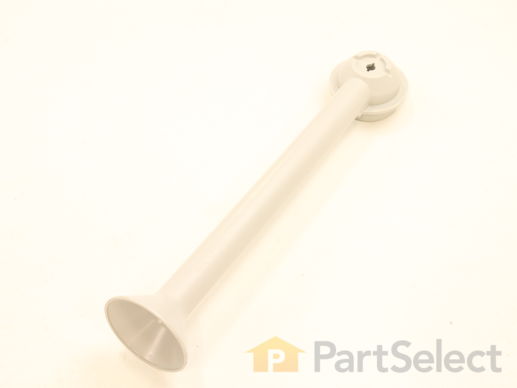
This part connects the spray arm to the main water tube. Also known as a water supply tube. Note: This part has been updated from the original.

$ 55.82
  In Stock
PartSelect Number PS11751313
Manufacturer Part Number WPW10258149

Replacing your Whirlpool Dishwasher Manifold

Replacing your Manifold

Customer Repair Stories

Dishes were not getting clean; thought we were going to have to replace our 12 year old dishwasher.

I removed one screw in the old spray arm and replaced the arm; then replaced the screw. My 'less than $10 part saved me the cost of a repair man. The dishwasher now operates as good as new. Max Briggs, Indianapolis
  • MAX from Indianapolis, IN
  • Difficulty Level:
    Really Easy
  • Total Repair Time:
    Less than 15 mins
  • Tools:
    Screw drivers
1 of 2 people found this instruction helpful.
Was this instruction helpful to you?
Thank you for voting!

Two piece water distribution tube kept falling off. Fell on to heating element and melted

Eay repair. Replacement tube was one piece and only required removing one phillip's head screw to replace
  • Randall from Logan, UT
  • Difficulty Level:
    Really Easy
  • Total Repair Time:
    Less than 15 mins
  • Tools:
    Screw drivers
6 of 6 people found this instruction helpful.
Was this instruction helpful to you?
Thank you for voting!
Fixes Symptom 1% of time
★★★★★
★★★★★
5 Reviews

Rated by 1 customer 


Easy 

15 - 30 mins 

Ratings submitted by customers like you who bought this part.   

This part is essential in your dishes getting clean during the wash cycle. If there is any debris or a tear in the filter, it can cause extra buildup and, therefore, causing dirty dishes.

$ 126.09
  In Stock
PartSelect Number PS897295
Manufacturer Part Number 8193918

Replacing your KitchenAid Dishwasher Accumulator and Filter

Replacing your Accumulator and Filter

Customer Repair Stories

Dishes did not always clean with some residue left on the dishes. Needed to replace the filter

Just followed the YouTube video they sent with the receipt.
  • Ashok from CHAPEL HILL, NC
  • Difficulty Level:
    Easy
  • Total Repair Time:
    15 - 30 mins
7 of 12 people found this instruction helpful.
Was this instruction helpful to you?
Thank you for voting!
Fixes Symptom 1% of time
★★★★★
★★★★★
46 Reviews

Rated by 17 customers 


Really Easy 

Less than 15 mins 

Ratings submitted by customers like you who bought this part.   

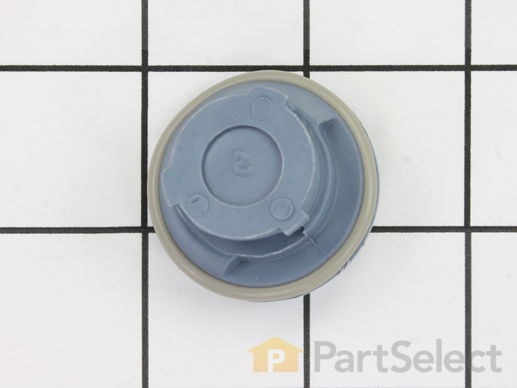
The rinse aid cap (sometimes referred to as the dispenser cap), covers the rinse aid dispenser on the dishwasher door. If your dishwasher will not dispense detergent, or it is leaking detergent, there could be an issue with the rinse aid cap. Check the cap and its gasket for any damage or melting. If the cap has melted or it is not sealing the dispenser properly, the part should be replaced right away. This rinse aid cap comes with the gasket, so you should discard the existing gasket and rinse aid cap at the same time. The repair is relatively straightforward, and requires no tools.

$ 27.59
  In Stock
PartSelect Number PS11746426
Manufacturer Part Number WP8558307

Replacing your Whirlpool Dishwasher Rinse-Aid Dispenser Cap

Replacing your Rinse-Aid Dispenser Cap

Customer Repair Stories

replaced cap for the jet dry liquid

Sears could not supply us with the replacement cap for the dishwasher. We were saved by being able to get the cap here on your web page.Your web sight is like going into the garage and finding the part you saved up for many years that you knew you would need down the road.
  • Debby from Revere, MA
  • Difficulty Level:
    Really Easy
  • Total Repair Time:
    Less than 15 mins
32 of 38 people found this instruction helpful.
Was this instruction helpful to you?
Thank you for voting!

Cap came off and melted

Opened door and installed cap. Not much effort. But really got good service from Parts Select. Received order much faster than I had expected.
  • James from Mesquite, TX
  • Difficulty Level:
    Really Easy
  • Total Repair Time:
    Less than 15 mins
76 of 76 people found this instruction helpful.
Was this instruction helpful to you?
Thank you for voting!
Fixes Symptom 1% of time
★★★★★
★★★★★
2 Reviews

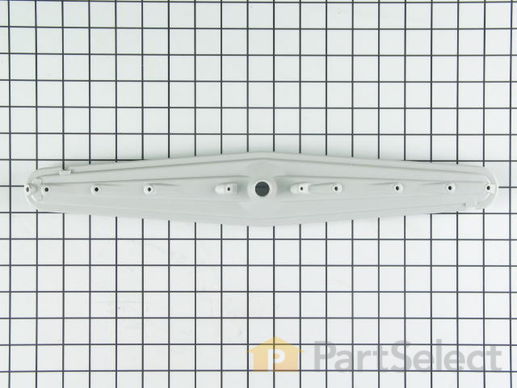
This part helps distribute water from the top of the dishwasher tub.

$ 52.12
  In Stock
PartSelect Number PS11746192
Manufacturer Part Number WP8535083
Fixes Symptom 1% of time
★★★★★
★★★★★
9 Reviews

Rated by 9 customers 


Easy 

30 - 60 mins 

Ratings submitted by customers like you who bought this part.   

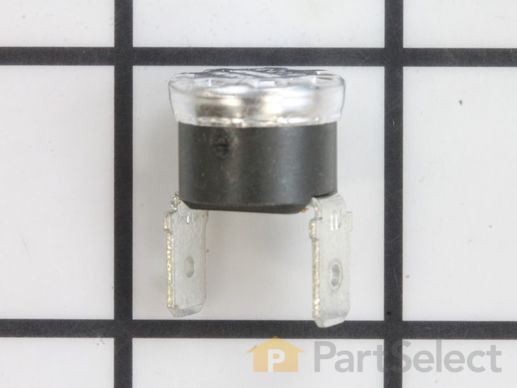
This part acts as as safety mechanism that keeps the dryer from overheating. Once the dryer temperature reaches a certain point, this part will shut down power to the heating element.

$ 20.71
  In Stock
PartSelect Number PS11743423
Manufacturer Part Number WP661566

Replacing your Kenmore Dishwasher High Limit Thermostat

Replacing your High Limit Thermostat

Customer Repair Stories

No heat. Replaced thermostat

Was able to replace and repair without taking the dishwasher out. Thermostat is behind and to the left of the power junction box. Has 2 wires going to it. It is up against the bottom of tub. I used an angled mirror to see what I was doing. 1 small screw to detach and pull down thermostat. Be sure power is off before you start. Also reprogrammed defaults. Hit any button 1-2-3, 1-2-3, 1-2-3, fast and close door. Let it sit 15 min to run and re-set defaults. Now I have heat and dry dishes.
  • Tim from BURTONSVILLE, MD
  • Difficulty Level:
    Really Easy
  • Total Repair Time:
    30 - 60 mins
  • Tools:
    Screw drivers, Socket set
10 of 10 people found this instruction helpful.
Was this instruction helpful to you?
Thank you for voting!

Dishes wouldn't dry

I shut off the power to the dishwasher, then I removed the front panel under the door. On the right side just behind the electrical box there are two wires going up to the hi-limit thermostat, (you may need a small mirror to see it), remove one screw that is holding the thermostat bracket, unplug the wires from the old thermostat and install new one. Screw bracket and thermostat back to the underside of the dishwasher, reinstall the front panel, turn on the power, done.
  • George from Lisbon, CT
  • Difficulty Level:
    Really Easy
  • Total Repair Time:
    15 - 30 mins
  • Tools:
    Screw drivers
33 of 45 people found this instruction helpful.
Was this instruction helpful to you?
Thank you for voting!
Fixes Symptom 1% of time
★★★★★
★★★★★
2 Reviews

Rated by 3 customers 


Really Easy 

30 - 60 mins 

Ratings submitted by customers like you who bought this part.   

This part is used to cover the chopper blades.

$ 81.43
  In Stock
PartSelect Number PS11746146
Manufacturer Part Number WP8531857

Replacing your KitchenAid Dishwasher Protector

Replacing your Protector
Fixes Symptom 1% of time
★★★★★
★★★★★
5 Reviews

Rated by 2 customers 


Really Easy 

Less than 15 mins 

Ratings submitted by customers like you who bought this part.   

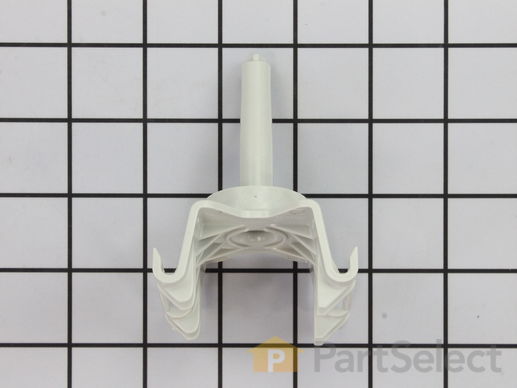
This mount attaches the spray arm to the upper rack.

$ 52.69
  In Stock
PartSelect Number PS11741381
Manufacturer Part Number WP3385159

Customer Repair Stories

Upper arm of dishwasher sprayer broke

I looked up the model on the Whirlpool website and it showed a very detailed picture of the parts of my dishwasher. I ordered the correct part and for less than $25 I repaired my dishwasher. It was pretty fast and easy.
  • Tammy from Shirley, NY
  • Difficulty Level:
    Easy
  • Total Repair Time:
    Less than 15 mins
  • Tools:
    Screw drivers
Was this instruction helpful to you?
Thank you for voting!
Fixes Symptom 1% of time
★★★★★
★★★★★
21 Reviews

Rated by 12 customers 


Really Easy 

30 - 60 mins 

Ratings submitted by customers like you who bought this part.   

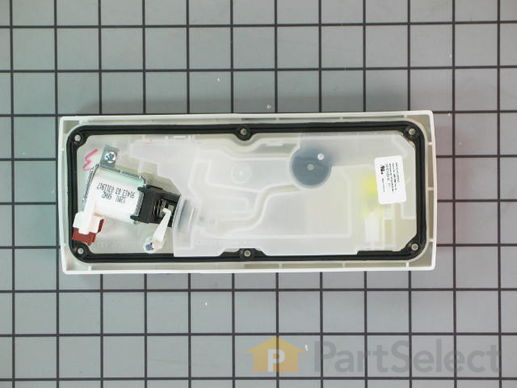
This part releases the detergent and rinse aid into the dishwasher. This detergent dispenser is for dishwashers. Detergent dispenser holds the dishwasher detergent in a covered compartment. Unplug the dishwasher or shut off the house circuit breaker before installing this part. Wear work gloves to protect your hands during this repair.

$ 76.65
  In Stock
PartSelect Number PS11750654
Manufacturer Part Number WPW10224428

Replacing your Whirlpool Dishwasher Detergent and Rinse Aid Dispenser

Replacing your Detergent and Rinse Aid Dispenser

Customer Repair Stories

Needed to replace the whole dish soap dispenser

I switched off power to the dishwasher and unscrewed the front panel from the inside sides. Then, carefully removed the front by lifting up and off. I disconnected the signal wire by unclipping it from the detergent dispenser; it clipped in like a phone jack. Unscrewed the frame holding in the dispenser, then popped out the old dispenser, popped in the new one, screwed on the frame, hooked the signal back in. Replaced the front, screwed it in, turned on power and ran a small quick wash to make sure it was working properly. It was!
  • Jessica from Plano, TX
  • Difficulty Level:
    Easy
  • Total Repair Time:
    15 - 30 mins
  • Tools:
    Screw drivers
54 of 63 people found this instruction helpful.
Was this instruction helpful to you?
Thank you for voting!

dispenser didn't stay closed

Ordered new part and installed it. I found a repair manual online and the replacement was pretty easy. I removed 8 screws that held the outer door and the dispenser was sitting there looking at me. I disconnected the solenoid, pried apart two clips and the old dispenser came right out. Reversed the process to install the new one.
  • Burt from Richardson, TX
  • Difficulty Level:
    Easy
  • Total Repair Time:
    30 - 60 mins
  • Tools:
    Nutdriver, Screw drivers
129 of 139 people found this instruction helpful.
Was this instruction helpful to you?
Thank you for voting!
Fixes Symptom 1% of time
★★★★★
★★★★★
117 Reviews

Rated by 41 customers 


Really Easy 

30 - 60 mins 

Ratings submitted by customers like you who bought this part.   

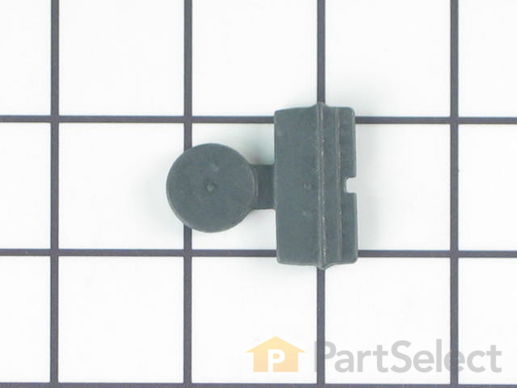
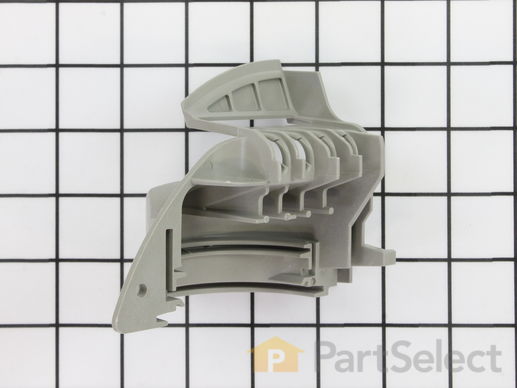
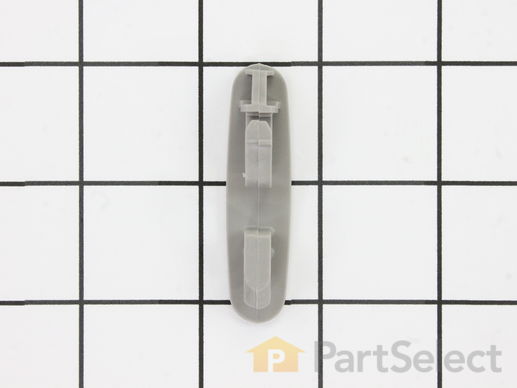
The rack track stop on your dishwasher is designed to stop the dish rack at the appropriate place when opening and closing the rack. If your dishwasher is not cleaning your dishes properly, the rack stop may need to be replaced. The replacement part may differ slightly from the broken part, depending on the model. However, the different styles are interchangeable. This product is sold individually and comes in both a white and grey plastic version. Many of our customers found this repair to be very easy and takes less than 30 minutes to complete. Simply snap the old part out and snap the new part into place. You will not require any tools to complete the job. This is an authentic part approved by the manufacturer.

$ 7.71
  In Stock
PartSelect Number PS11746591
Manufacturer Part Number WP8565925

Replacing your Whirlpool Dishwasher Rack Track Stop

Replacing your Rack Track Stop

Customer Repair Stories

Roller wheel broke off upper rack and also end rack stops needed replacing.

Husband watched your repair video. Everything went well and we are very pleased.
  • Carole from IRVINE, CA
  • Difficulty Level:
    A Bit Difficult
  • Total Repair Time:
    1- 2 hours
  • Tools:
    Screw drivers
3 of 3 people found this instruction helpful.
Was this instruction helpful to you?
Thank you for voting!

Lost stop from one side of top rack. Rack could be pulled off track.

Looked at other side of top rack which still had the stop. Just had to orient the direction of the stop and push it firmly onto the rack arm. Took a couple tries, but it went in and locked. Works perfectly. Inexpensive and easy fix to to very annoying problem.
  • Sheila from FAYETTEVILLE, NY
  • Difficulty Level:
    Very Easy
  • Total Repair Time:
    Less than 15 mins
8 of 11 people found this instruction helpful.
Was this instruction helpful to you?
Thank you for voting!
Fixes Symptom 1% of time

Rated by 8 customers 


Easy 

30 - 60 mins 

Ratings submitted by customers like you who bought this part.   

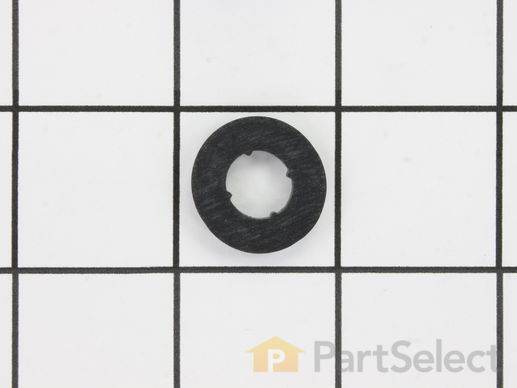
The rubber washer is a part which is specific to dishwashers and should not be substituted by a similar part. It works with the heating element to seal the receptacle opening where the heating element is attached. The rubber washer is used to prevent water leaking from your dishwasher during its cycle. Before making any repairs to your dishwasher make sure that you disconnect the power by finding the breaker for the dishwasher, and turning it off. The tools you will need to complete this repair include an adjustable wrench, and a 1/4 inch nut driver. This specific rubber washer is sold individually.

$ 7.76
  In Stock
PartSelect Number PS11743934
Manufacturer Part Number WP717273

Replacing your Whirlpool Dishwasher Rubber Washer

Replacing your Rubber Washer

Customer Repair Stories

Dishes would'nt come clean or dry from torn boot

Was a simple task to perform, a child could have done it. The technical skills diagnosing it was a bit hard though. The skills finding the culprit was indeed simple. Rubber was torn. Dishes would not come clean especially on the top & would not dry properly. The rubber piece being torn in half made it hard for the water & soap to despense to the top through thh center plastic tube, but now it cleans great. Thank's
Now to find out why it won't dry properly at the heating element is another task. It leaves water droplets on the dishes.
Once I got the rubber screw on attachment installed the dishes are clean & dry now & no water dropplets on the dishes.
The water dispenses up to the top like it suppost to throught the small tube to wash the upper rack dishes.
The wife is happy now she doesn't have to clean & dry them by hand.
Thank's so very much!!
Now on to the next project in hand to submit later on.
  • David from Sallisaw, OK
  • Difficulty Level:
    Really Easy
  • Total Repair Time:
    Less than 15 mins
7 of 17 people found this instruction helpful.
Was this instruction helpful to you?
Thank you for voting!
Fixes Symptom less than 1% of time
★★★★★
★★★★★
1 Review

Rated by 2 customers 


Really Easy 

Less than 15 mins 

Ratings submitted by customers like you who bought this part.   

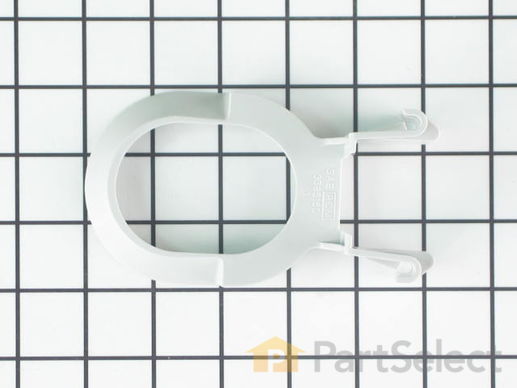
This part holds the spray arm feed tube up.

$ 30.42
  In Stock
PartSelect Number PS11741382
Manufacturer Part Number WP3385160
Fixes Symptom less than 1% of time
★★★★★
★★★★★
62 Reviews

Rated by 56 customers 


Really Easy 

15 - 30 mins 

Ratings submitted by customers like you who bought this part.   

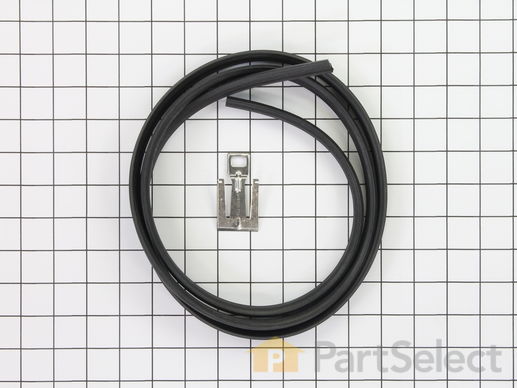
This one-piece door gasket provides a water tight seal between the tub and the door, to keep water from leaking out of your dishwasher. If your dishwasher is leaking, tears, or there are gaps in your gasket, you may need to replace the door gasket. This black door gasket is made of rubber, includes a new latch strike plate for the door latch, and is a genuine OEM part.

$ 76.42
  In Stock
PartSelect Number PS5136129
Manufacturer Part Number W10542314

Replacing your Whirlpool Dishwasher Dishwasher Door Gasket with Strike - Black

Replacing your Dishwasher Door Gasket with Strike - Black

Customer Repair Stories

Water leaking from front right corner (door) while washer running

The hardest part of this was figuring out the cause of the leak. It only leaked while the washer was running (arms spinning). I thought it might be the air intake seal at the lower part of the door-but that did not look damaged.
I cleaned off the door gasket really good and that slowed the leak - so I figured the gasket was the problem (plus changing the gasket is cheap and it was old anyway).

I pulled the old gasket off (no tools required).
I cleaned the track/slot that the gasket goes into, and the area around it from all the caked-on soap and gunk.
Cleaned off the door edge that seals with the gasket too.
I took the new gasket and folded it in half to find the middle, then started with the middle, putting it into the track (used the center door latch on the frame to know the middle on the washer).
I worked the gasket into the slot just with my fingers. I found that if I pinched the part that goes into the slot with my thumb/finger that helped get it deep into the slot without tools.
I worked around one side, slowly and carefully pushing it into the slot. Did the other side the same way - starting from the middle and working down to the end at the bottom of the washer. Checked the gasket to make sure it was all set in well.
There is an inch or so of the gasket left over at the bottom - I just bent that around the bend so it was not in the way.
  • Clifford from Centennial, CO
  • Difficulty Level:
    Easy
  • Total Repair Time:
    15 - 30 mins
93 of 96 people found this instruction helpful.
Was this instruction helpful to you?
Thank you for voting!

The door gasket stuck to the door a pulled out of place after every use

Worked the new gasket into the groove with a smooth screwdriver and my fingers. No leaks and it stays in place. Parts Select had the right part and I got it fast
  • Penny from Manchester, MI
  • Difficulty Level:
    Really Easy
  • Total Repair Time:
    15 - 30 mins
  • Tools:
    Screw drivers
156 of 186 people found this instruction helpful.
Was this instruction helpful to you?
Thank you for voting!
Fixes Symptom less than 1% of time
★★★★★
★★★★★
14 Reviews

Rated by 5 customers 


Really Easy 

30 - 60 mins 

Ratings submitted by customers like you who bought this part.   

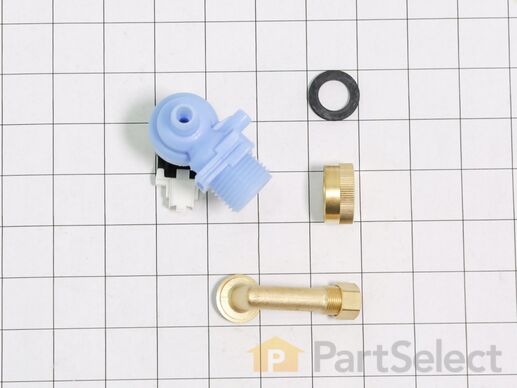
This water inlet valve should be located behind the lower kickplate panel in either the right or left corner. The attaching solenoids on the valve open and close according to the desired amount of water needed.

$ 61.52
  In Stock
PartSelect Number PS8760080
Manufacturer Part Number W10648041

Replacing your Whirlpool Dishwasher Water Inlet Valve

Replacing your Water Inlet Valve

Customer Repair Stories

leaking water inlet valve

I closed the water at the tank and opened all the hot water faucets in the house thereby draining static water from the inlet hose at the valve. Then I unscrewed the inlet hose from the valve, unscrewed the valve body from the support bracket under the tub, unplugged the electrical plug from the valve body, and removed the outlet hose. I installed the new valve using the reverse sequence. Then I closed all the hot water faucets, turned on the hot water at the tank, and purged air from each of the faucets. I then started the dishwasher and ran it through a complete cycle, periodically checking it for leaks, and found none. Total time for uninstall and reinstall - about 30 minutes. Not bad for an 80 year old.
  • Fredrick from BROADALBIN, NY
  • Difficulty Level:
    Easy
  • Total Repair Time:
    30 - 60 mins
  • Tools:
    Nutdriver, Pliers
3 of 3 people found this instruction helpful.
Was this instruction helpful to you?
Thank you for voting!

washer filled in when off..

replaced the valve
  • Bruce from GRANDVIEW, MO
  • Difficulty Level:
    Very Easy
  • Total Repair Time:
    30 - 60 mins
  • Tools:
    Nutdriver, Pliers
9 of 17 people found this instruction helpful.
Was this instruction helpful to you?
Thank you for voting!
Fixes Symptom less than 1% of time
★★★★★
★★★★★
57 Reviews

Rated by 16 customers 


Really Easy 

15 - 30 mins 

Ratings submitted by customers like you who bought this part.   

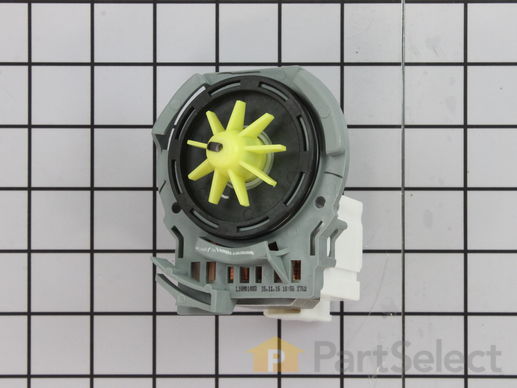
This drain pump is used in dishwashers to remove water from the dishwasher tub. If the impeller in the dishwasher is damaged or the motor has been shorted out and will not drain, it is possible the body is cracked, causing leakage. To prevent this from happening, replace the drain pump. The tools needed for this installation are: Phillips screwdriver, 5/16 inch nut driver, 5/8 inch wrench, and a flathead screwdriver. Remember to unplug your dishwasher from the power source before beginning this installation project. Refer to the manual provided by the manufacturer for further installation instructions.

$ 91.96
  In Stock
PartSelect Number PS11753379
Manufacturer Part Number WPW10348269

Replacing your Whirlpool Dishwasher Dishwasher Drain Pump

Replacing your Dishwasher Drain Pump

Customer Repair Stories

Water not draining from the dishwasher

I watched the video and this was the easiest repair ever. Took longer to disconnect and reinstall than it did to change out the pump. Highly recommended watching the video
  • Frederick from BIG PRAIRIE, OH
  • Difficulty Level:
    Very Easy
  • Total Repair Time:
    30 - 60 mins
  • Tools:
    Screw drivers, Wrench (Adjustable)
11 of 11 people found this instruction helpful.
Was this instruction helpful to you?
Thank you for voting!

dishwasher not draining after wash cycle

Caviat: The actual repair is less than 15 minutes, but I spent a lot of time playing with it before I figured out it was that easy and fast. You don't need to remove the dishwasher from the counter to do this. And it will probably help to look at the new part closely so you can understand where the retainer clip is to press it and release the old pump.

First remove the water from the dishwasher pan that would not drain with a wet/dry vac. Otherwise the water will all drain on the floor when you remove the pump. Then remove the two screws on the kickplate on the front of the unit below the door. Remove the kickplate/maintainence access cover. The drain pump is on the right about 8 inches in. Using two hands you grasp the drain pump with your right hand and use the left hand to push the retaining clip down. Then the drain pump will rotate 1/4 turn counterclockwise and can be removed without pulling the dishwasher out. There is likely to be some water leak out that was traped in the pump housing that you can not reach with the vac. Disconnect the wire. Connect the wire to the new pump, put it in place and 1/4 turn clockwise to install it. Replace the kickplate and you're done.
  • Andrew from Alexandria, VA
  • Difficulty Level:
    Easy
  • Total Repair Time:
    Less than 15 mins
  • Tools:
    Screw drivers
475 of 527 people found this instruction helpful.
Was this instruction helpful to you?
Thank you for voting!
Fixes Symptom less than 1% of time
★★★★★
★★★★★
21 Reviews

Rated by 8 customers 


Really Easy 

15 - 30 mins 

Ratings submitted by customers like you who bought this part.   

This drain hose is 6 and 1/2 feet.

$ 31.60
  In Stock
PartSelect Number PS2358130
Manufacturer Part Number 8269144A

Replacing your KitchenAid Dishwasher Drain Hose

Replacing your Drain Hose

Customer Repair Stories

Drain hose leaking

I did not relize that the drain hose was in two parts. Naturally I ordered the wrong half. So after I relized my mistake, I re-ordered the correct part. Once the correct part was received the repair was easy and went well.
  • Robert from Beaufort, SC
  • Difficulty Level:
    Easy
  • Total Repair Time:
    15 - 30 mins
  • Tools:
    Pliers
7 of 11 people found this instruction helpful.
Was this instruction helpful to you?
Thank you for voting!

Unwanted water.

A Mouse friend had seen fit to chew through the original drain line. I used my Model Number, and was able to order the correct part . It arrived the next day. The job itself is fairly straight forward. You will need to access the rear of the machine. This may include shutting off, and disconnecting the water supply line. (Adjustable wrench). Mine is under the sink, on the "Hot" side. You may also need to un-plug the unit. (recommended) . A pair of (Pliers) will be needed for the spring clamp.
  • David from PITTSBURGH, PA
  • Difficulty Level:
    Easy
  • Total Repair Time:
    30 - 60 mins
  • Tools:
    Pliers, Screw drivers, Wrench (Adjustable)
7 of 8 people found this instruction helpful.
Was this instruction helpful to you?
Thank you for voting!
Fixes Symptom less than 1% of time

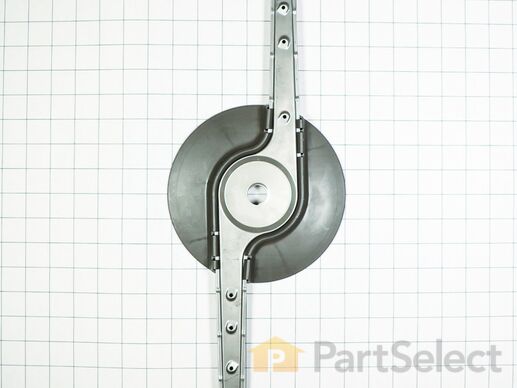
Water is supplied to the lower wash arm via the pump assembly.

$ 184.75
  In Stock
PartSelect Number PS11745435
Manufacturer Part Number WP8268332

Replacing your Whirlpool Dishwasher Lower Spray Arm

Replacing your Lower Spray Arm
26 Cap
Fixes Symptom less than 1% of time

Rated by 1 customer 


A Bit Difficult 

30 - 60 mins 

Ratings submitted by customers like you who bought this part.   

$ 59.31
  In Stock
PartSelect Number PS11745431
Manufacturer Part Number WP8268317
27 Washer
Fixes Symptom less than 1% of time

$ 5.36
  In Stock
PartSelect Number PS11746118
Manufacturer Part Number WP8531018
Fixes Symptom less than 1% of time

Also known as a feed tube.

  No Longer Available
PartSelect Number PS11746782
Manufacturer Part Number WP8579224
Fixes Symptom less than 1% of time
★★★★★
★★★★★
7 Reviews

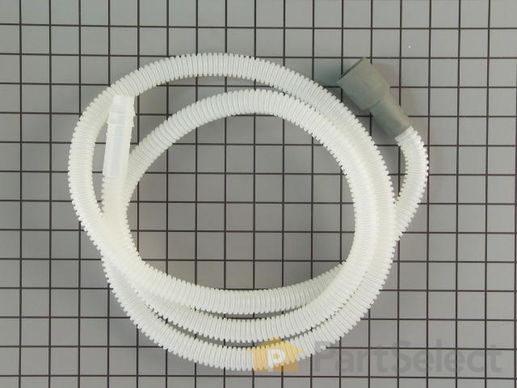
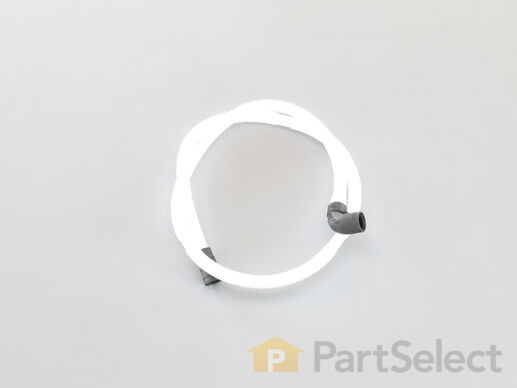
This part is used to drain water from your dishwasher.

$ 48.22
  In Stock
PartSelect Number PS11756139
Manufacturer Part Number WPW10545278

Replacing your Whirlpool Dishwasher Drain Hose

Replacing your Drain Hose
30 VOLUTE
Fixes Symptom less than 1% of time

This part forces the water from the pump to the sump area for discharge.

$ 10.66
  In Stock
PartSelect Number PS16745117
Manufacturer Part Number W11622922

Replacing your KitchenAid Dishwasher VOLUTE

Replacing your VOLUTE
Fixes Symptom less than 1% of time
★★★★★
★★★★★
32 Reviews

Rated by 6 customers 


Really Easy 

Less than 15 mins 
Ratings submitted by customers like you who bought this part.   

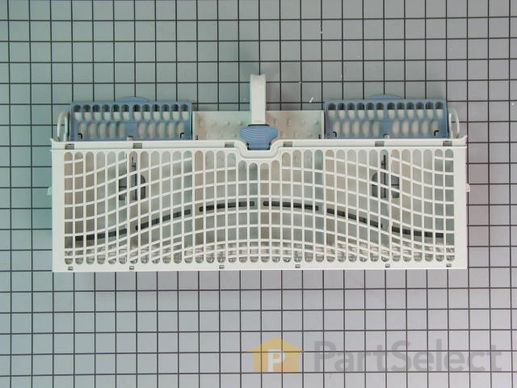
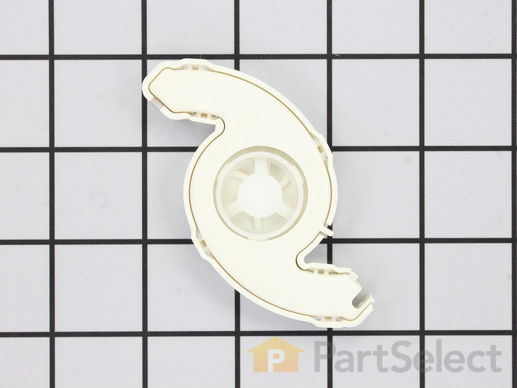
This silverware basket has two blue flip tops and a carrying handle. It is used in dishwasher as a place holder for cutlery and related items

$ 62.70
  In Stock
PartSelect Number PS12347808
Manufacturer Part Number W11158802

Customer Repair Stories

latch on silverware basket would't lock

bought a new one and put it in machine.
  • David A from Show Low, AZ
  • Difficulty Level:
    Really Easy
  • Total Repair Time:
    Less than 15 mins
16 of 18 people found this instruction helpful.
Was this instruction helpful to you?
Thank you for voting!

Silverware basket opened during wash

I couldn't get dealer to order part, so went on line to see what was available. Found model and picture of part needed and ordered. It came in 3 days. Took part out of box and compared to part the needed replacing. It was a match. Removed old basket and replaced with new one. It works great and siverware stays in basket until put away.
  • David L from St. Joseph, MO
  • Difficulty Level:
    Really Easy
  • Total Repair Time:
    Less than 15 mins
27 of 28 people found this instruction helpful.
Was this instruction helpful to you?
Thank you for voting!