Models > A712 > Symptoms > Leaking

Parts That Fix Maytag Washer A712 Leaking

Leaking is a commonly reported symptom for the A712 Maytag Washer, and we have put together a full guide on how to fix this. This advice is based on feedback from people who own this exact appliance. We have listed the most common parts for your A712 Maytag Washer that will fix Leaking. We have included repair instructions, and helpful step-by-step video tutorials. If you are experiencing this issue, not to worry, DIYers just like you have fixed this, and shared their experience to help you!

Fixes Symptom 18% of time
★★★★★
★★★★★
36 Reviews

Rated by 66 customers 


Really Easy 

30 - 60 mins 

Ratings submitted by customers like you who bought this part.   

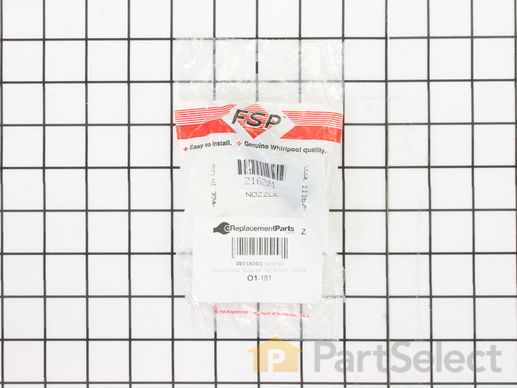
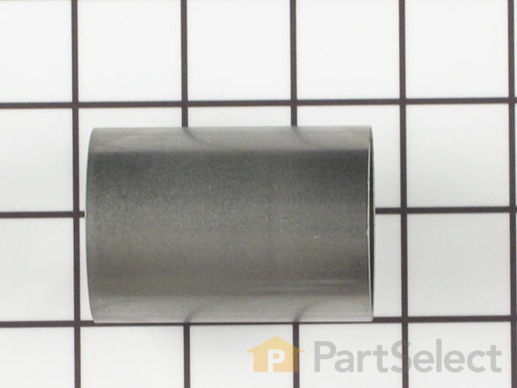
This part is commonly known to cause a leak at the top left corner of the outer tub. It fits over the injector nozzle. It is black in color and measures approximately 2 inches in length. To access this part, you will need to remove the front panel of your washer. There will be 2 screws holding it in place. Once these have been removed, the top will pivot to open, which will give you access to the injector assembly. This is an OEM part that comes right from the manufacturer and is sold individually.

$ 21.32
  In Stock
PartSelect Number PS11738945
Manufacturer Part Number WP216201

Replacing your Maytag Washer Rubber Injector Valve

Replacing your Rubber Injector Valve

Customer Repair Stories

While filling the tub, water was also spraing onto the floor under the washer.

Unscrewed 2 screws at bottom front of washer. Took front panel off of washer. Undid 2 bolts from the underside of top of washer. Lifted washer top back and started a cycle. Saw the water spraying out of part of a hose assembly. Seemed like it was some assembly to mix the soap into the water if you had a slot to pour soap into, this washer didn't have that on the external parts but it had the internal parts for it. Loosened a metal strap from one end o fthe assembly that leaked, removed it, the leaking piece of rubber came out with it. Looked up parts on this site and found a picture which made me realize the leaking part could be pulled out of the tube it was in, confirmed it looked identical so i ordered it. Once it arrived I was able to place a plastic piece inside the new one, re-insert it in the end of the house i had removed, insert that all back into the assembly and re-tighten the hose clamp. Briefly turned it on to confirm it was not leaking anywhere else, then closed it all back up. I've done several loads since with no issues.
  • Jody from Westborough, MA
  • Difficulty Level:
    Really Easy
  • Total Repair Time:
    Less than 15 mins
  • Tools:
    Nutdriver, Screw drivers
0 of 1 people found this instruction helpful.
Was this instruction helpful to you?
Thank you for voting!

water leaking out the bottom of the washer

removed the front and top of machine. access to the rubber hoses. removed hose, replaced the rubber injector valve. reversed process, no leaks.
  • frank from mount laurel, NJ
  • Difficulty Level:
    Really Easy
  • Total Repair Time:
    15 - 30 mins
  • Tools:
    Screw drivers, Socket set, Wrench set
1 of 2 people found this instruction helpful.
Was this instruction helpful to you?
Thank you for voting!
Fixes Symptom 14% of time
★★★★★
★★★★★
14 Reviews

Rated by 40 customers 


A Bit Difficult 

1- 2 hours 

Ratings submitted by customers like you who bought this part.   

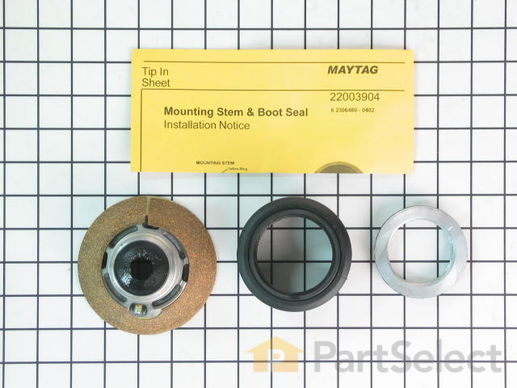
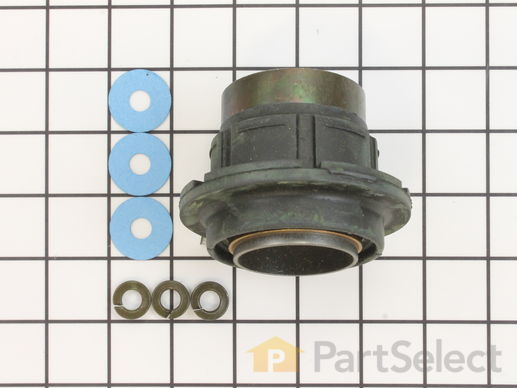
This kit comes with a hub assembly, agitator seal, and spanner nut. If your washer leaks once it is full (with or without clothes in it) or leaks during agitation, then you should replace the seal. This part will also fix symptoms such as loud noises or the washer not agitating. The seal may become damaged or deteriorate over time and will need to be replaced. The mounting stem goes between the two tubs and seals the water into the tubs. When the water leaks, it goes into the bearing, which will cause it to also go bad, which is why you will likely change these at the same time.

  No Longer Available
PartSelect Number PS2351899
Manufacturer Part Number 6-2095720

Replacing your Maytag Washer Mounting Stem/Tub Seal Kit

Replacing your Mounting Stem/Tub Seal Kit

Customer Repair Stories

leaked water when agitating in wash cycle

First I removed the screws that held the side panels on at the bottom, then I removed the screws that held the front panel on and removed the panel. I removed the agitator, loosened the retaining nut with a hammer and a punch, removed the bolts holding the tub springs, removed the bolts for the top panel and flipped it out of the way. Then I removed the clamp for the inner tub and pulled it out, then I pulled the outer tub out. Then I removed the seal and scrubbed the rust off the seal mating area, then installed the new seal and re-assembled the washer. It works perfectly now and no longer leaks and it is over 20 years old. This is the first bit of problem we have had out of this machine, the lonely Maytag repairman commercials are true.
  • Jonathan from Lavonia, GA
  • Difficulty Level:
    A Bit Difficult
  • Total Repair Time:
    More than 2 hours
  • Tools:
    Nutdriver, Screw drivers, Socket set, Wrench set
51 of 55 people found this instruction helpful.
Was this instruction helpful to you?
Thank you for voting!

water leaking from around center shaft below fixed tub

My washer is 5 years old and water began to leak on the floor. I took off the front panel and filled the tub. Water did not leak immediately, but after the tub filled with about 3-4 inches of water, the water began to leak from a rubber washer between the fixed tub and the drive shaft. I looked online for exploded diagrams of Maytag washers, when I came across your site. By looking at your diagrams, I determined what parts I needed and ordered them. The parts arrived in 2 days, and I installed them. There were no leaks and it cost me under $70 (a repairman would have cost at least $250). The only thing I would recommend to those in similar situations, is to purchase a spanner wrench (your site does not sell, but others do). The stem seal and hub assembly is reverse threaded (clockwise to loosen) and is difficult to remove due to tight quarters in the tub.
  • douglas from bonita springs, FL
  • Difficulty Level:
    A Bit Difficult
  • Total Repair Time:
    1- 2 hours
  • Tools:
    Nutdriver, Pliers, Socket set
523 of 544 people found this instruction helpful.
Was this instruction helpful to you?
Thank you for voting!
Fixes Symptom 12% of time
★★★★★
★★★★★
7 Reviews

Rated by 57 customers 


Easy 

30 - 60 mins 

Ratings submitted by customers like you who bought this part.   

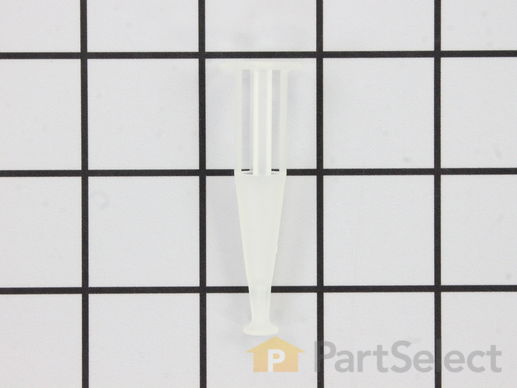
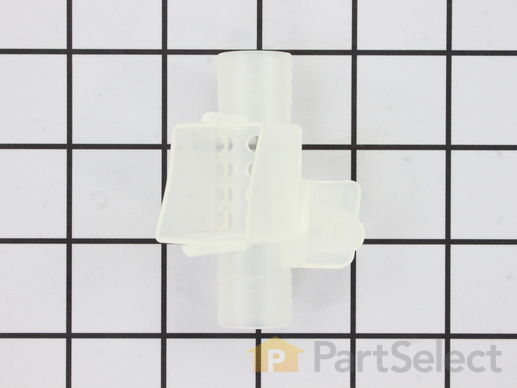
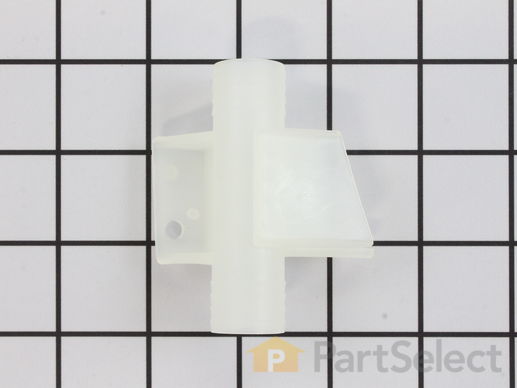
The plastic injector nozzle is used in washers and dryers. It is 3 inches long and is white in color. If your washer is leaking water, replacing the nozzle could solve your problem. For this repair project, you will need a 1/4 nut driver, 3/8 socket with extension, and a stubby Phillips screwdriver. To begin the repair, first remove the front panel by removing screws from the bottom end of both sides. Next, locate the two bolts in the interior of front panel and remove both. Pull bleach dispenser hose off before removing the top cover of washer. Remove clamp that holds the hose to the valve assembly to access the nozzle inside rubber valve and replace with new nozzle. Refer to the instructions provided by the manufacturer for further guidance.

$ 10.35
  In Stock
PartSelect Number PS11738878
Manufacturer Part Number WP213015

Replacing your Maytag Washer Plastic Injector Nozzle

Replacing your Plastic Injector Nozzle

Customer Repair Stories

Water leaking out of the top of the machine behind the control panel when in the fill cycle

Called an appliance service center. They said most likely the injector nozzle. The PartSelect web site confirmed so. I watched the 10 minute video. Pulled off front panel which was the second most difficult task. The clips at the top flew out. Opened top, verifed the nozzle injector (hose) was leaking. Ordered part and installed. Since the clips popped out, there did not seem to be a sure way for their fit, to secure the top of the front panel, to the machine. That was the most difficult part of the repair. Works great. My mother was going to buy a new machine and the solution was a $13 part.
  • Steven from Shawnee, KS
  • Difficulty Level:
    Easy
  • Total Repair Time:
    15 - 30 mins
  • Tools:
    Nutdriver, Screw drivers, Socket set
Was this instruction helpful to you?
Thank you for voting!
Fixes Symptom 5% of time
★★★★★
★★★★★
16 Reviews

Rated by 17 customers 


Really Easy 

30 - 60 mins 

Ratings submitted by customers like you who bought this part.   

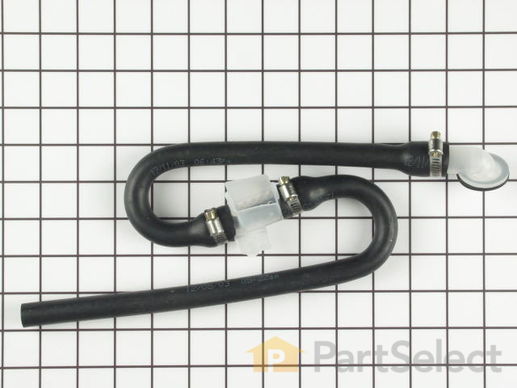
This kit contains a top mounting style injector sleeve. It comes with an air gap as well. This part helps stop the contaminated water from being drawn back into the main water line.

$ 62.80
  In Stock
PartSelect Number PS11738785
Manufacturer Part Number WP206680

Replacing your Maytag Washer Injector Hose with Air Gap

Replacing your Injector Hose with Air Gap

Customer Repair Stories

Water leaking from bottom of machine

I had trouble initially because I could see that the inside of the machine was wet but could not get it to leak while I was watching. Finally while the machine was filling I put my hand over the fill opening in the tub and then I got plenty of water coming from the air gap in the injector hose. When I dismantled the injector hose and air gap, I could see that the rubber injector vale was bad. I orgered both a rubber injector and injector hose with air gap. I did this because I couldn't determine if the assembly came with the injector valve. It did so I returned the injector valve.
A word of caution. When I started filling the machine water gushed out the air gap. With a little experimenting with the air gap and injector valve, I determined the rubber injector valve was in backward. After reversing the vale, everything worked fine. This was a sealed package so I would have to say this came from the manufacturer wrong.
  • GARY from ILLIOPOLIS, IL
  • Difficulty Level:
    Really Easy
  • Total Repair Time:
    15 - 30 mins
  • Tools:
    Nutdriver
21 of 22 people found this instruction helpful.
Was this instruction helpful to you?
Thank you for voting!

Injection hose developed small pin hole

Removed the two bottom screws holding on the front panel and removed panel. Removed two screws holding on the top lid and removed lid. Loosened clamp on injection hose at water valve and pulled hose from valve. Twisted other end of injection line counter-clockwise to loosen from tub and removed line. Installed new line in reverse order, but left off front cover to watch for leaks. Ran washer while watching through opening in front. When I confirmed no leaks, then replaced front cover.
  • Keith from Lorena, TX
  • Difficulty Level:
    Easy
  • Total Repair Time:
    15 - 30 mins
  • Tools:
    Nutdriver, Screw drivers
32 of 36 people found this instruction helpful.
Was this instruction helpful to you?
Thank you for voting!
Fixes Symptom 5% of time
★★★★★
★★★★★
14 Reviews

Rated by 25 customers 


Easy 

30 - 60 mins 

Ratings submitted by customers like you who bought this part.   

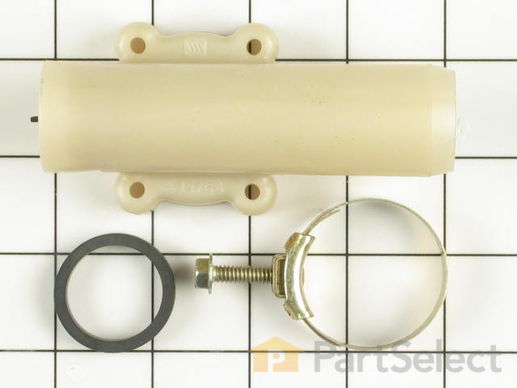
This plastic siphon break comes with a metallic clamp and gasket. It is used with many washing machines.

$ 73.04
  In Stock
PartSelect Number PS2017342
Manufacturer Part Number 206638

Replacing your Maytag Washer Siphon Break Connector Kit

Replacing your Siphon Break Connector Kit

Customer Repair Stories

water leaking from machine during spin cycle

I initially could not figure out how to open the machine so I checked the internet for a repair manual. After getting it open I found the source of the problem. The siphon break was missing the diaphragm and was spitting water when the tub was draining. I did not know what a siphon break was or did. I am non mechanically inclined. So I sealed the top of the siphon break with a sandwich bag and a zip tie, put in a load and went to work. I now know what the siphon break does after it ran all day filling and draining for over 8 hrs. That is when I found this site, ordered the part and received it the next day as promised. It took about 10 minutes to put the part in and close the washer back up. It has been a week now and the garage is almost dry . HA , and my wife wanted a new washer ! This part and delivery was under $25. A new machine around $800 if I am lucky. The ability for me to be smug as long as she never finds out about the sandwich bag incident, PRICELESS !
  • Franz from Woodcrest, CA
  • Difficulty Level:
    Easy
  • Total Repair Time:
    Less than 15 mins
  • Tools:
    Nutdriver, Screw drivers, Socket set
7 of 8 people found this instruction helpful.
Was this instruction helpful to you?
Thank you for voting!

Small puddle of water on floor after water drains out.

I first removed the 2 screws at the bottom of the front panel. The front panel then pulls up and off. I then removed 2 hex head screws with a small socket, which kept the top attached to the two side panels. I then lifted the top and kept it propped up. I removed the internal drain hose from the siphon break on the inside of the back panel. I removed the 4 screws on the back panel that keeps the siphon break in place. I removed it and screwed in the new one. I re-attached the drain hose to the new part. I partially filled the tub and watched it drain with the lid still upright. No more leaks. The rubber seal in the siphon break had rotted.
  • James from Lakewood, CA
  • Difficulty Level:
    Easy
  • Total Repair Time:
    30 - 60 mins
  • Tools:
    Screw drivers, Socket set
9 of 13 people found this instruction helpful.
Was this instruction helpful to you?
Thank you for voting!
Fixes Symptom 5% of time
★★★★★
★★★★★
38 Reviews

Rated by 87 customers 


Really Easy 

15 - 30 mins 

Ratings submitted by customers like you who bought this part.   

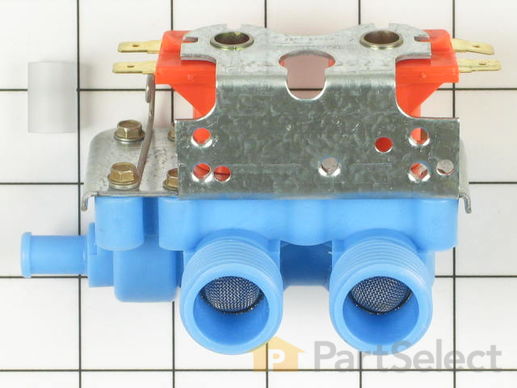
This is a water inlet valve which is used in washing machines. The valve controls and monitors the flow of water into the washer. It has a multi-mount bracket and outlet adaptor. The tools needed for this repair are: a 5/16 nut driver, 1/4 nut driver, and a small flat blade screwdriver. If cold water does not flow into washer, or the washing machine will not fill with hot water, replacing the valve can be the solution. To gain access to the water valve, locate the back of the washer and remove the hot and cold hoses, as well as the whole assembly. Next, remove the four wires and loosen up the clamp. After removing the old valve, replace it with the new one and reconnect the wires and hose. Remember to disconnect the washer from the power source before starting this project.

$ 98.44
  In Stock
PartSelect Number PS1583805
Manufacturer Part Number 205613

Replacing your Maytag Washer Water Inlet Valve

Replacing your Water Inlet Valve

Customer Repair Stories

washer filled with water even when OFF.

Followed your directions and it went very easy.
Only took maybe 30 mins.
I was impressed with your trouble shooting and inst!!!!

Thanks

wayne
  • wayne from lees summit, MO
  • Difficulty Level:
    Really Easy
  • Total Repair Time:
    30 - 60 mins
  • Tools:
    Nutdriver, Pliers, Screw drivers, Wrench (Adjustable)
52 of 57 people found this instruction helpful.
Was this instruction helpful to you?
Thank you for voting!

Cold water valve only opened to a trickle

I started by unplugging the appliance and then shut off the hot and cold water faucets then I disconnected and drained the hoses. Next, I removed the two screws that held the valve assembly in place. I then pulled the assembly out about 3 inches and disconnected the two wire plugs. The last step was to loosen the hose clamp on the outlet hose and pull off the outlet hose. I reversed the steps to install the new assembly and the total repair took about 10 minutes.
  • Brian from El Cajon, CA
  • Difficulty Level:
    Really Easy
  • Total Repair Time:
    Less than 15 mins
  • Tools:
    Nutdriver, Wrench (Adjustable)
593 of 606 people found this instruction helpful.
Was this instruction helpful to you?
Thank you for voting!
Fixes Symptom 5% of time
★★★★★
★★★★★
1 Review

Rated by 18 customers 


Really Easy 

30 - 60 mins 

Ratings submitted by customers like you who bought this part.   

This is a top mounting style injector sleeve.

$ 11.14
  In Stock
PartSelect Number PS11738910
Manufacturer Part Number WP215447

Customer Repair Stories

Water leaking from injector

The hardest part was getting the front of the washer off! The screws are in an impossible position and angle. It was easy to change the injector sleeve, and the washer has not leaked!!
  • Barb from OAK LAWN, IL
  • Difficulty Level:
    Very Easy
  • Total Repair Time:
    15 - 30 mins
  • Tools:
    Pliers, Screw drivers, Socket set
1 person found this instruction helpful.
Was this instruction helpful to you?
Thank you for voting!
Fixes Symptom 4% of time
★★★★★
★★★★★
1 Review

Rated by 10 customers 


Easy 

More than 2 hours 

Ratings submitted by customers like you who bought this part.   

This kit is used on 2-belt washers. It is recommended to change the seal kit at the same time. The tub bearing kit fixes issues with leaking, loud noise, excessive shaking/moving or if your pump is not spinning. The tub bearing kit is fastened in the middle of the outer tub of your washer. The tub bearing ensures the inner tub is spinning effortlessly. If the rub bearing is faulty it might lock up and cause the washer to stop spinning. This is an OEM part that is obtained straight from the manufacturer.

$ 55.59
  In Stock
PartSelect Number PS2347235
Manufacturer Part Number 6-2040130

Replacing your Maytag Washer Tub Bearing Kit

Replacing your Tub Bearing Kit

Customer Repair Stories

Leaking water at bottom of unit

Followed the directions posted by another user. His tips were very important and helpful. At first we only ordered parts where it was leaking, then decided we might as well change the remaining parts as recommended by the other user in his description. This is the FIRST issue we have had in 19 years of use. Ordered the parts, received them quickly and correctly. Installed them and it works like a new machine. This Maytag will probably last another 19 years.
  • Alice from Antlers, OK
  • Difficulty Level:
    Easy
  • Total Repair Time:
    1- 2 hours
  • Tools:
    Screw drivers
1 person found this instruction helpful.
Was this instruction helpful to you?
Thank you for voting!

Water leaking from the underside center of the tub. Only on the rinse cycle.

I want to mention only the difficult parts.
The removal of the retaining ring/nut (which is under the agitator) . After 10 + years, it was very hard to move this part and it was eventually broke it to remove it. WD40 was used but not effective (to much calicum build up). You must turn the cone shaped piece (located under the inner tub) clock wise to get it to remove. A spanner wrench was not used to remove this. I used a punch and a tack hammer. We could not remove the old tub bearing (closest to the shaft), so we just cleaned it up with emory cloth and used the new tub seal/outer bearing. Spins great but have not been able to check the water leakage problem yet.
Caution: there are two dark colored ring (very thin) that go back on top of the rubber collar. These must be reused. These are hard to see. I pushed the old tub seal/bearing out with the end of a 2x4 (very slowly and carefully). I put the tub up on two of the 2x4's, for clearance off of the floor and used the third to knock the old bearing out. Old machine are very messy.
  • Mark from King George, VA
  • Difficulty Level:
    A Bit Difficult
  • Total Repair Time:
    More than 2 hours
  • Tools:
    Nutdriver, Screw drivers, Socket set, Wrench set
19 of 24 people found this instruction helpful.
Was this instruction helpful to you?
Thank you for voting!
Fixes Symptom 4% of time
★★★★★
★★★★★
17 Reviews

Rated by 20 customers 


Really Easy 

30 - 60 mins 

Ratings submitted by customers like you who bought this part.   

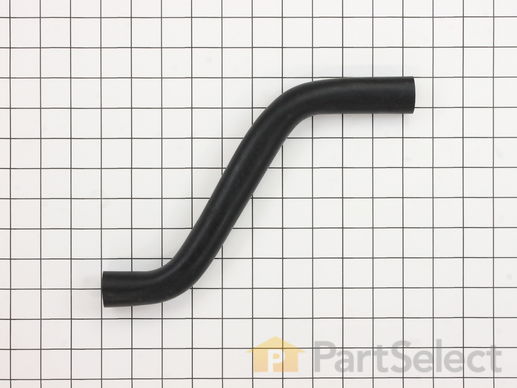
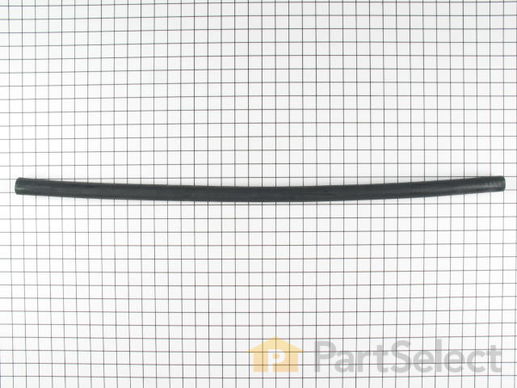
This hose connects the outer tub to the pump of your washing machine. It is twelve inches long and all black in color. This hose is made entirely of rubber.

$ 42.82
  In Stock
PartSelect Number PS11738880
Manufacturer Part Number WP213045

Replacing your Maytag Washer Outer Tub to Pump Hose

Replacing your Outer Tub to Pump Hose

Customer Repair Stories

Washing machine was leaking water from the bottom.

Hardest part was figuring out how to access the internals (not through the back or the top) It turns out there are two screws on the lower front of the machine, not easily found, which when removed allow the front panel of the machine to swing to front and out of the way allowing full access to the internals from the front. The water was comming from one of two water pump hoses. The hose was held in place with 1" hose clamps and was easily changed out.
  • Pedro from Portland, TX
  • Difficulty Level:
    A Bit Difficult
  • Total Repair Time:
    30 - 60 mins
  • Tools:
    Pliers, Screw drivers
7 of 7 people found this instruction helpful.
Was this instruction helpful to you?
Thank you for voting!

I had water leaking out of the bottom of the washer when it was washing a load of clothes

I opened the front of the washer by removing the 2 screws on the bottom front of the washer, then swinging the front upward until it was clear of the hangers at the top. The hose sits right in front. It was cracked where it attaches to the tub. I loosened the hose clamps at the tub & the pump with a nutwrench & removed the old hose. I slid the clamps onto the new hose & put the hose on to the tub & pump. I tightened the clamps, reinstalled the front & was finished.
  • Paul from Lansdale, PA
  • Difficulty Level:
    Easy
  • Total Repair Time:
    15 - 30 mins
  • Tools:
    Nutdriver
14 of 16 people found this instruction helpful.
Was this instruction helpful to you?
Thank you for voting!
Fixes Symptom 4% of time
★★★★★
★★★★★
18 Reviews

Rated by 25 customers 


Really Easy 

30 - 60 mins 

Ratings submitted by customers like you who bought this part.   

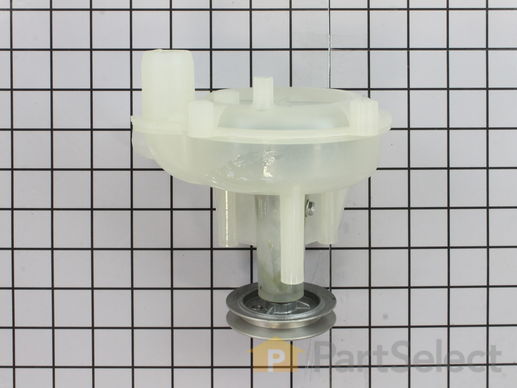
This washing machine drain pump is intended for use with automatic washers that have been manufactured since 1958. The pump itself is made of plastic, though it does come with a metallic belt pulley.

$ 200.68
  In Stock
PartSelect Number PS11743017
Manufacturer Part Number WP6-2022030

Replacing your Maytag Washer Drain Pump

Replacing your Drain Pump

Customer Repair Stories

washer wouldn't let the water spin out!

I was told that it might be a clog in the tube.. we check the tubes that wasn't it Then I Google it and was told it might be the drain pump. I was just glad that Part Select had what I need because my machine is over 20 years old. We change the pump and now I hope I get at least another 20 years out of my machine. I will always use part select to get my parts. Thanks
  • SHARON from DETROIT, MI
  • Difficulty Level:
    Easy
  • Total Repair Time:
    15 - 30 mins
  • Tools:
    Socket set
22 of 23 people found this instruction helpful.
Was this instruction helpful to you?
Thank you for voting!

Water was not being removed from the wash tub after the spin cycle

I loosened three screws to relieve the belt tension and removed the belt from the pump drive pulley. After removing the water from the wash tub I removed the intake and output hoses from the pump. I next removed the mounting screws and removed the pump. I attached the new pump loosely and re-attached the belt. I moved the pump to tighten the belt tension and tightened the mounting screws. I re-attached the hoses, filled with water, checked for leaks and replaced the front panel.
  • John from Fort Lauderdale, FL
  • Difficulty Level:
    Really Easy
  • Total Repair Time:
    15 - 30 mins
  • Tools:
    Nutdriver, Screw drivers
49 of 51 people found this instruction helpful.
Was this instruction helpful to you?
Thank you for voting!
Fixes Symptom 3% of time
★★★★★
★★★★★
1 Review

Rated by 17 customers 


Easy 

30 - 60 mins 

Ratings submitted by customers like you who bought this part.   

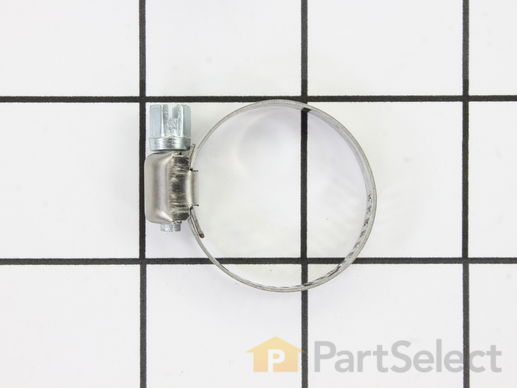
This hose clamp is used in a wide variety of household appliances. Most often it is found in washers, dishwashers, refrigerators, freezers, dehumidifiers, garbage disposals, or air conditioners. This clamp is used to securely attach a hose to another part of your appliance, which helps prevent leaks from those connections. Depending on the appliance, it can attach hoses to drain pumps, water inlet valves, pressure switches, and injector nozzles. We recommend you refer to model-specific diagrams for appropriate uses and exact placement. This hose clamp is made of metal, and is sold individually. To access and replace this part you will need a nut driver, pliers, and screwdrivers. Before you begin any repair work, make sure you have unplugged your appliance, and shut off the water supply if applicable.

$ 11.80
  In Stock
PartSelect Number PS11743008
Manufacturer Part Number WP596669

Replacing your Kenmore Washer Hose Clamp

Replacing your Hose Clamp
Fixes Symptom 2% of time
★★★★★
★★★★★
7 Reviews

Rated by 21 customers 


Easy 

30 - 60 mins 

Ratings submitted by customers like you who bought this part.   

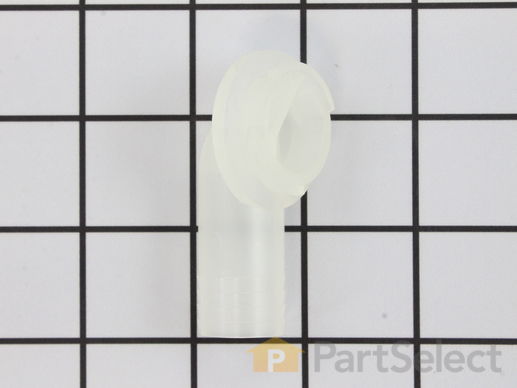
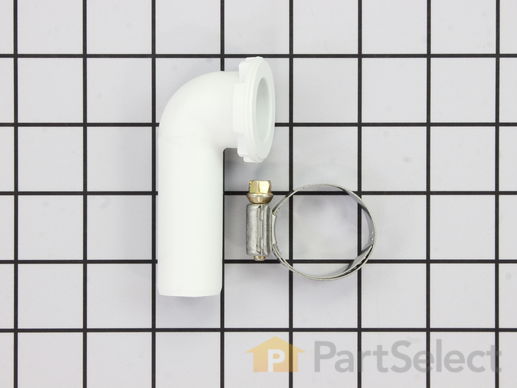
For drain hose 7/8".

$ 26.53
  In Stock
PartSelect Number PS2017573
Manufacturer Part Number 208847

Replacing your Maytag Washer Syphon Break Elbow Kit with Clamp

Replacing your Syphon Break Elbow Kit with Clamp

Customer Repair Stories

The Syphon Break Elbow was broken when the washer was moved.

I removed the screws holding the Elbow in place. Removed the broken pieces and replaced them with the new part. Maytag gives great access to the back of the washer so I could easily bring the part into position to replace the screws that hold it. Worked like a champ!
  • Bud from Clyde Hill, WA
  • Difficulty Level:
    Really Easy
  • Total Repair Time:
    15 - 30 mins
  • Tools:
    Nutdriver, Screw drivers
4 of 6 people found this instruction helpful.
Was this instruction helpful to you?
Thank you for voting!

I accidentally broke the syphon elbow kit moving the washing machine

Simply disconnected 2 screws that hold on a metal cover plate for your arm to fit in.
Then disconnected 4 screws that hold the syphon in place, remove the syphon elbow and replace it with the new one, insert the four screws again and tighten making sure your arm is holding the elbow from the inside of the machine through the access hole. Then install access panel with the screws, do a test run with the machine pulled out to see if there are any leaks. Done.
  • Alex from Downers Grove, IL
  • Difficulty Level:
    Really Easy
  • Total Repair Time:
    Less than 15 mins
  • Tools:
    Pliers, Screw drivers
14 of 15 people found this instruction helpful.
Was this instruction helpful to you?
Thank you for voting!
Fixes Symptom 2% of time
★★★★★
★★★★★
2 Reviews

Rated by 3 customers 


A Bit Difficult 

1- 2 hours 

Ratings submitted by customers like you who bought this part.   

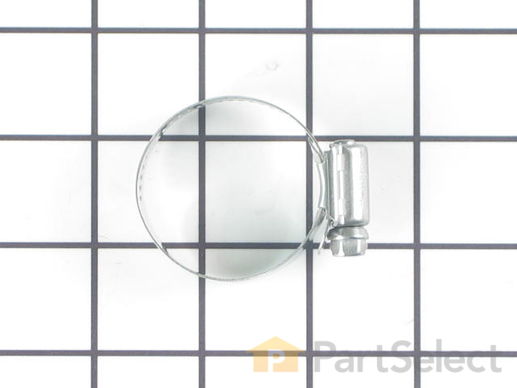
The hose clamp is used to hold the water hose in place which will prevent the hose from leaking water. Sometimes the clamp may lose its ability to latch on, causing a leaking washer. For the installation, you will need a flat head screw driver to replace the clamp and a drill to access the screws to remove the front of the washer. Be careful if you do not have specific clamp pliers as the clamp could fly off. Once the front of the washer has been removed, take a quick look for water damage or any obvious signs of where the leak is coming from. If it is not obvious, run water to test.

$ 11.10
  In Stock
PartSelect Number PS11740613
Manufacturer Part Number WP285655

Replacing your Kenmore Washer Hose Clamp

Replacing your Hose Clamp
Fixes Symptom 2% of time
★★★★★
★★★★★
1 Review

Rated by 11 customers 


Really Easy 

30 - 60 mins 

Ratings submitted by customers like you who bought this part.   

This injector sleeve bracket is white and made entirely of plastic. This is a side mounting style bracket.

$ 11.10
  In Stock
PartSelect Number PS11739774
Manufacturer Part Number WP22213057

Replacing your Maytag Washer Injector Sleeve Bracket - Side Mounting

Replacing your Injector Sleeve Bracket - Side Mounting
Fixes Symptom 2% of time
★★★★★
★★★★★
1 Review

Rated by 4 customers 


Easy 

1- 2 hours 

Ratings submitted by customers like you who bought this part.   

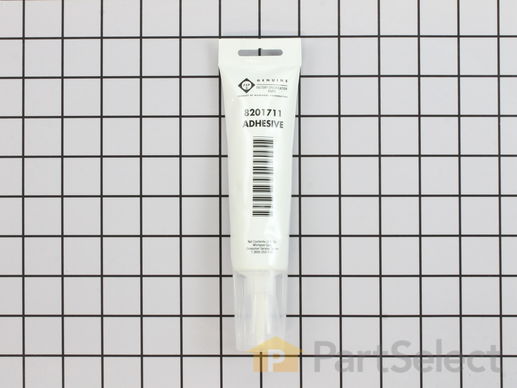
This is a heat-resistant adhesive for your appliance. The heat resistance allows you to stick parts such as grate feet, gaskets, and felt seals in hot areas, such as a cooktop, without compromising the integrity of the adhesive. It is white in color, and the tube is approximately 7.5 inches long.

$ 23.85
  In Stock
PartSelect Number PS11728058
Manufacturer Part Number W10841140

Customer Repair Stories

leaking front door. loose seal.

Followed instructions, those were OK.
Dishwasher front still leaking
  • Frank from SANTA ROSA, CA
  • Difficulty Level:
    Really Easy
  • Total Repair Time:
    15 - 30 mins
  • Tools:
    Screw drivers
2 of 4 people found this instruction helpful.
Was this instruction helpful to you?
Thank you for voting!
Fixes Symptom 1% of time
★★★★★
★★★★★
1 Review

Rated by 10 customers 


Easy 

1- 2 hours 

Ratings submitted by customers like you who bought this part.   

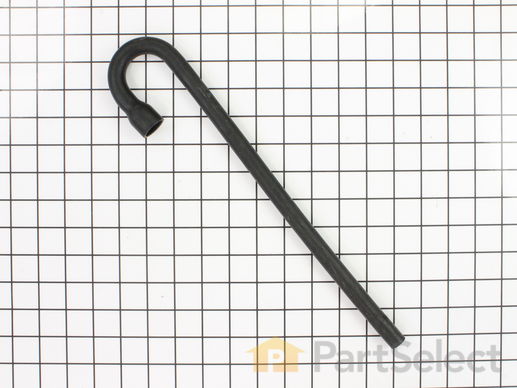
This washing machine injector hose runs from your washer's inlet to its injector. It is black and made of rubber. It is also available in an injector kit.

$ 34.54
  In Stock
PartSelect Number PS11738877
Manufacturer Part Number WP213013

Customer Repair Stories

Water leek

Replace the injector hose
  • Ahmad from Las Cruces, NM
  • Difficulty Level:
    Easy
  • Total Repair Time:
    30 - 60 mins
  • Tools:
    Screw drivers, Socket set, Wrench set
2 of 3 people found this instruction helpful.
Was this instruction helpful to you?
Thank you for voting!
Fixes Symptom 1% of time
★★★★★
★★★★★
1 Review

Rated by 10 customers 


Easy 

30 - 60 mins 

Ratings submitted by customers like you who bought this part.   

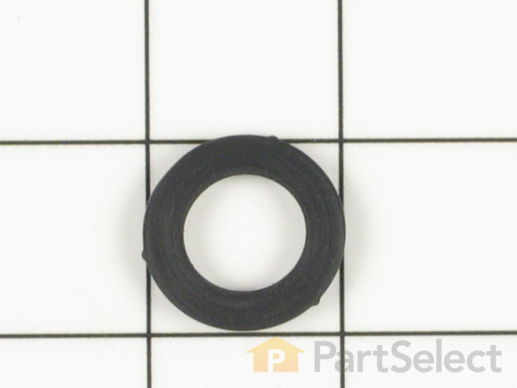
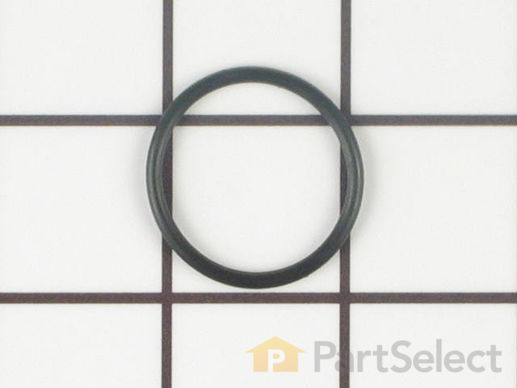
This injector tube seal is just over an inch in diameter. It is black in color and made of rubber.

$ 9.76
  In Stock
PartSelect Number PS11738906
Manufacturer Part Number WP215233
Fixes Symptom 1% of time
★★★★★
★★★★★
2 Reviews

Rated by 6 customers 


Easy 

30 - 60 mins 

Ratings submitted by customers like you who bought this part.   

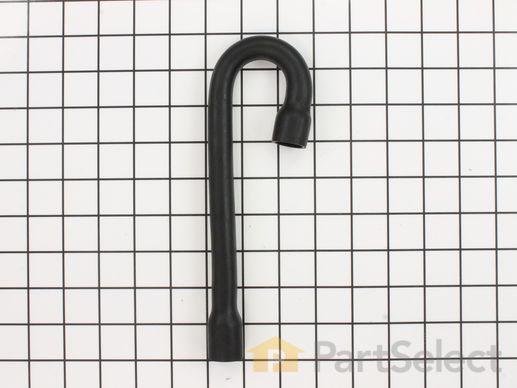
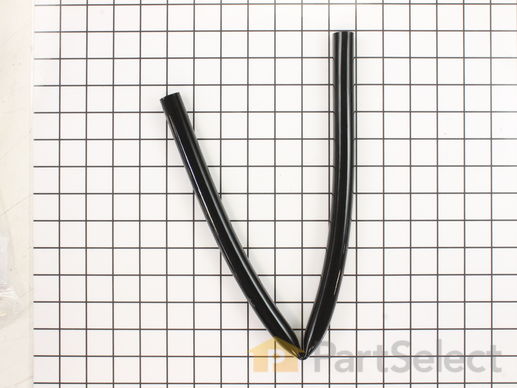
This injector fill hose is nine inches long. It is black in color and made entirely of rubber.

$ 29.86
  In Stock
PartSelect Number PS11757508
Manufacturer Part Number WPY215234
Fixes Symptom 1% of time

Rated by 3 customers 


Easy 

30 - 60 mins 

Ratings submitted by customers like you who bought this part.   

$ 51.75
  In Stock
PartSelect Number PS11739284
Manufacturer Part Number WP22001448

Replacing your Maytag Washer Pump-to-Siphon Break Drain Hose

Replacing your Pump-to-Siphon Break Drain Hose
Fixes Symptom 1% of time
★★★★★
★★★★★
3 Reviews

Rated by 3 customers 


Easy 

30 - 60 mins 

Ratings submitted by customers like you who bought this part.   

This injector tube is a little over two inches long. It it white and made of plastic.

  No Longer Available
PartSelect Number PS11738907
Manufacturer Part Number WP215235
Fixes Symptom 1% of time
★★★★★
★★★★★
1 Review

Rated by 2 customers 


A Bit Difficult 

1- 2 hours 

Ratings submitted by customers like you who bought this part.   

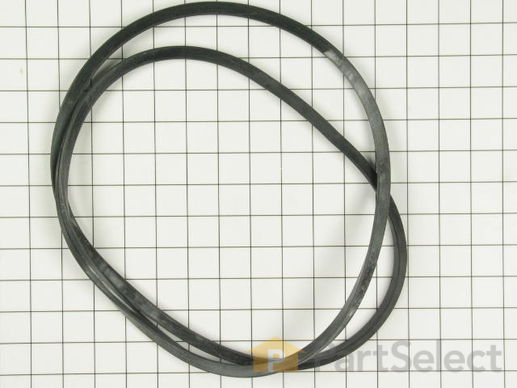
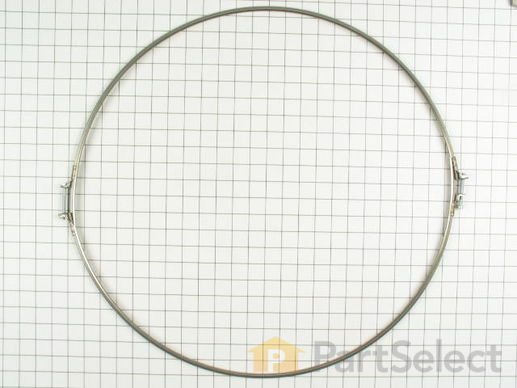
This outer tub clamp seal is sixty-eight inches long. It is black and made of rubber.

$ 43.31
  In Stock
PartSelect Number PS11738869
Manufacturer Part Number WP211232

Customer Repair Stories

Leaking near one of the seal clamps

Thoroughly cleaned the edges to be sealed with a wire brush and sand paper. shimmed the top piece with 1/4 inch plywood strips. seated the top piece with the seal attached and worked the seal down into place. Positioned the seal clamp, carefully, and tightened the clamp screws. Replacing the seal did the trick, even though the old seal did not look to be in bad shape.
  • JIM from PINE RIVER, MN
  • Difficulty Level:
    A Bit Difficult
  • Total Repair Time:
    30 - 60 mins
  • Tools:
    Nutdriver, Screw drivers
11 of 15 people found this instruction helpful.
Was this instruction helpful to you?
Thank you for voting!

Clamp rusted through permitting upper & lower tub to separate

Clamp was already in multiple pieces so easy to get off.

Got clamp from partselect.com in 1 day which was great.

Removed two PH screws from front cover then pulled bottom of front cover outward and down to remove.

Caution for those doing this: take a piece of 220 or 240 grit paper and sand all the edges of the clamp. Trying to put it on without doing so will result in countless paper cuts in hands.

Before putting new clamp on be sure to use either some soap or silicon lube on the rubber V seal between upper and lover tub.

Also need to put some 1/4" to 3/8" spacers at three equally spaced places beneath the upper tub and the lower tub. If this isn't done the upper tub will drop down too far inside the lower tub and the inner lower tub, when it starts to spin, will rub on the underside of the upper tub = cause the main drive belt to smoke and tub to "freeze up"

Spacers I used were simply 3 pieces of multi strand sheathed electrical wire 3/8" so that I could bend them down at an angle and put them out once clamp was in place. Wire pieces need to be about 4-5" long.

Assemble one bolt in clamp and thread around tub in CCW direction.

Position one bolt of the clamp in right rear corner. this is important so that when tub goes out of balance, there's clearance for the clamp bolts and they don't contact the cabinet.

Make sure before threading clamp arount tub that the screw that will end up in the front left corner has a hex head on it so that you can apply some clamping "muscle" with a socket wrench.

I had trouble getting the front left screw inserted in the clamp (its only 2" long) so I used a 3" bolt to make the preliminary connection to pull the clamp semi tight. I planned ahead and got a light wire coat hanger to use as a "tie-tie" in the event that I had to remove the 3" slotted screw to revert back to the 2" hex head screw. Luckily when I removed the 3" screw I was able to quickly pop the 2" hex head back in and tighten completely.

Before putting front cover on, do one load with front cover off to make sure that upper and lower/inner tub don't rub each other.

If ok, turn power back off and put front cover back on.

Note: Would advised ordering the rubber V-seal if you are ordreing the clamp. If you buy the seal there are four bolts in the lid that let you lift the lid to work on the tub, clamp and seal MUCH more easily. Sticky part is getting water fill tube in top left rear disconnected so that new rubber v-seal can slide over tub.

Note also that in order to get to front left lid bolt that single bolt holding diaphram onto front left upright must be removed so as the let diaphram assembly drop away to access front left lid bolt. The two bolts in the rear can be accessed from the top very easily. Also need to disconnect the bleach fill tube in order to lift the lid (right side lifts up to vertical position)
  • George from Fort Myers Beach, FL
  • Difficulty Level:
    Difficult
  • Total Repair Time:
    1- 2 hours
  • Tools:
    Nutdriver, Pliers, Socket set, Wrench (Adjustable), Wrench set
27 of 31 people found this instruction helpful.
Was this instruction helpful to you?
Thank you for voting!
Fixes Symptom 1% of time
★★★★★
★★★★★
3 Reviews

Rated by 2 customers 


Really Easy 

30 - 60 mins 

Ratings submitted by customers like you who bought this part.   

$ 43.26
  In Stock
PartSelect Number PS11739436
Manufacturer Part Number WP22003410

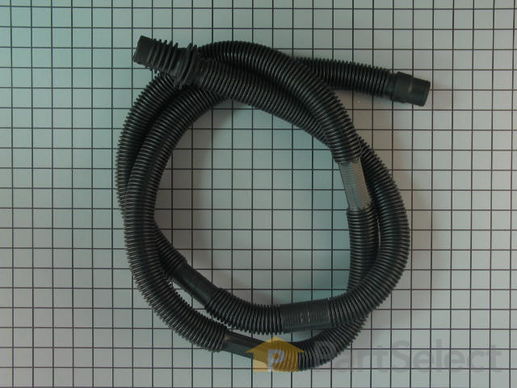
Replacing your Maytag Washer Corrugated Drain Hose

Replacing your Corrugated Drain Hose

Customer Repair Stories

water would not drain in washer tub, clothes were still very wet. starting with the hose

Moved washer away from wall. Removed rear panel (4 screws). removed hose bracket (1 screw). use vicegrip to "open" hose spring clamp. Removed old hose, slipped spring hose clamp over new hose. "Opened" spring hose clamp put new hose over washer drain, released vicegrip. Assemble in reverse.
  • Leo from Seaside, CA
  • Difficulty Level:
    Easy
  • Total Repair Time:
    15 - 30 mins
  • Tools:
    Nutdriver, Pliers
Was this instruction helpful to you?
Thank you for voting!

Hose had a split in it

took off front of washer , took off hose clamp removed old hose . replaced with new hose clamped back on put on front cover ran washer check for any leakes. done and done
  • Chris from Hoffman Estates, IL
  • Difficulty Level:
    Really Easy
  • Total Repair Time:
    15 - 30 mins
  • Tools:
    Nutdriver, Screw drivers
8 of 11 people found this instruction helpful.
Was this instruction helpful to you?
Thank you for voting!
Fixes Symptom 1% of time
★★★★★
★★★★★
1 Review

Rated by 4 customers 


Easy 

15 - 30 mins 

Ratings submitted by customers like you who bought this part.   

This inlet hose washer, also known as a high pressure inlet hose washer, is used in washing machines, refrigerators, freezers, and dishwashers. The function of this part is to create a watertight seal in the appliance. If your gasket gets dry and brittle over time it will start to crack and will lose its function. In this case, it is important to replace it. Refer to the manual provided by the manufacturer for further installation instructions and accurate guidance. As a safety precaution, remember to unplug your washer from the power source before beginning.

$ 8.00
  In Stock
PartSelect Number PS11757437
Manufacturer Part Number WPY013783
Fixes Symptom 1% of time
★★★★★
★★★★★
71 Reviews

Rated by 67 customers 


Really Easy 

30 - 60 mins 

Ratings submitted by customers like you who bought this part.   

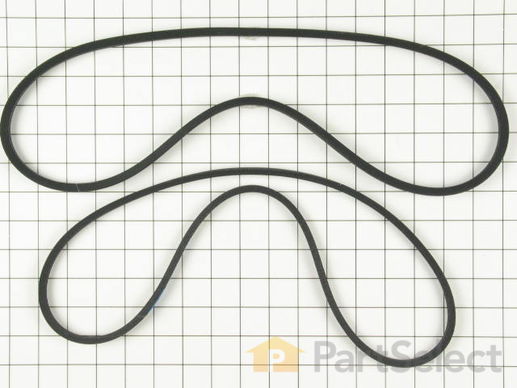
This kit includes both the drive belt and the pump belt which are both V-shaped. If your washer does not toss, spin, or drain water properly, this might be because one of these belts has worn or stretched out. This results in the belt losing its grip and no longer driving the pump. The pump belt is black and made of rubber. The pump belt is located between the motor and pump underneath the washer. Simply remove the belt and hook the new one around the pulley. You may need to loosen or tighten the belt to ensure it is set in place properly.

$ 41.25
  In Stock
PartSelect Number PS2005284
Manufacturer Part Number 12112425

Replacing your Maytag Washer Belt Kit

Replacing your Belt Kit

Customer Repair Stories

My washer stopped draining

My washer filled up and wouldn't drain at all.

I tried checking the fuses, then read that the belt could be broken or worn. I checked under the hood and the belt was broken right in two. I drained the washer manually then ordered the new belt.

I was able to replace the belt in no time with no effort at all.
  • Jenna from St. Louis, MO
  • Difficulty Level:
    Really Easy
  • Total Repair Time:
    Less than 15 mins
  • Tools:
    Screw drivers
24 of 39 people found this instruction helpful.
Was this instruction helpful to you?
Thank you for voting!

Washer wouldn't spin

My washer stopped spinning, even though I could hear the motor running. I did some research and found out there was two belts, opened mine up and it was broken. I replaced the belt in five minutes, start to finish. Now it's running like new.
  • Ben from Truro, AL
  • Difficulty Level:
    Easy
  • Total Repair Time:
    Less than 15 mins
  • Tools:
    Screw drivers
81 of 133 people found this instruction helpful.
Was this instruction helpful to you?
Thank you for voting!
Fixes Symptom 1% of time
★★★★★
★★★★★
2 Reviews

Rated by 4 customers 


Really Easy 

1- 2 hours 

Ratings submitted by customers like you who bought this part.   

Bleach dispenser hose inlet.

$ 23.95
  On Order
PartSelect Number PS11738888
Manufacturer Part Number WP214433

Customer Repair Stories

The washer was leaking

I followed the helpful instructional partselect videos expecting to find the problem with the injector valve. With the front removed and the top lifted, I started a rinse cycle. In my case the old dried out tube running from the bleach dispenser down to the tub was cracked close to the tub fitting. It flexes a lot during badly balanced spin cycles. For a temporary fix, I cut the cracked part off and forced the remaining tube onto the fitting and clamped it. Knowing it would just crack again, I found and ordered a new Dispenser tube. I find this site extremely helpful.
  • William from North Scituate, RI
  • Difficulty Level:
    Easy
  • Total Repair Time:
    15 - 30 mins
  • Tools:
    Nutdriver, Socket set
Was this instruction helpful to you?
Thank you for voting!

Washing machine was leaking

The part I removed from the washing machine was hard plastic so when the flexible hose came I was a little unsure but because of the give and stretchyness of hose it was a simple fix.

Done in five minutes.
  • Steven from WEslaco, TX
  • Difficulty Level:
    Really Easy
  • Total Repair Time:
    Less than 15 mins
  • Tools:
    Pliers, Screw drivers
4 of 5 people found this instruction helpful.
Was this instruction helpful to you?
Thank you for voting!
Fixes Symptom 1% of time

Rated by 4 customers 


Easy 

30 - 60 mins 

Ratings submitted by customers like you who bought this part.   

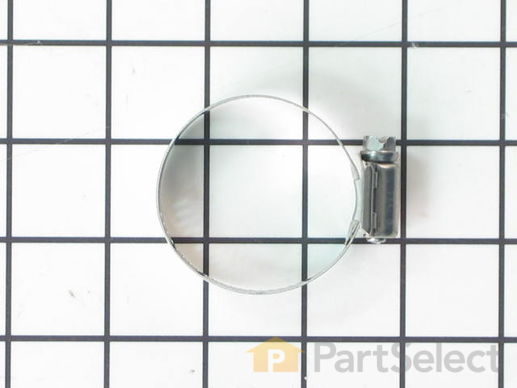
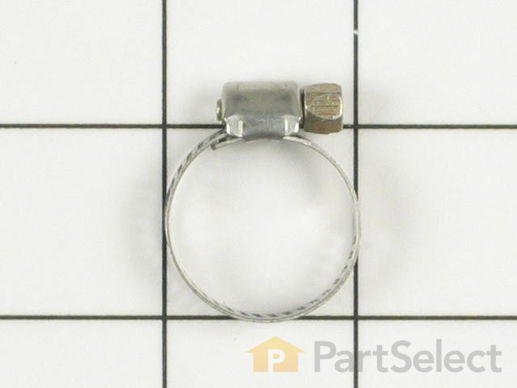
Note: This part has been updated by the manufacturer. It may appear different but will still function the same as the original. The hose clamp is about 2 inches in diameter and made of stainless steel. A hose clamp generally attaches hoses and tubes to various equipment This part consists of a band and a screw that tightens along the slots when it is turned. This part works with washers, dishwashers, food waste disposers, and ice makers. This will need to be replaced if you notice leaking coming from the appliance.

$ 9.81
  Special Order
PartSelect Number PS11743289
Manufacturer Part Number WP616099
Fixes Symptom less than 1% of time
★★★★★
★★★★★
2 Reviews

Rated by 1 customer 


A Bit Difficult 

30 - 60 mins 

Ratings submitted by customers like you who bought this part.   

This clamp does include the nuts and bolts to hold it together but it does not include the rubber seal. Sold separately.

  No Longer Available
PartSelect Number PS2016363
Manufacturer Part Number 200846

Customer Repair Stories

After 29 yrs, tub top clamp broke from vibration

Removed front, loosened top & tilted up. Placed tub top assuring it would not rub inner basket. Placed clamp on Ridge & gasket & tightened. Reassembled & started washing.
  • David from ROCK HILL, SC
  • Difficulty Level:
    A Bit Difficult
  • Total Repair Time:
    30 - 60 mins
  • Tools:
    Screw drivers, Socket set
5 of 5 people found this instruction helpful.
Was this instruction helpful to you?
Thank you for voting!
Fixes Symptom less than 1% of time

Rated by 5 customers 


Easy 

1- 2 hours 

Ratings submitted by customers like you who bought this part.   

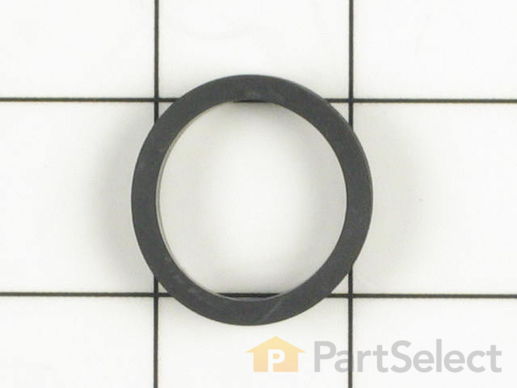
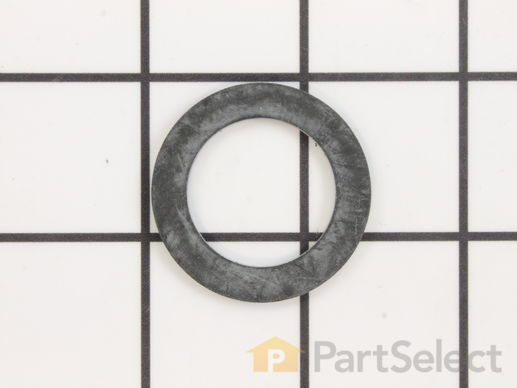
This syphon break gasket is just over an inch in diameter. It is black in color and made of rubber.

$ 52.42
  In Stock
PartSelect Number PS11738895
Manufacturer Part Number WP214765
Fixes Symptom less than 1% of time

This inner tub clamping nut is just under three inches in diameter, and is made of metal. It has a reverse thread and screws onto the mounting stem.

$ 69.24
  In Stock
PartSelect Number PS11743020
Manufacturer Part Number WP6-2110472
30 Clamp
Fixes Symptom less than 1% of time

Rated by 2 customers 


Really Easy 

1- 2 hours 

Ratings submitted by customers like you who bought this part.   

This clamp is sold individually.

$ 7.43
  In Stock
PartSelect Number PS11742760
Manufacturer Part Number WP489503
Fixes Symptom less than 1% of time
★★★★★
★★★★★
5 Reviews

Rated by 2 customers 


Easy 

1- 2 hours 

Ratings submitted by customers like you who bought this part.   

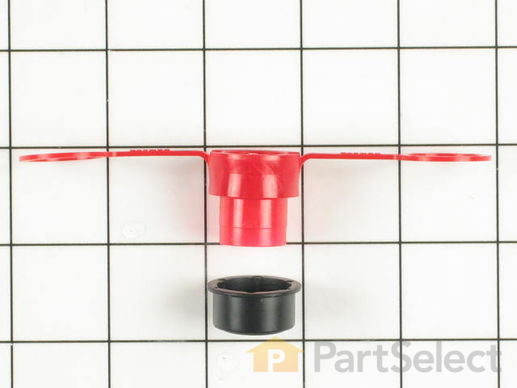
This transmission lip seal repair kit comes in two pieces: a red four inch long piece, and a black one inch long piece. Both pieces are made entirely of plastic. This repair kit comes with and instructions sheet and it is used for some washing machines.

$ 23.92
  In Stock
PartSelect Number PS2017479
Manufacturer Part Number 207843

Replacing your Maytag Washer Transmission Lower Lip Seal Repair Kit

Replacing your Transmission Lower Lip Seal Repair Kit

Customer Repair Stories

Oil leak from lower lip seal

I didn’t have special tool for brake but punch and hammer worked. Seal was easy to replace. Several videos online to show you how. It wasn’t worth it to tear apart the transmission and buy more parts/seals (if they were even available). But I didn’t know how much oil was in it. I drilled a hole in the side to somewhat check level and added 80-90 gear oil. It was almost empty and added almost a quart. Used a self taping screw/bolt with gasket sealer to plug the hole. I got 34 yrs out of this washer. If it fails, oh well. Just hate to buy a new one that only last 10yrs if im lucky.
  • Anthony from CHESANING, MI
  • Difficulty Level:
    Easy
  • Total Repair Time:
    1- 2 hours
  • Tools:
    Nutdriver, Screw drivers, Socket set, Wrench set
6 of 6 people found this instruction helpful.
Was this instruction helpful to you?
Thank you for voting!
Fixes Symptom less than 1% of time

  No Longer Available
PartSelect Number PS2018566
Manufacturer Part Number 211210
Fixes Symptom less than 1% of time

Rated by 2 customers 


Easy 

More than 2 hours 

Ratings submitted by customers like you who bought this part.   

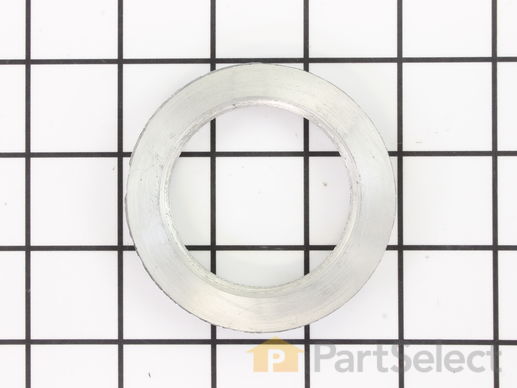
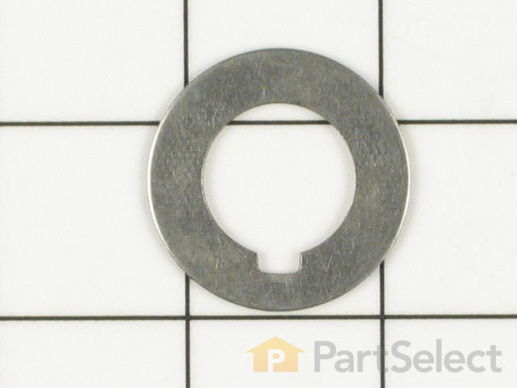
This center seal retaining washer is a little over an inch in diameter. It is made of metal.

$ 7.59
  In Stock
PartSelect Number PS11757440
Manufacturer Part Number WPY015666
Fixes Symptom less than 1% of time
★★★★★
★★★★★
1 Review

Rated by 3 customers 


Easy 

1- 2 hours 

Ratings submitted by customers like you who bought this part.   

  No Longer Available
PartSelect Number PS11757441
Manufacturer Part Number WPY015667
Fixes Symptom less than 1% of time

  No Longer Available
PartSelect Number PS2018518
Manufacturer Part Number 210690
Fixes Symptom less than 1% of time
★★★★★
★★★★★
1 Review

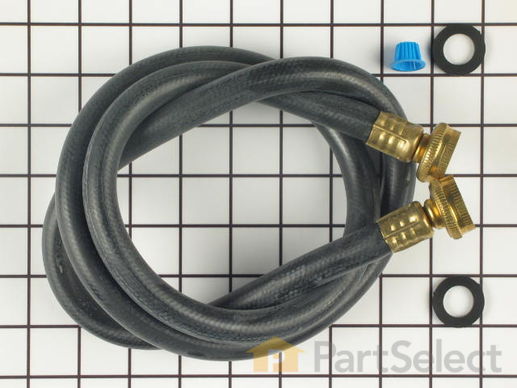
This hose is almost 5 feet long and now comes with the washers for proper installation. It is used to bring water into your washer for the cycles.

$ 43.96
  In Stock
PartSelect Number PS2016880
Manufacturer Part Number 202860
Fixes Symptom less than 1% of time

This part does NOT include the Bearing.

  No Longer Available
PartSelect Number PS2018558
Manufacturer Part Number 211130
Fixes Symptom less than 1% of time

Rated by 3 customers 


Easy 

15 - 30 mins 

Ratings submitted by customers like you who bought this part.   

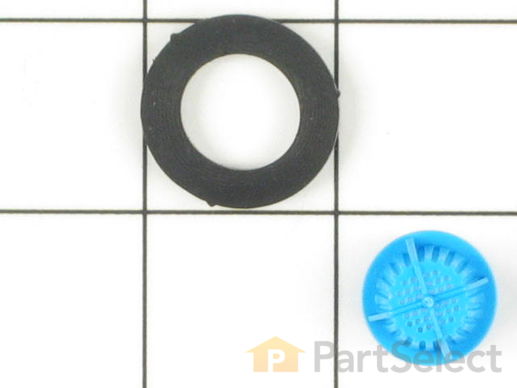
The hose washer in this washer and screen insert kit is an inch in diameter. The insert is all blue in color and is made entirely of plastic, while the washer is all black in color and made entirely of rubber.

$ 7.59
  In Stock
PartSelect Number PS2003023
Manufacturer Part Number 12001413

Customer Repair Stories

Deteriorated and clogged strainer; slow water fill.

Loosened the hose coupling, removed the old washer and strainer; cleaned the opening; flushed the opening; installed new strainer and washer; reattached hose and "Bob's your uncle"! No problem.
  • Richard from Jupiter, FL
  • Difficulty Level:
    Easy
  • Total Repair Time:
    Less than 15 mins
  • Tools:
    Pliers
2 of 7 people found this instruction helpful.
Was this instruction helpful to you?
Thank you for voting!