Models > MDB7100AWW > Symptoms > Noisy

Parts That Fix Maytag Dishwasher MDB7100AWW Noisy

Noisy is a commonly reported symptom for the MDB7100AWW Maytag Dishwasher, and we have put together a full guide on how to fix this. This advice is based on feedback from people who own this exact appliance. We have listed the most common parts for your MDB7100AWW Maytag Dishwasher that will fix Noisy. We have included repair instructions, and helpful step-by-step video tutorials. If you are experiencing this issue, not to worry, DIYers just like you have fixed this, and shared their experience to help you!

Fixes Symptom 52% of time

Rated by 41 customers 


Easy 

30 - 60 mins 

Ratings submitted by customers like you who bought this part.   

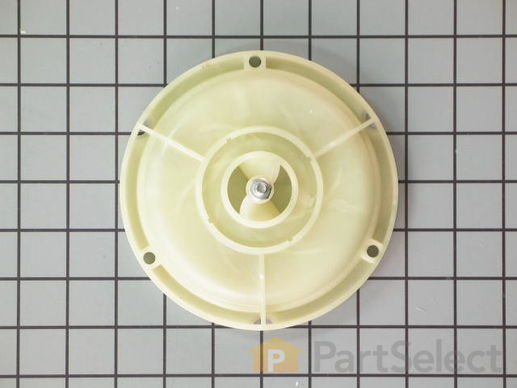
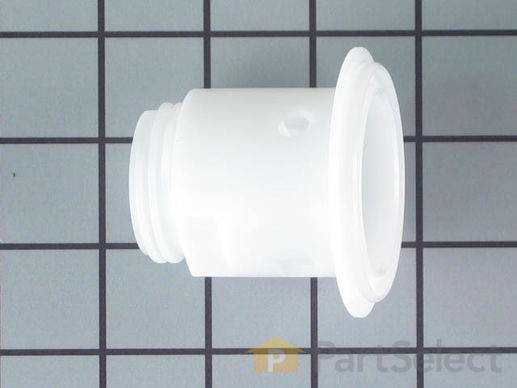
This part is located under lower spray arm.

  No Longer Available
PartSelect Number PS2340910
Manufacturer Part Number 6-917075

Customer Repair Stories

Noise when washing or draining

Remove bottom rack. Unscrew the retaining ring on the wash arm, remove along with wash nozzle. Unscrew the eight retaining screws on the filter cover and remove (be carefull not to lose the two plastic bushings). Pick off and set aside the wash fan. Remove the six retaining bolts on the discharge housing. Pull up and remove the discharge housing. Remove the gasket (buy a new one, cheap and easier) with small screwdriver. Push gasket into new assembly. Under plastic nut with pliers and take off the plastic bushing that the wash arm rides on. Install new housing assembly with the parts that was taken off in the reverse order. Be carfull when installing the filter cover to make sure the drain outlet is aligned or mated to drain. Gently push down until the filter in down and continue reassembly.


(PS: Never use Sears parts, they extrembly slow as well unable to deliver on time).
Wash your dishes
  • Daryl from Turlock, CA
  • Difficulty Level:
    Really Easy
  • Total Repair Time:
    15 - 30 mins
  • Tools:
    Nutdriver, Pliers
5 of 6 people found this instruction helpful.
Was this instruction helpful to you?
Thank you for voting!

Machine began making noise as if something had let go and was beating on the machine

I removed the plastic retainer that held the lower spray arm in place. After removing the lower spray arm I was able to remove the 6 hex screws that held the cover over the filter screen and the discharge housing assembly. I was then able to remove the bolts that held the upper part of the discharge housing assembly, and replaced it with the new part that I received. The rest of the job was simply putting it back together.

Note: While repairing the broken part, I noticed a small leak under the machine around the float assembly. This was simple to fix. Remove the small lock ring on the bottom of the float. Pull the float out and clean the grease and soap scum out of it. Put it back in and attach the lock ring. No more leak and the water gets turned off when the float activates the switch. Something that everyone should check periodically.
  • Michael from Lost Creek, WV
  • Difficulty Level:
    Easy
  • Total Repair Time:
    15 - 30 mins
  • Tools:
    Nutdriver, Pliers, Screw drivers
15 of 17 people found this instruction helpful.
Was this instruction helpful to you?
Thank you for voting!
Fixes Symptom 12% of time

Rated by 19 customers 


Easy 

30 - 60 mins 

Ratings submitted by customers like you who bought this part.   

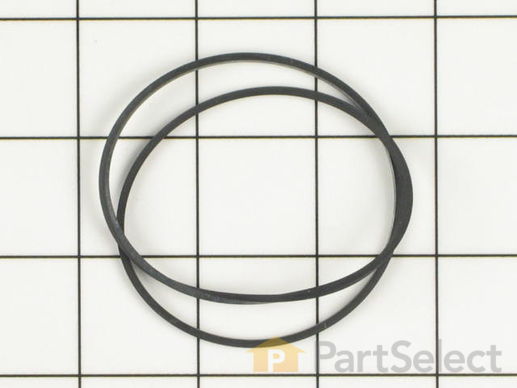
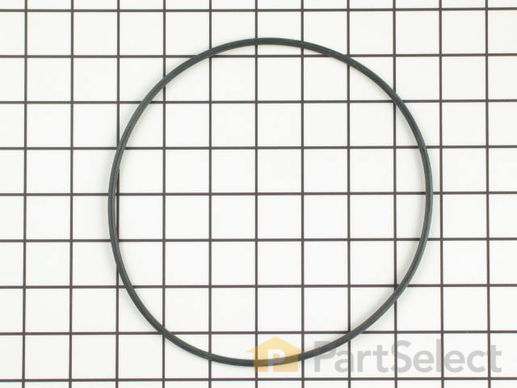
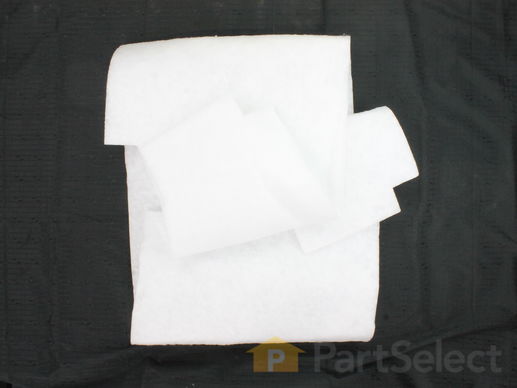
This upper discharge housing gasket is fifteen inches long.

  No Longer Available
PartSelect Number PS2098976
Manufacturer Part Number 99001326
Fixes Symptom 12% of time
★★★★★
★★★★★
1 Review

Rated by 25 customers 


Easy 

30 - 60 mins 

Ratings submitted by customers like you who bought this part.   

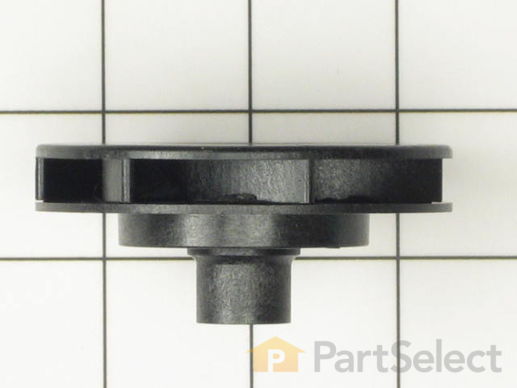
This impeller rotates and is used to force water up through to the spray arm.

$ 52.36
  In Stock
PartSelect Number PS11747641
Manufacturer Part Number WP99002069

Replacing your Maytag Dishwasher Impeller Assembly

Replacing your Impeller Assembly

Customer Repair Stories

Stinky dishwasher

When I tried to remove the hold down screw for the impellar, the impellar broke in half. I actually did npt need to go this far with disassembly as the problem was with water being retained in the rinse arm assembly and stagnating. This was due to calcium buildup clogging the drain holes. Clearing the holes resolved the problem.
  • Edward from Pompton Plains, NJ
  • Difficulty Level:
    Really Easy
  • Total Repair Time:
    15 - 30 mins
  • Tools:
    Nutdriver, Screw drivers
1 person found this instruction helpful.
Was this instruction helpful to you?
Thank you for voting!

No water pressure from lower wash arm

Never having repaired a dishwasher before, I disassembled everything I dared to until I found the root of the problem--part of the impeller had broken into several little bits. It wasn't apparent where the pieces came from, but the on-line diagrams and product photos helped. The broken impeller didn't want to come off the shaft, so I just crunched it up with a pair of vise grips. That seemed to be the gentlest solution for the pump bearings. The bits of impeller also took out the pump housing, which I could have ordered with the impeller had I been more observant. [insert four more days of washing by hand here] Inspect all parts for damage and clean out all stray chunks of food and plastic before reassembling!
  • Benjamin from New York, NY
  • Difficulty Level:
    A Bit Difficult
  • Total Repair Time:
    1- 2 hours
  • Tools:
    Nutdriver, Pliers
1 person found this instruction helpful.
Was this instruction helpful to you?
Thank you for voting!
Fixes Symptom 4% of time

Rated by 10 customers 


Easy 

1- 2 hours 

Ratings submitted by customers like you who bought this part.   

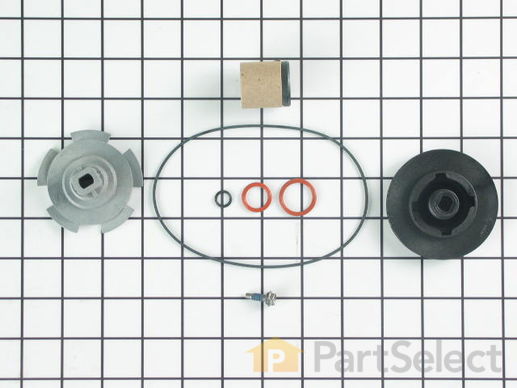
This kit includes 2 impellers, 1 suction plate, 4 seals and a screw.

  No Longer Available
PartSelect Number PS2340860
Manufacturer Part Number 6-915435

Customer Repair Stories

Dishwasher was leaking from motor shaft seal.

Repair was simple, and easy to install. Instructions were fairly straight forward. Only thing to be aware of is when you get to the last part, the cutter blade, it is difficult to remove, and you must pay attention to get it on the new impeller fully seated and make sure that the tabs clear the upper cover that goes on top of it. I had an issue with the tabs catching, causing a loud noise, I simply removed, rechecked, and cut the tabs down a little bit, and re-installed. Overall, took me an hour to complete and I have a quiet and functional dishwasher again!
  • David from West Bloomfield, MI
  • Difficulty Level:
    Easy
  • Total Repair Time:
    30 - 60 mins
  • Tools:
    Nutdriver, Pliers, Screw drivers
0 of 2 people found this instruction helpful.
Was this instruction helpful to you?
Thank you for voting!

Dishes Not Getting Clean

I followed the instructions that came with the parts kit. Everything went fine. When removing the old upper impeller, it came out in two pieces. I did have one o-ring leftover as the instructions did not say where it went. Anyway, the new parts are installed & dishes are getting clean again. I was very impressed with how fast the parts kit arrived at my house.
  • JOHN from SNOHOMISH, WA
  • Difficulty Level:
    Really Easy
  • Total Repair Time:
    30 - 60 mins
  • Tools:
    Pliers, Screw drivers, Socket set
1 of 3 people found this instruction helpful.
Was this instruction helpful to you?
Thank you for voting!
Fixes Symptom 3% of time
★★★★★
★★★★★
79 Reviews

Rated by 111 customers 


Really Easy 

Less than 15 mins 

Ratings submitted by customers like you who bought this part.   

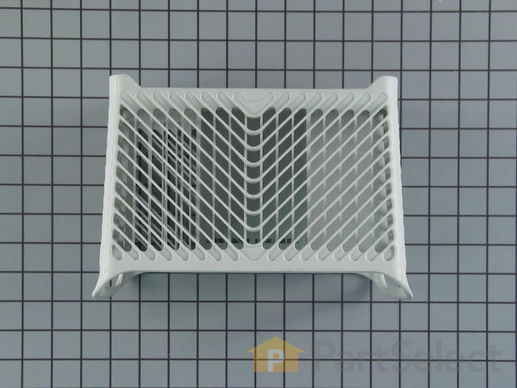
This silverware basket is gray in color and measures 8 inches wide by 11-1/2 inches high by 12 inches deep. The silverware basket is used to hold small utensils such as forks, spoons, and knives during dishwashing. The manufacturer has redesigned this part to be a complete, full basket with a handle and covers. The basket comes apart in two pieces if you prefer to place them along the sides of your dishwasher instead of at the front section of your bottom dish rack. To prolong the life of this part, try to place utensils into the holders carefully instead of dropping them in.

$ 27.80
  In Stock
PartSelect Number PS11743069
Manufacturer Part Number WP6-918873

Replacing your Maytag Dishwasher Silverware Basket - Gray

Replacing your Silverware Basket - Gray

Customer Repair Stories

Maytag makes a really crappy silverware basket. The bottom of ours fell apart the first year.

There was no repair to be done. Just replaced the defective basket with the new one.
I got the part two days after ordering it. Great service.
  • Kenneth from Houston, TX
  • Difficulty Level:
    Really Easy
  • Total Repair Time:
    Less than 15 mins
160 of 230 people found this instruction helpful.
Was this instruction helpful to you?
Thank you for voting!

The utensil basket was old, bowed and the bottom was falling out.

I ordered a new replacement basket. The new one is a little different but it fits in the same place and takes up the same amount of room in the dishwasher. It looks very nice too.
  • Janet from Plano, TX
  • Difficulty Level:
    Really Easy
  • Total Repair Time:
    Less than 15 mins
476 of 489 people found this instruction helpful.
Was this instruction helpful to you?
Thank you for voting!
Fixes Symptom 3% of time

Rated by 7 customers 


Easy 

30 - 60 mins 

Ratings submitted by customers like you who bought this part.   

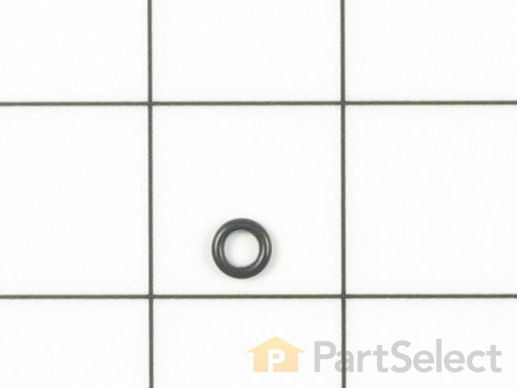
This o-ring seal is well under an inch in diameter. It is all black in color and it is made entirely of rubber.

$ 5.37
  Special Order
PartSelect Number PS11746845
Manufacturer Part Number WP910934
Fixes Symptom 2% of time

Rated by 14 customers 


Easy 

30 - 60 mins 

Ratings submitted by customers like you who bought this part.   

  No Longer Available
PartSelect Number PS2097730
Manufacturer Part Number 912313

Replacing your Maytag Dishwasher Lower Spray Arm Seal

Replacing your Lower Spray Arm Seal

Customer Repair Stories

Dishes are not cleaned,ery good machine just when south over night

Removed lower spray arm and installed new seal under spray arm.Did not fix problem,I am guessing a low spray pressure.Everything checks out O.K.Anyone have some suggestions.How does the rinse aid get out of the holding tankr?
  • Larry from Ashtabula, OH
  • Difficulty Level:
    Really Easy
  • Total Repair Time:
    Less than 15 mins
1 of 2 people found this instruction helpful.
Was this instruction helpful to you?
Thank you for voting!
8 O-RING
Fixes Symptom 2% of time

Rated by 14 customers 


Easy 

1- 2 hours 

Ratings submitted by customers like you who bought this part.   

  No Longer Available
PartSelect Number PS2099290
Manufacturer Part Number 99001797
Fixes Symptom 2% of time
★★★★★
★★★★★
19 Reviews

Rated by 28 customers 


Really Easy 

Less than 15 mins 

Ratings submitted by customers like you who bought this part.   

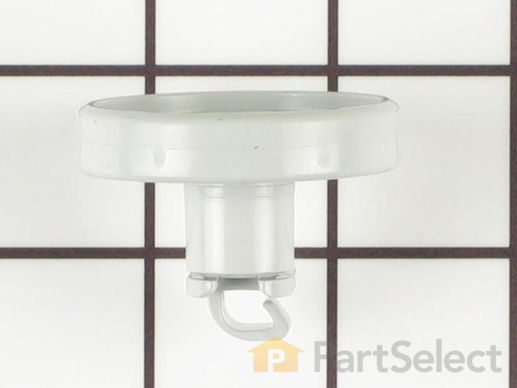
This lower dishrack roller is less than two inches in diameter. It is made entirely of white plastic. If you find that your dishwasher is making loud noises or the lower rack is getting stuck when you are moving it in or out, it could be that the lower wheel assembly needs to be replaced. The dishrack wheels allow for easy movement of the dishrack in and out of the dishwasher. These rollers tend to wear down at the same speed, so it is recommended to replace both pairs at the same time. Open your dishwasher and remove the bottom rack, locate the locking tab, and rotate until it easily slides out of place. Slide the new wheel over the shaft and locate the locking tab to snap back into place.

$ 12.48
  In Stock
PartSelect Number PS11747717
Manufacturer Part Number WP99002780

Replacing your Maytag Dishwasher Lower Wheel Assembly

Replacing your Lower Wheel Assembly

Customer Repair Stories

Broken Wheels

Snapped on new wheels
  • Mary J. from Westwood, MA
  • Difficulty Level:
    Really Easy
  • Total Repair Time:
    Less than 15 mins
67 of 67 people found this instruction helpful.
Was this instruction helpful to you?
Thank you for voting!

2 broken wheels on basket

unwrapped wheels ,pulled out drawer and easily put on new wheels...as we live way out in the boonies it was great to be able to order parts and have them delivered so fast...easy to fix....
  • jeanne from waynesboro, TN
  • Difficulty Level:
    Really Easy
  • Total Repair Time:
    Less than 15 mins
371 of 374 people found this instruction helpful.
Was this instruction helpful to you?
Thank you for voting!
Fixes Symptom 2% of time

Rated by 2 customers 


Easy 

15 - 30 mins 

Ratings submitted by customers like you who bought this part.   

$ 34.25
  Special Order
PartSelect Number PS2099458
Manufacturer Part Number 99002041
Fixes Symptom 2% of time
★★★★★
★★★★★
2 Reviews

Rated by 1 customer 


Really Easy 

1- 2 hours 

Ratings submitted by customers like you who bought this part.   

$ 55.26
  In Stock
PartSelect Number PS11750638
Manufacturer Part Number WPW10223013

Customer Repair Stories

Mice living behind the dishwasher

Mice were living behind and on top of the dishwasher and destroyed the pad. Had to throw it away. Ordering you was easy, and the pad fit perfectly.
  • julie from golden, CO
  • Difficulty Level:
    Really Easy
  • Total Repair Time:
    15 - 30 mins
  • Tools:
    Screw drivers
Was this instruction helpful to you?
Thank you for voting!
Fixes Symptom 1% of time

Rated by 6 customers 
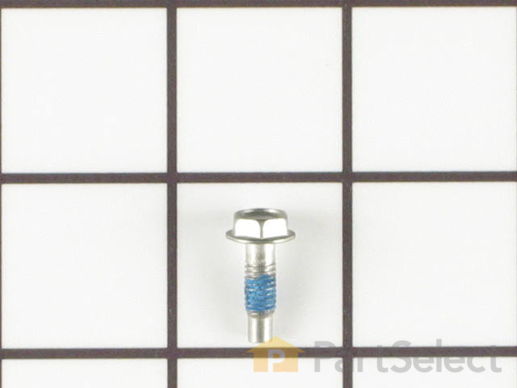
  

Really Easy 

15 - 30 mins 

Ratings submitted by customers like you who bought this part.   

  No Longer Available
PartSelect Number PS2099029
Manufacturer Part Number 99001426
Fixes Symptom 1% of time

Rated by 1 customer 


Really Easy 

30 - 60 mins 

Ratings submitted by customers like you who bought this part.   

$ 7.87
  In Stock
PartSelect Number PS11746844
Manufacturer Part Number WP910654